Contact Tasks
Note: Customers and contacts are not interchangeable. A customer is who will get added to a customer order. They are configured with an official address, payment terms and are who get invoiced for orders, but are not necessarily where orders will be shipped to. Contacts can be linked to customers (customers can have multiple contacts), they often represent different locations within a company where orders would be shipped to or contact people for the company. Contacts can be set as consignees, shippers, delivery addresses, a party to be notified, point of crossing or an inspection facility and will be available for selection on customer orders and sales reservations.
How to Add Contacts
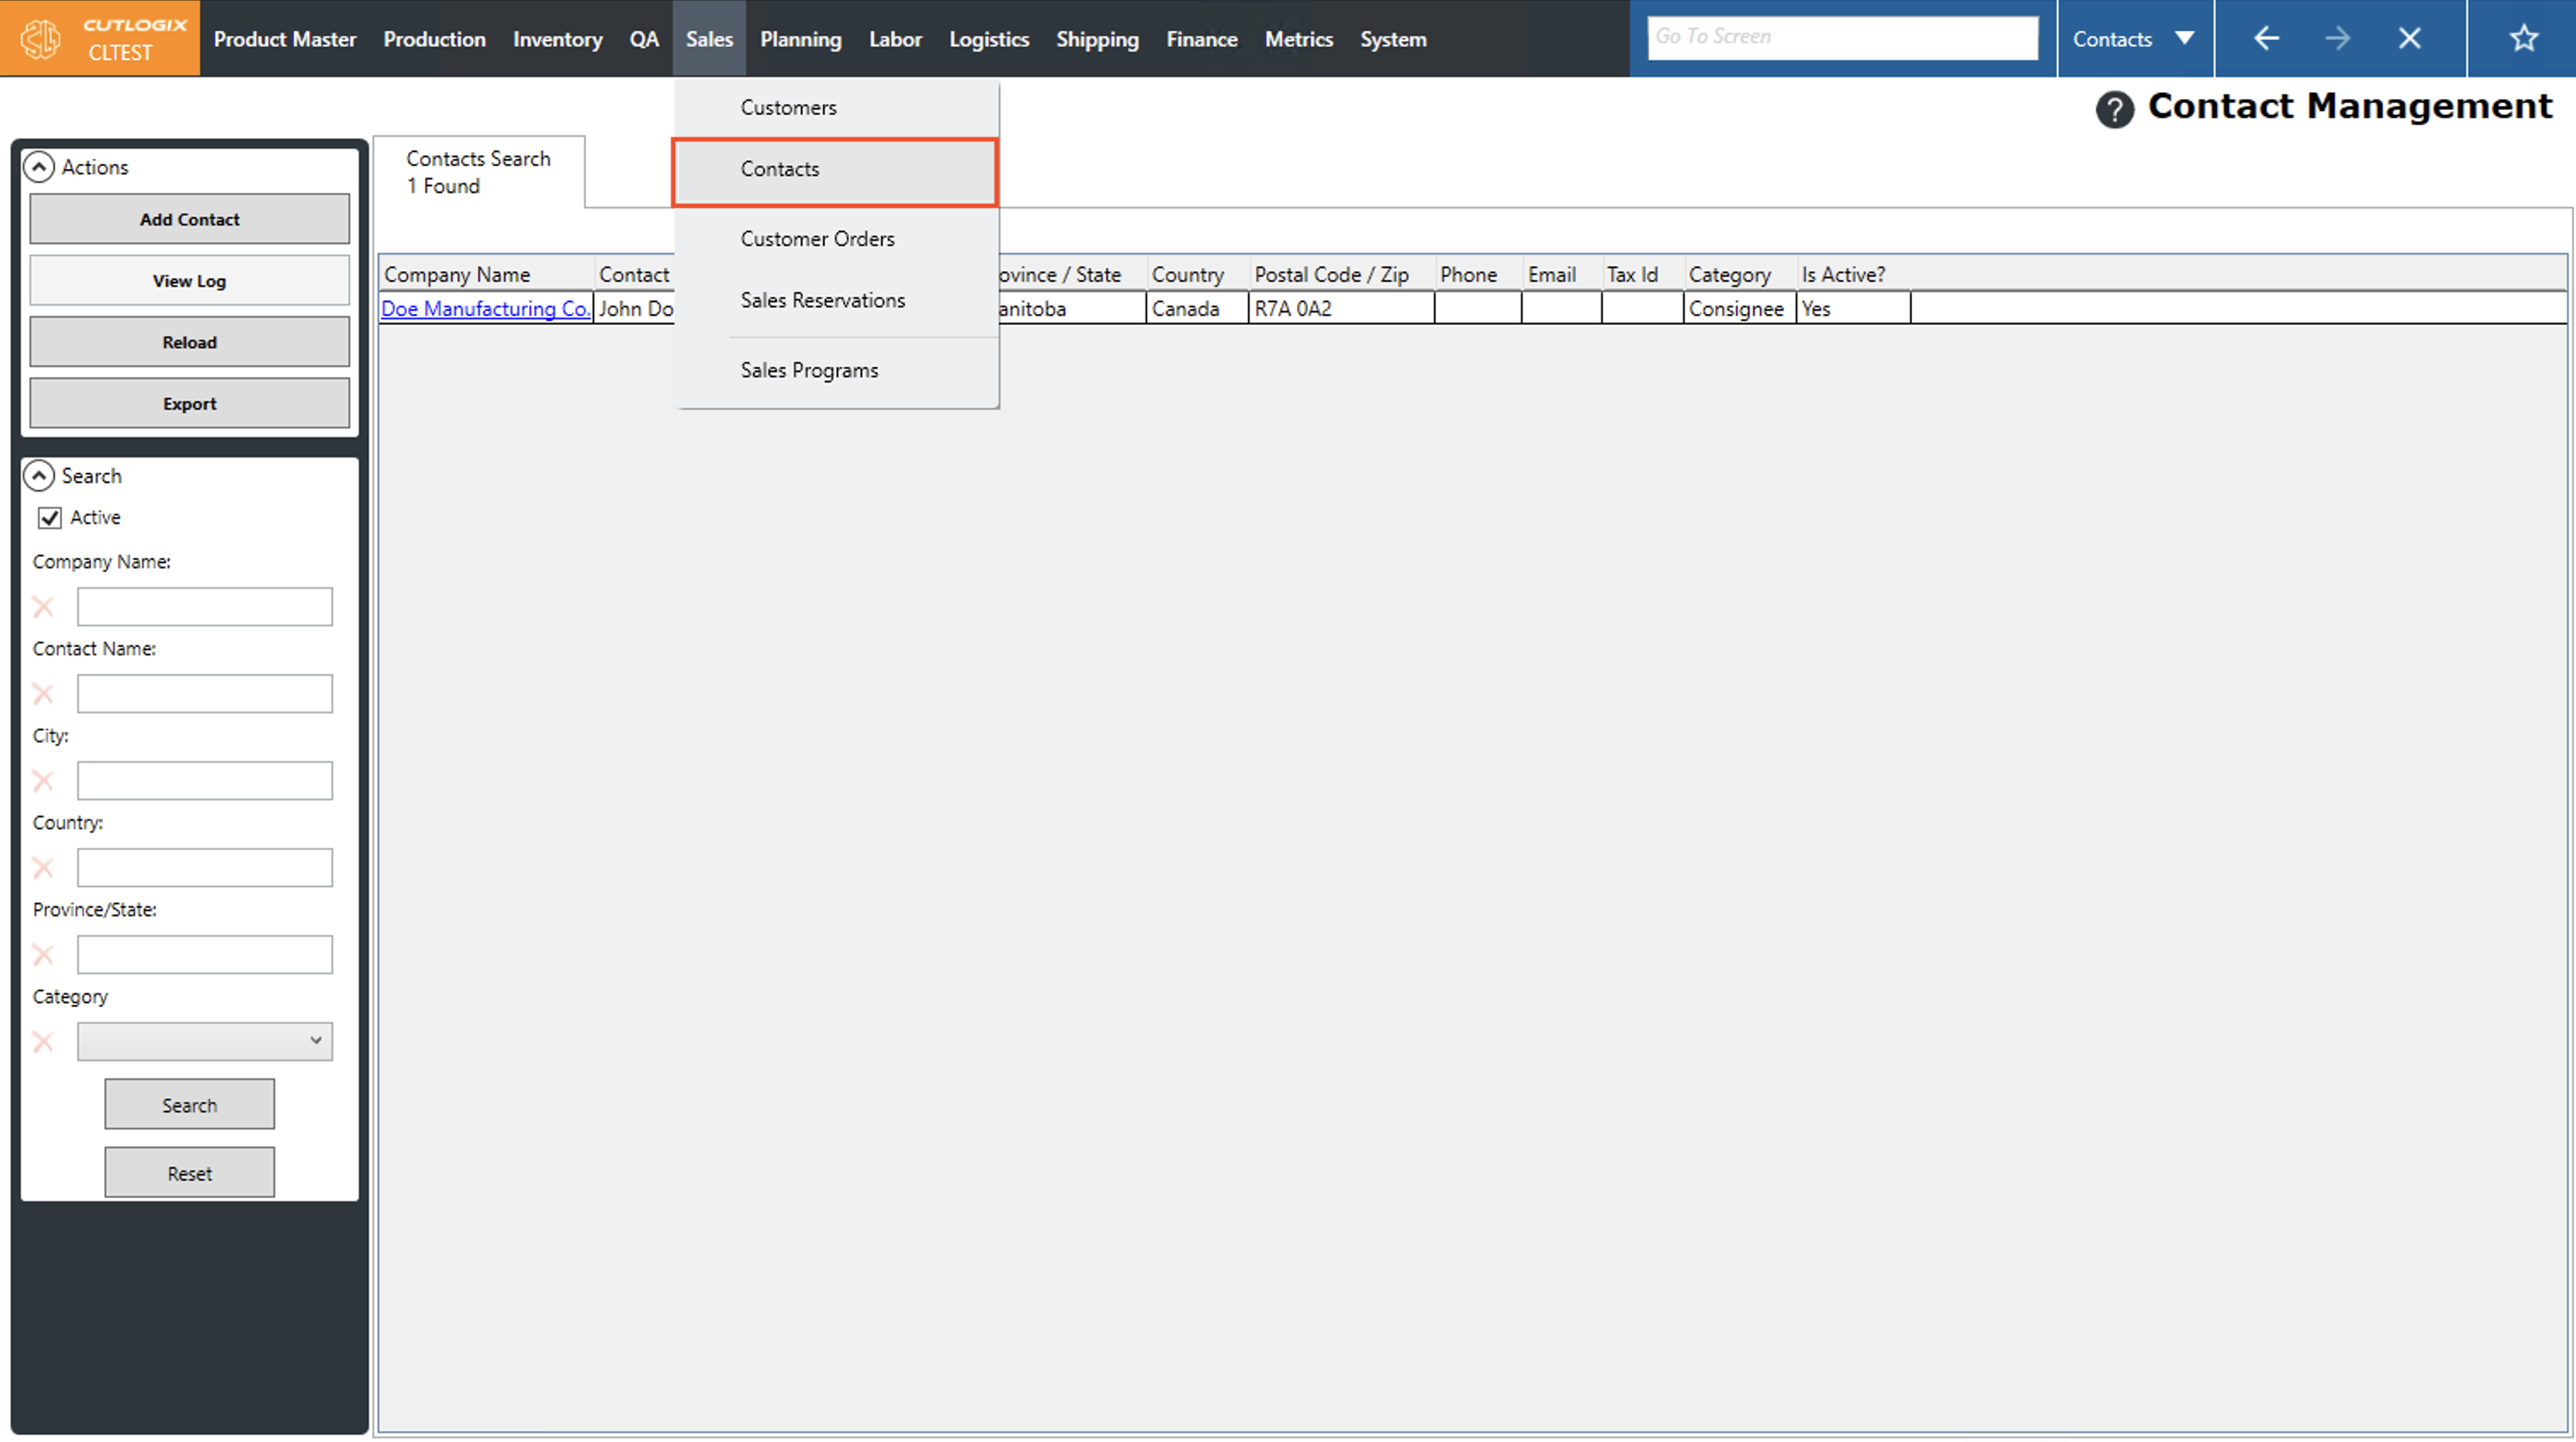
DemoStep 1: Navigate to the "Contacts" page. (Located under the "Sales" menu option)
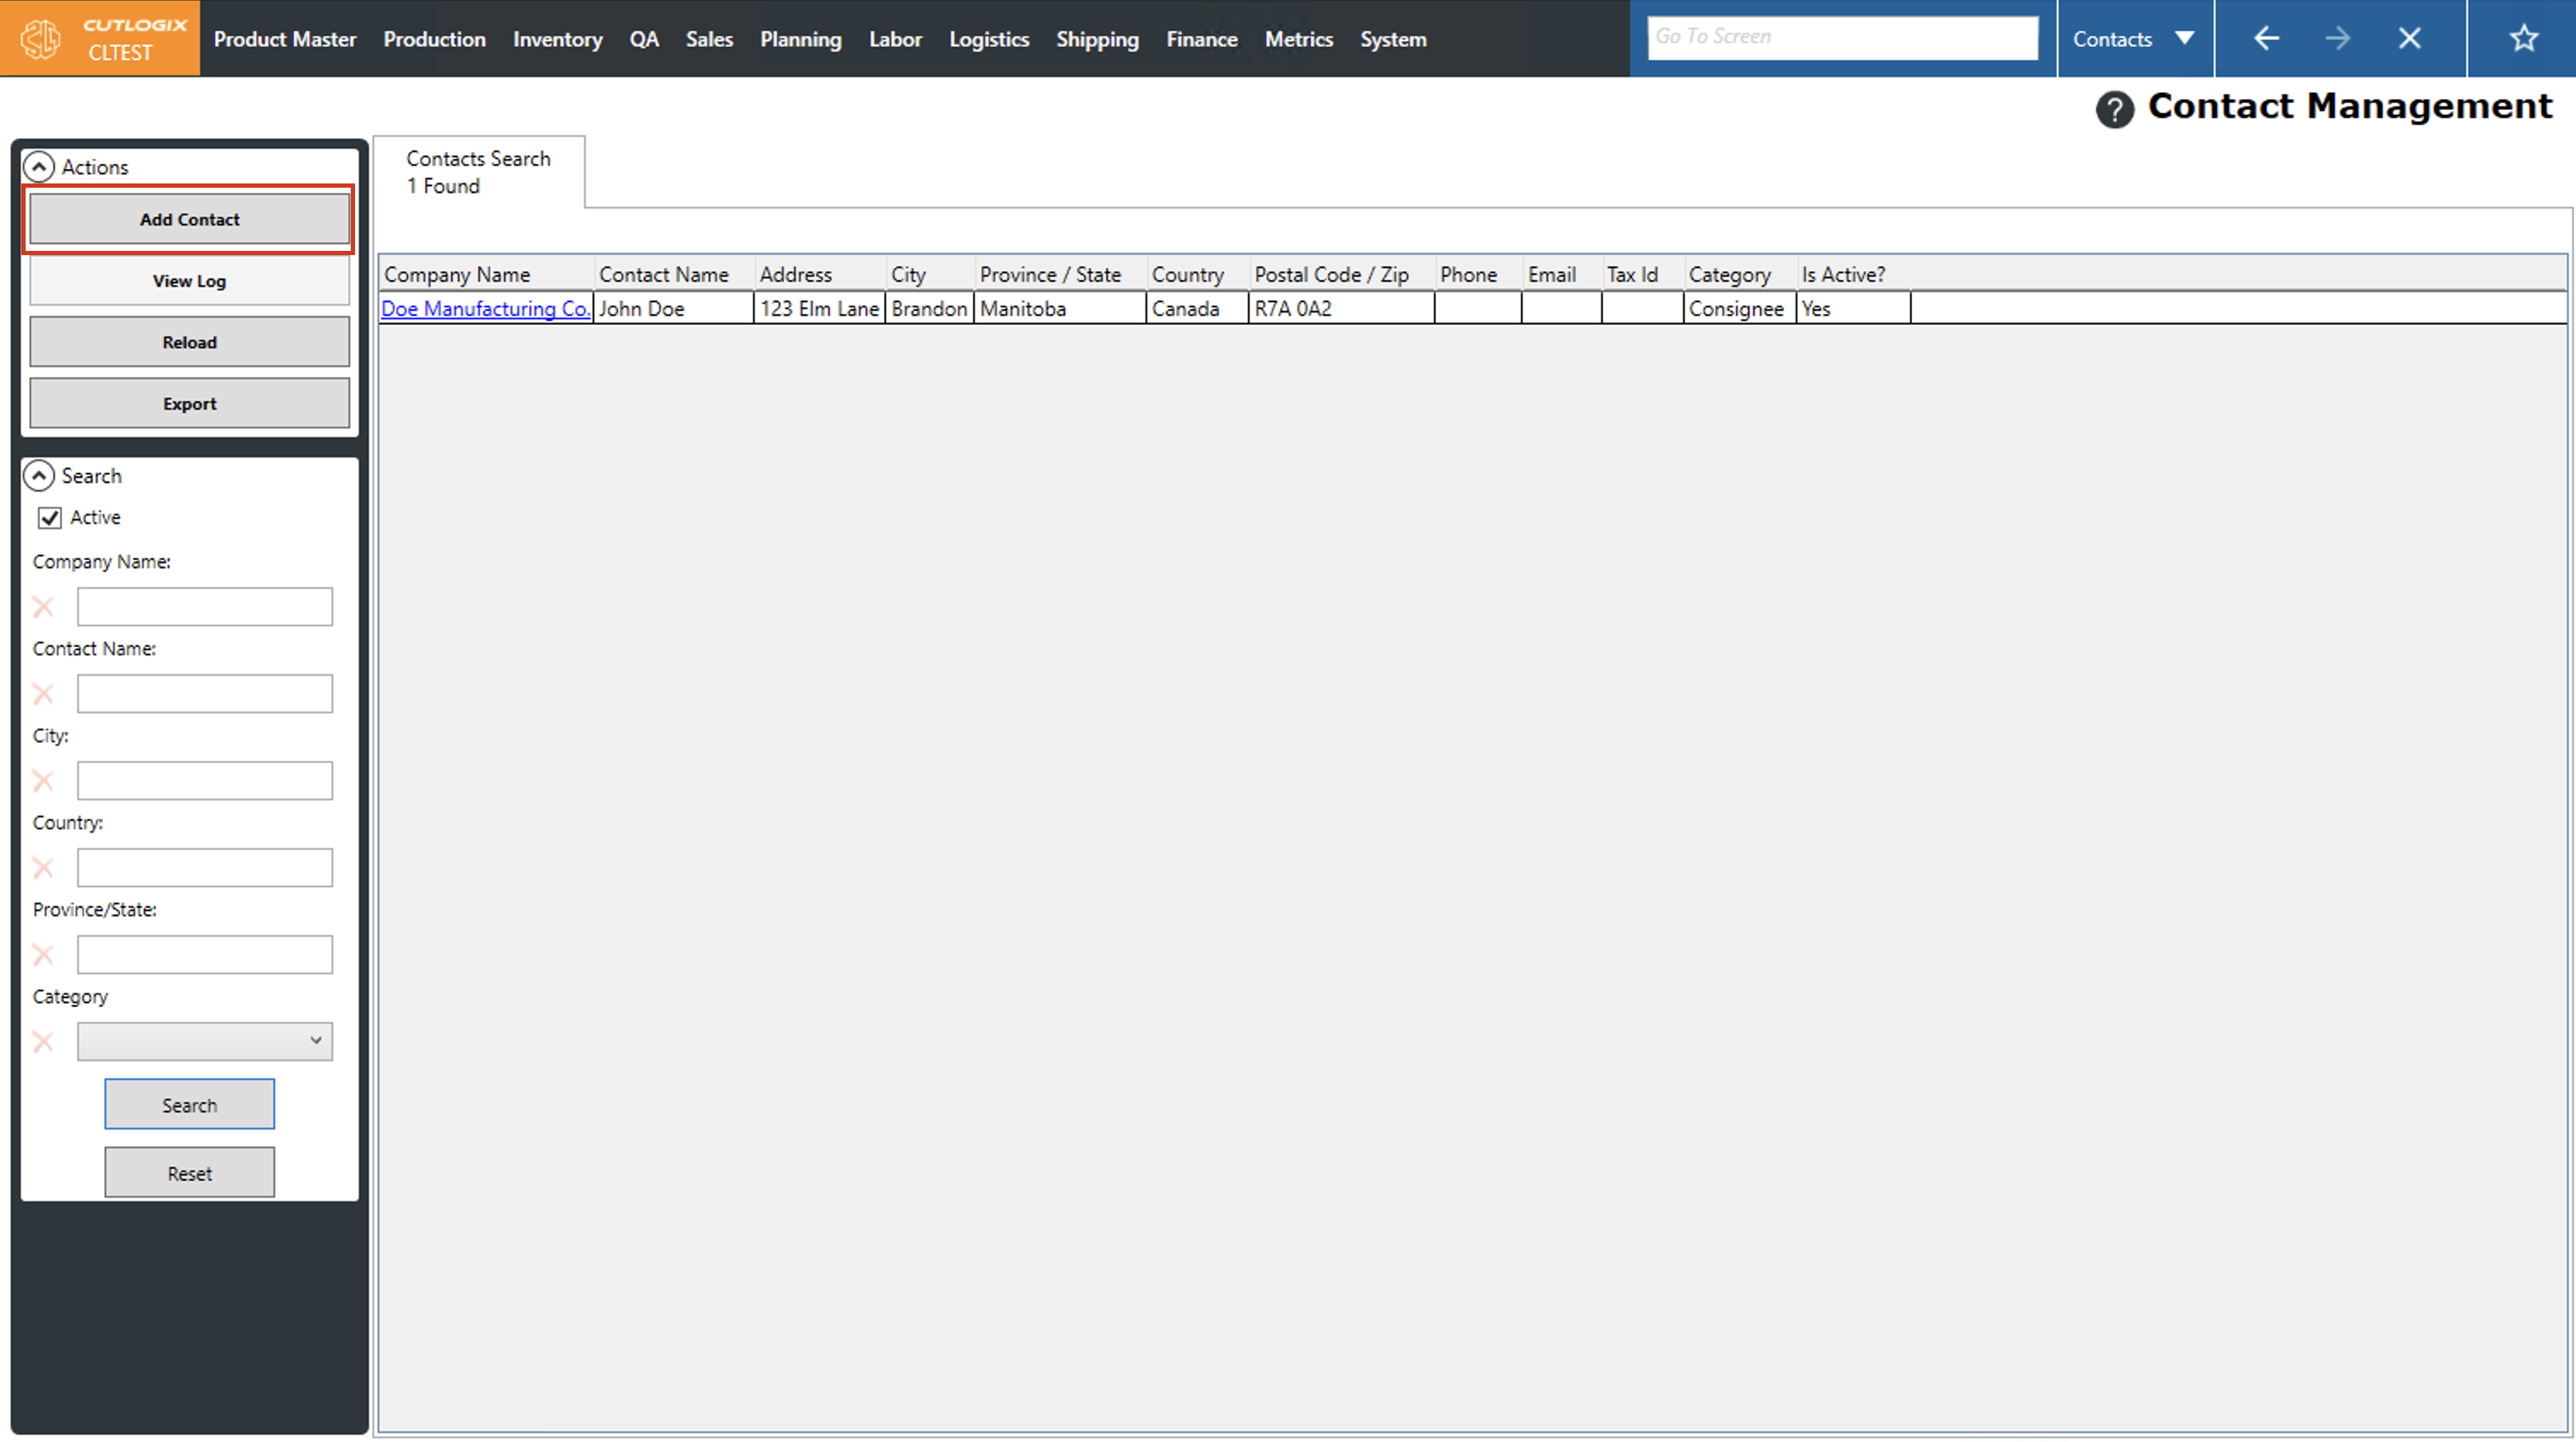
Step 2: Click the "Add Contact" button in the actions panel on the left side of the screen.
Step 3: A page to add a new contact will appear, fields that are required are highlighted in red and must be entered in order to save the customer. The required fields are as follows:
• Company Name: The name of the company that this contact is associated with.
• Address: The physical street address of the contact.
• City: The city that the contact's address is located in.
• Province/State: The province or state that the contact is located in.
• Country: The country that the contact is located in.
• Postal Code/Zip: The Postal or Zip code for the contact's address.
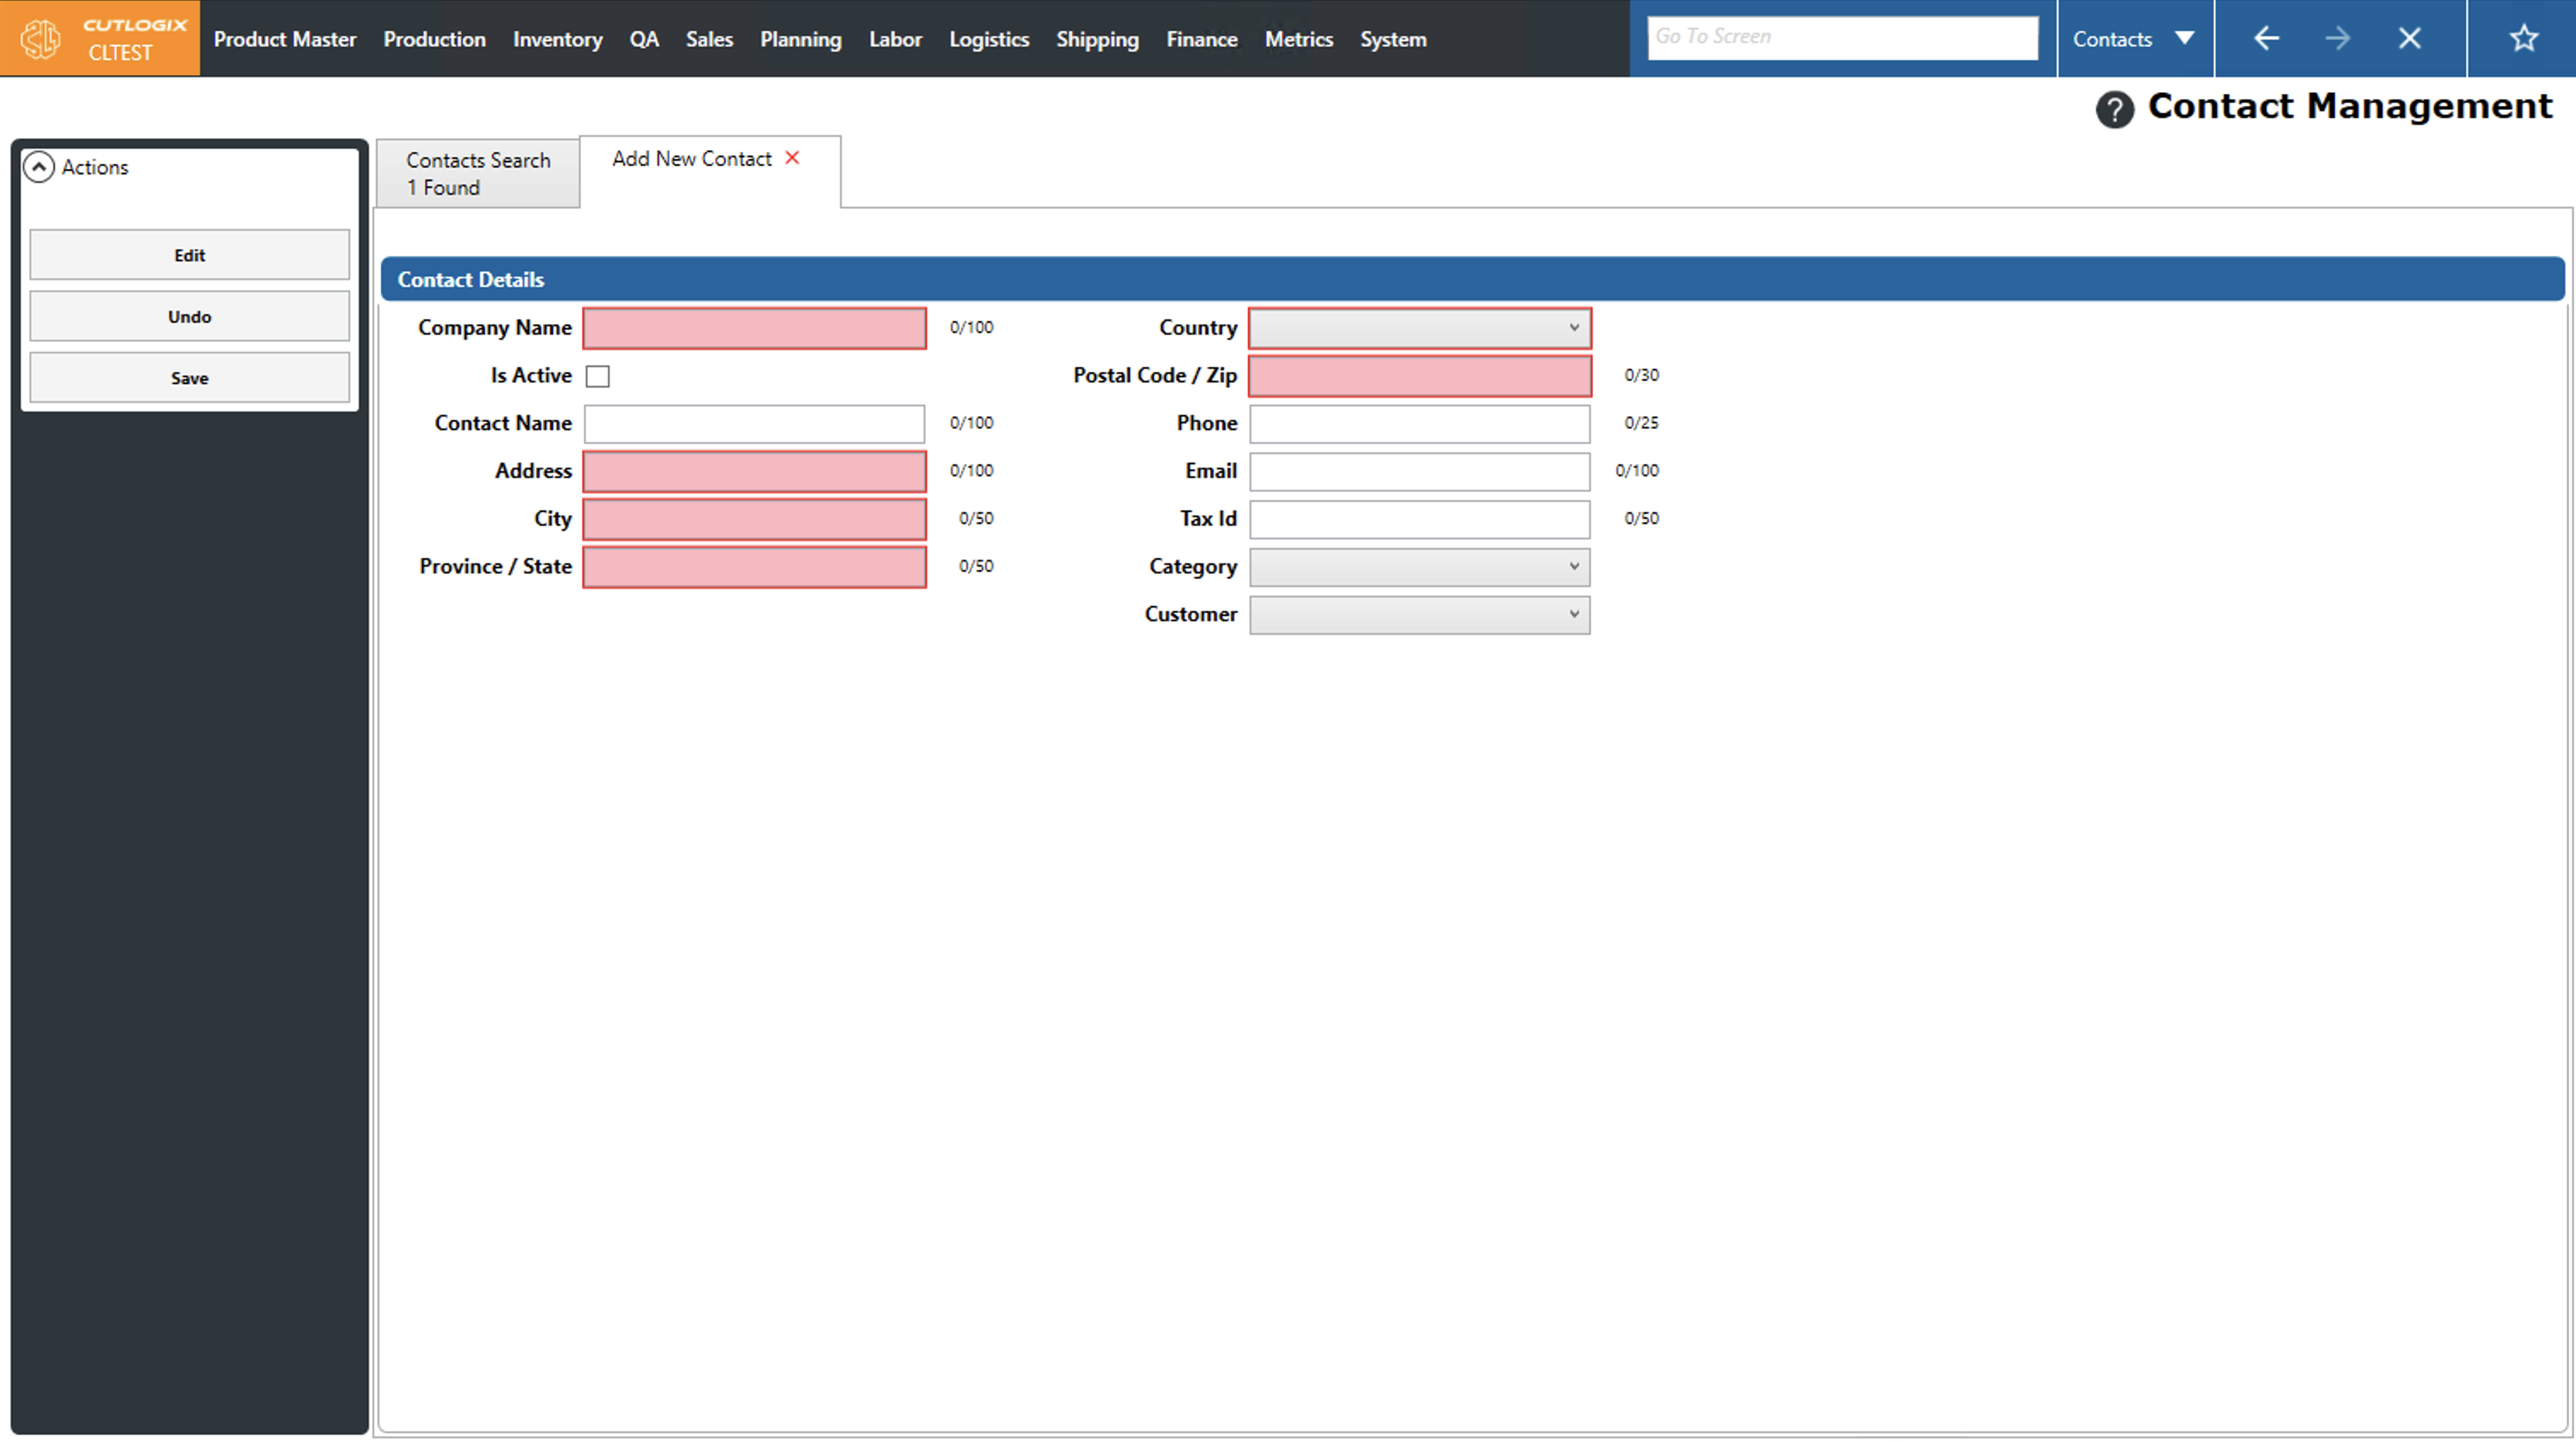
Step 4: After you've filled out all the required information and any optional information you want to add, click the "Save" button in the Actions panel to save the new contact.

How to Edit Contacts
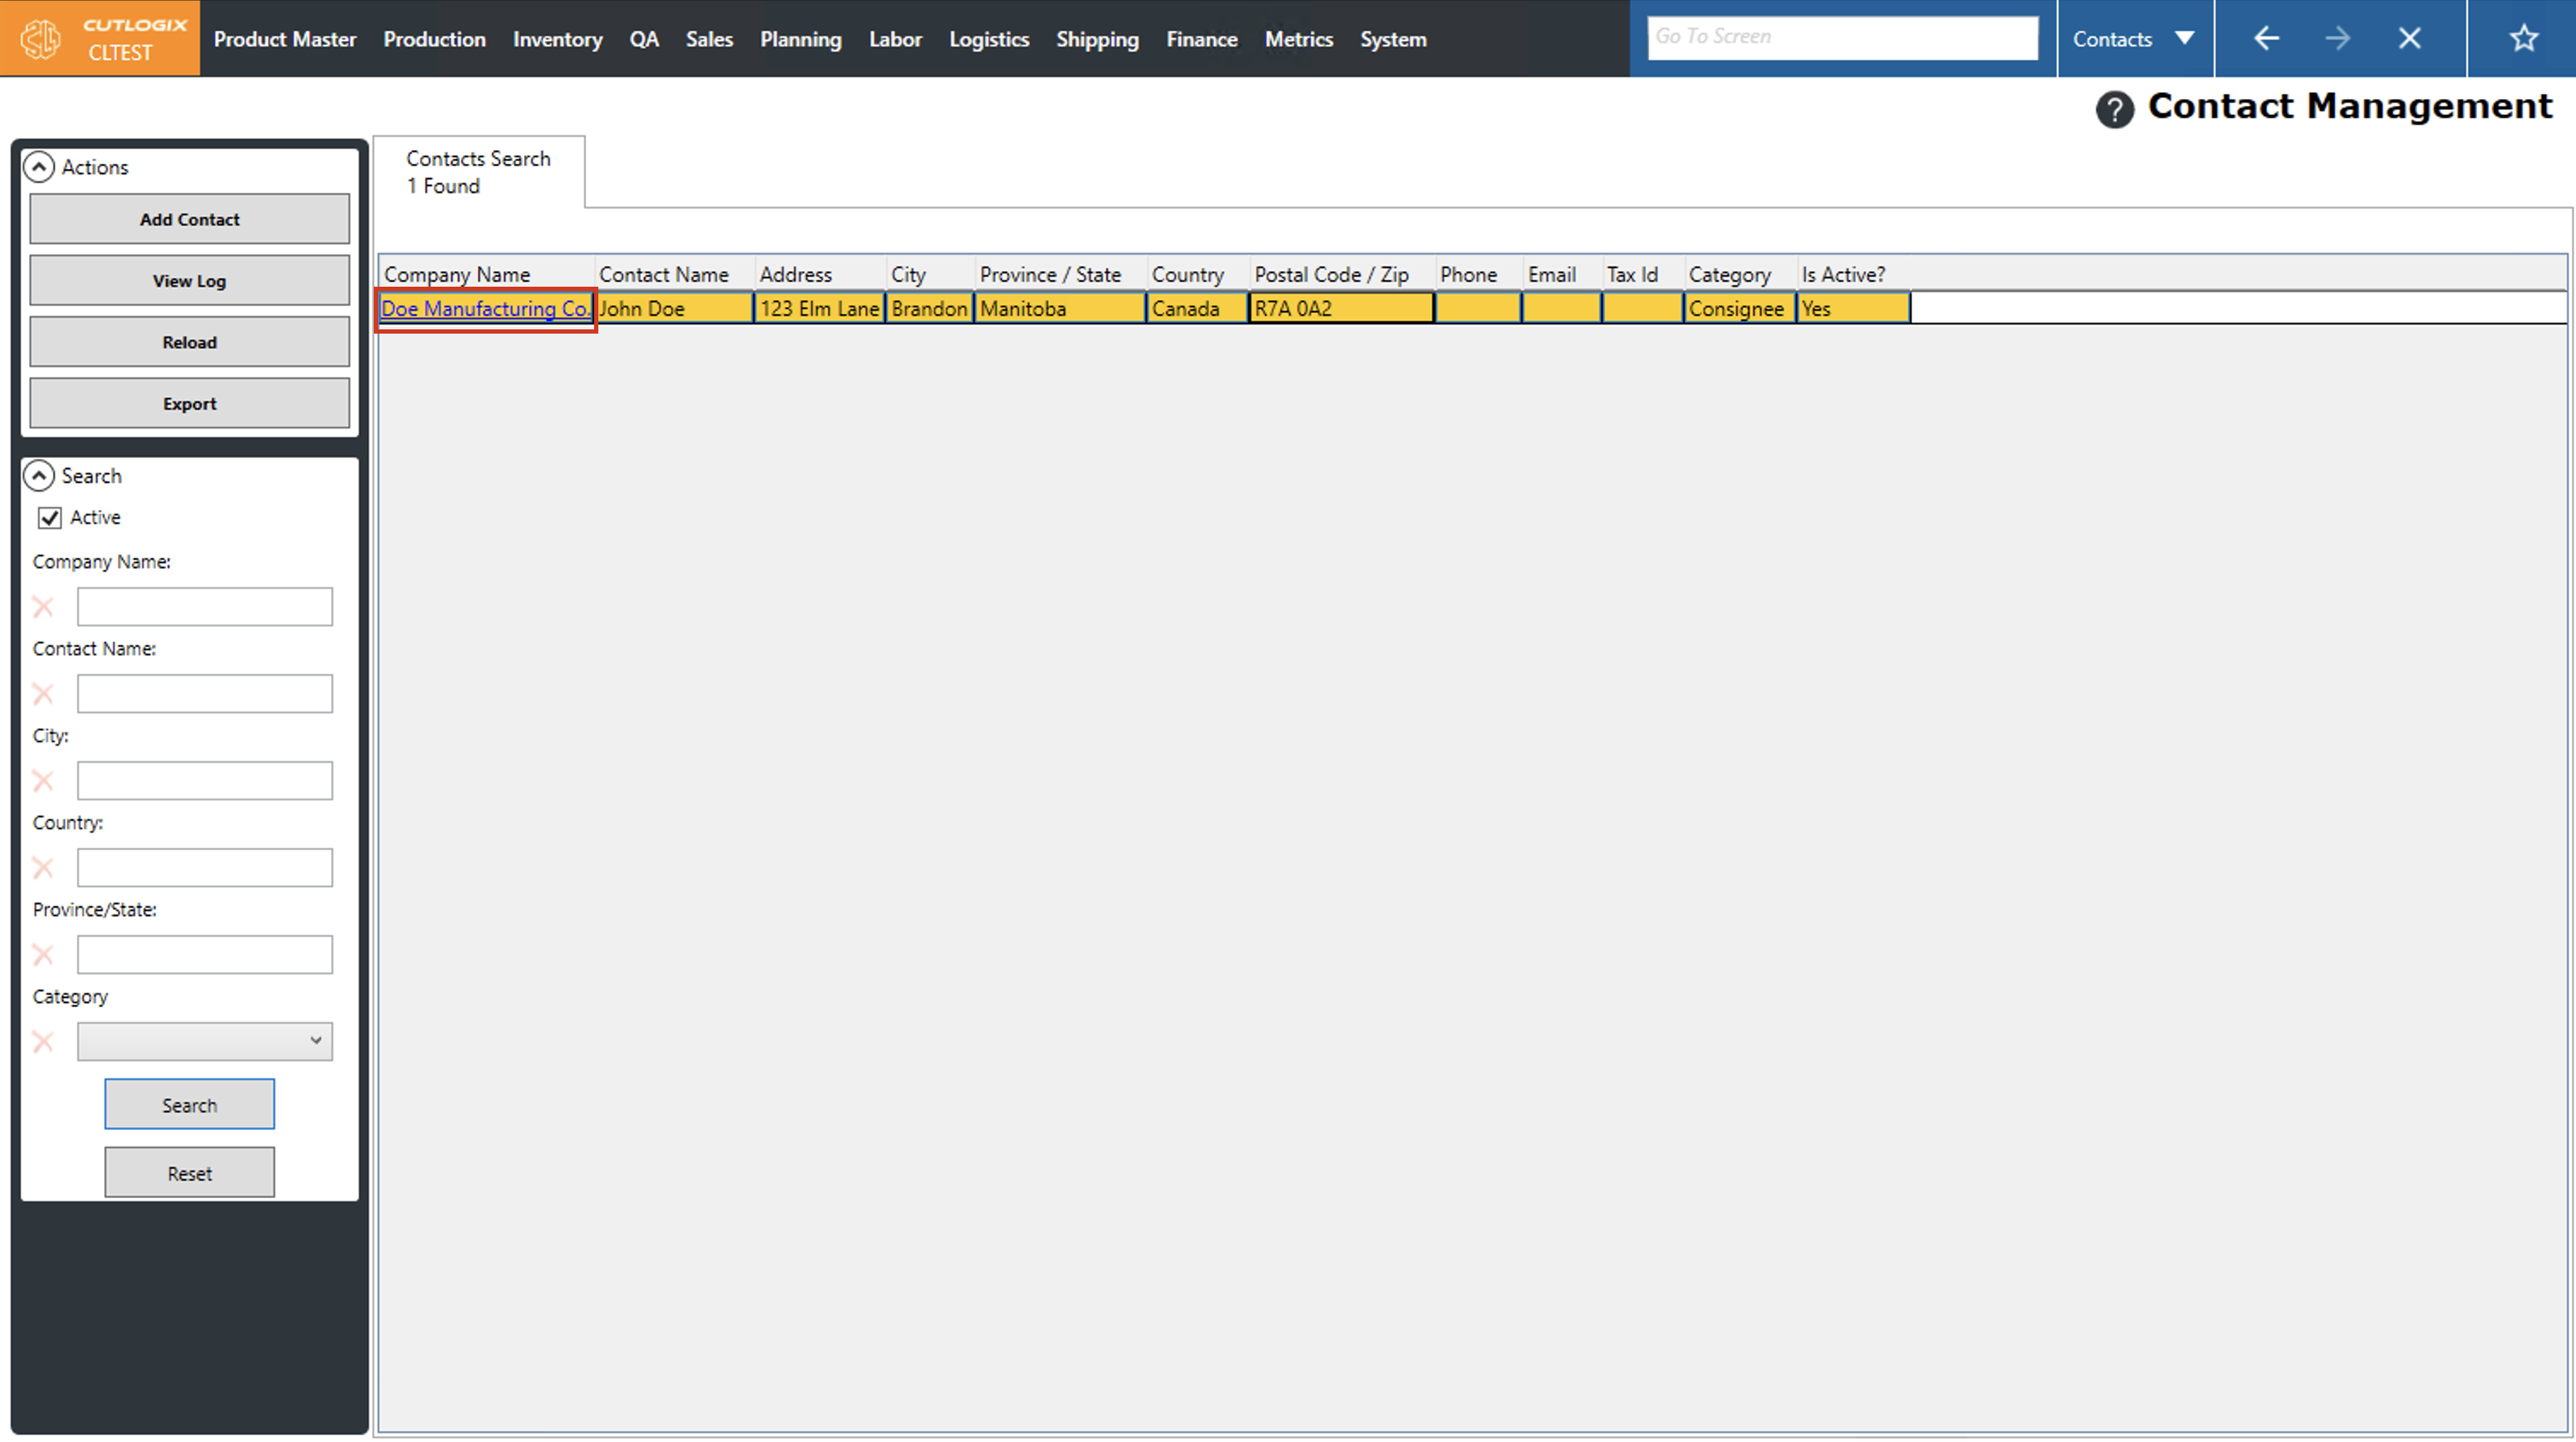
DemoStep 1: Navigate to the "Contacts" page. (Located under the "Sales" menu option)
Step 2: Locate the contact that you want to edit in the list, then click on their "Company Name". This will open the details page for the selected contact.
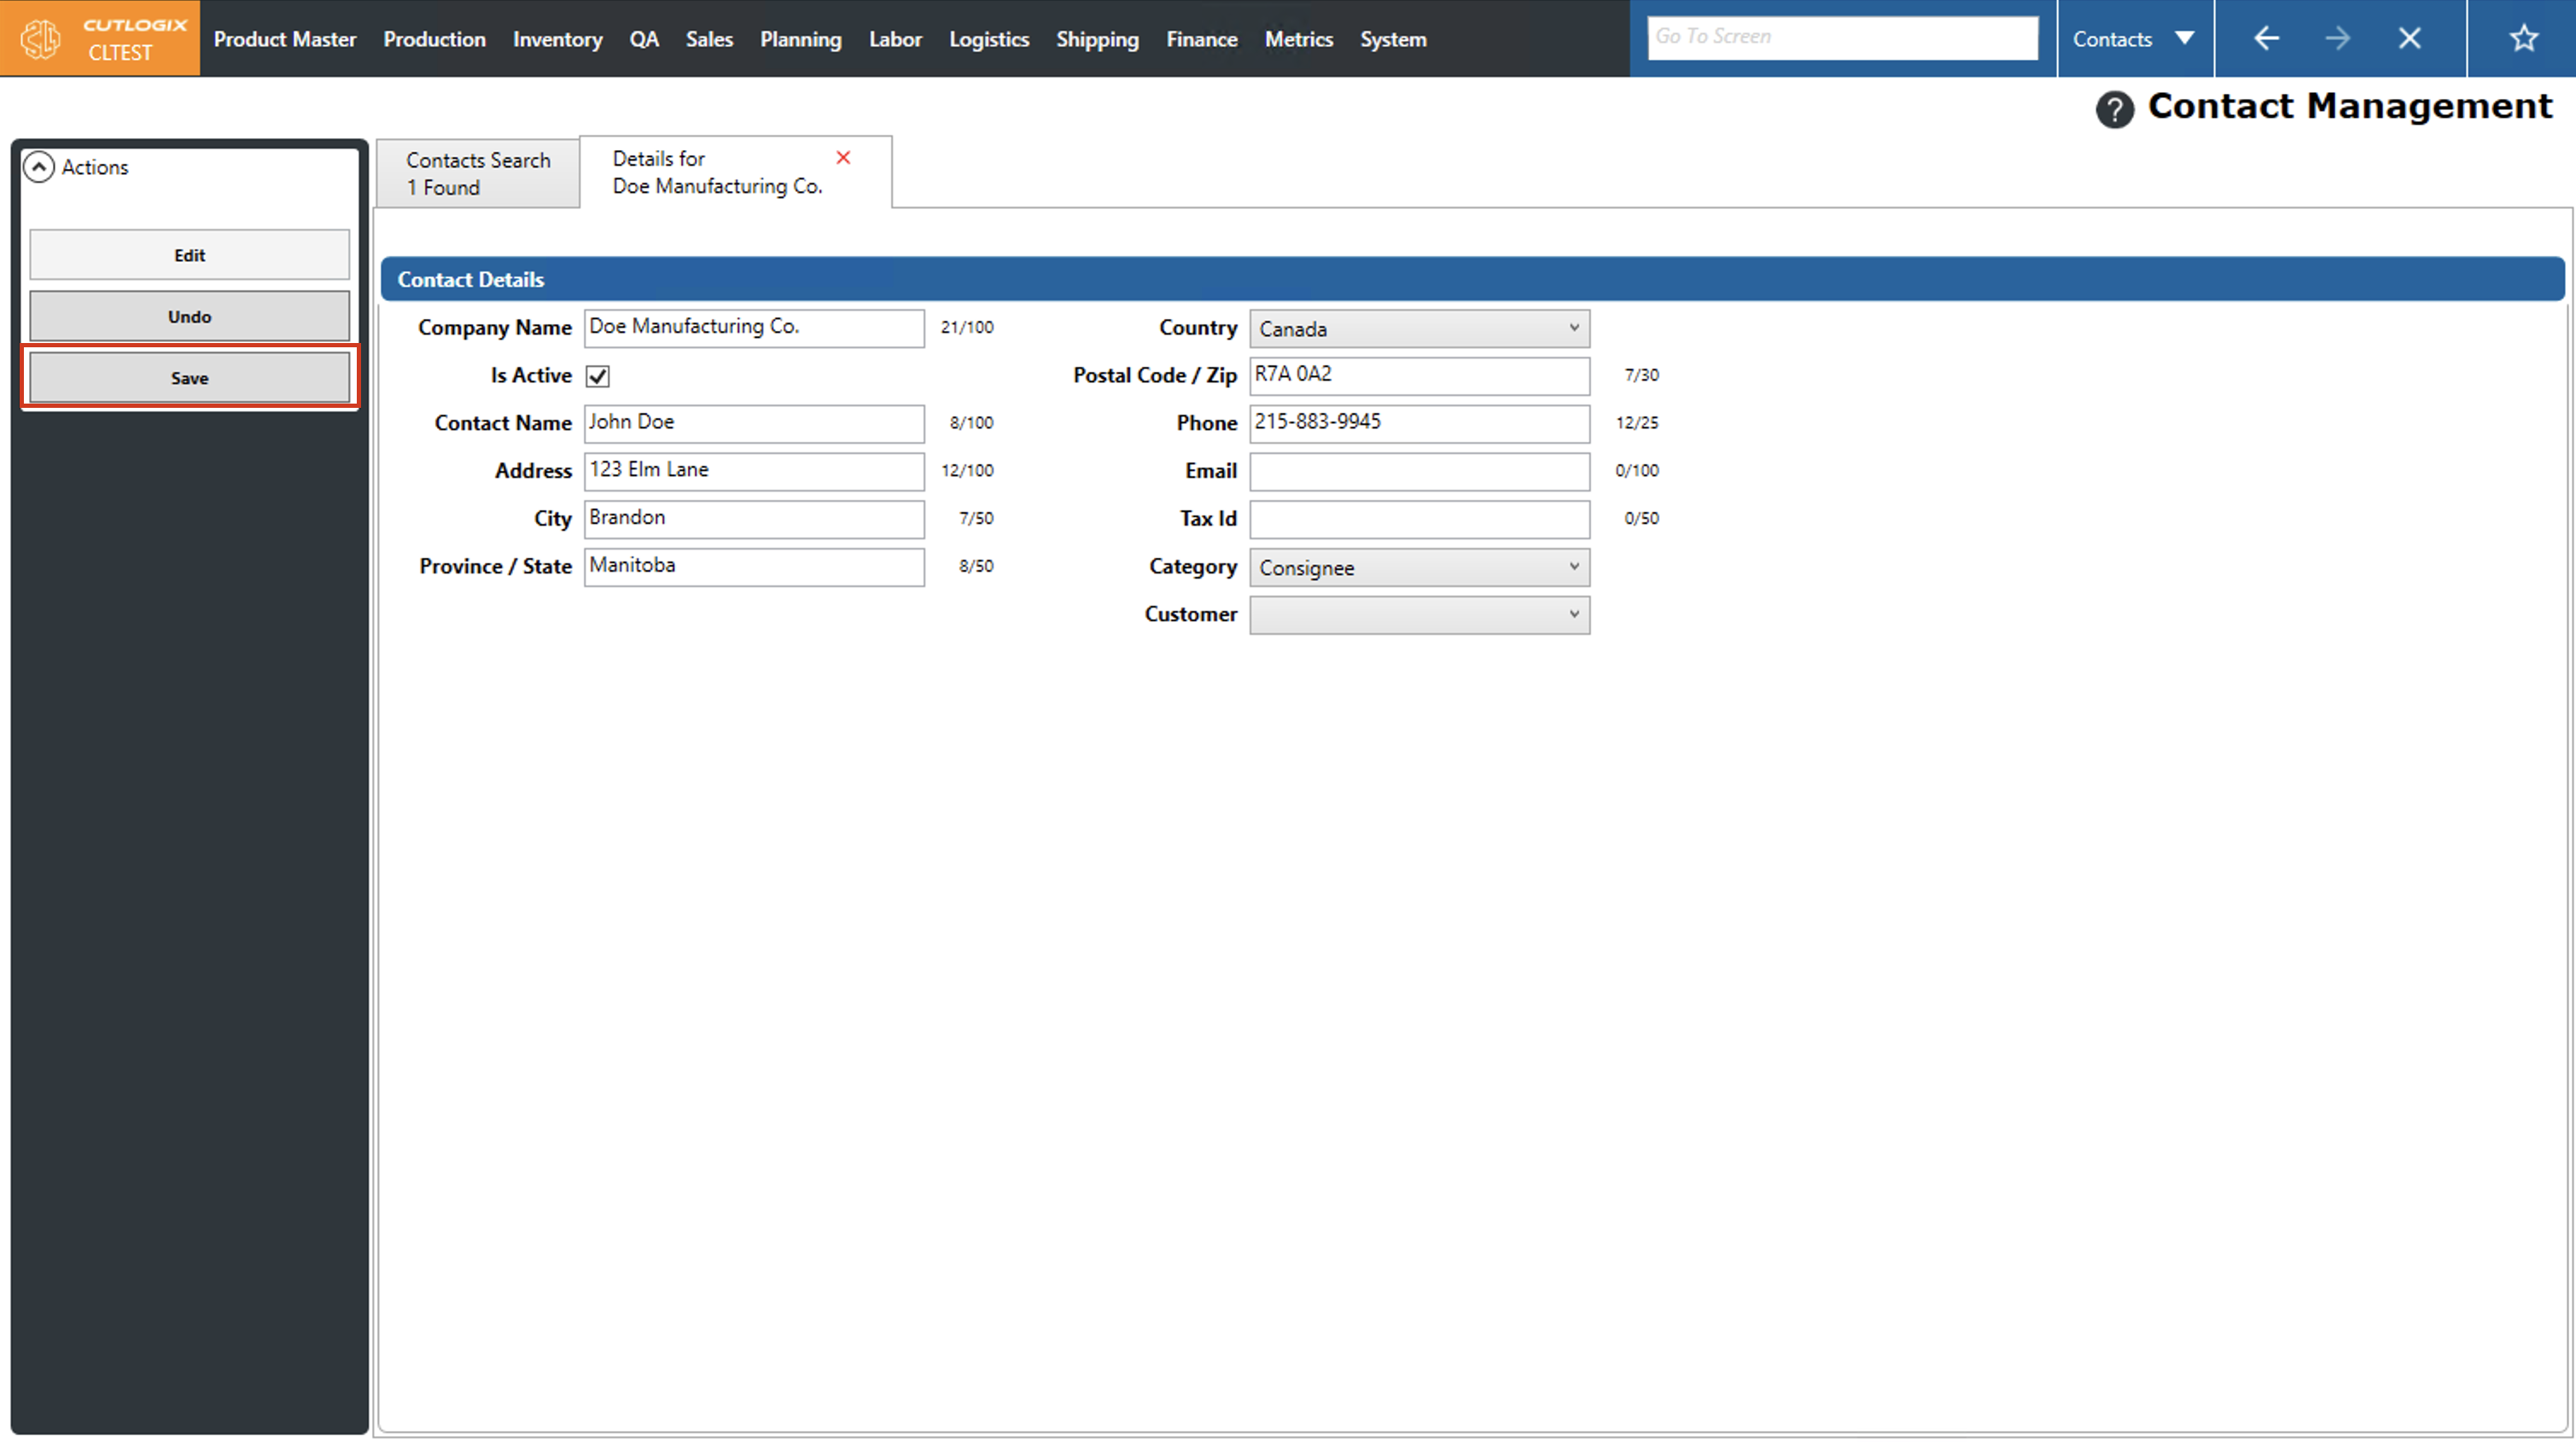
Step 3: Click "Edit" in the left actions panel to enable editing the contact.
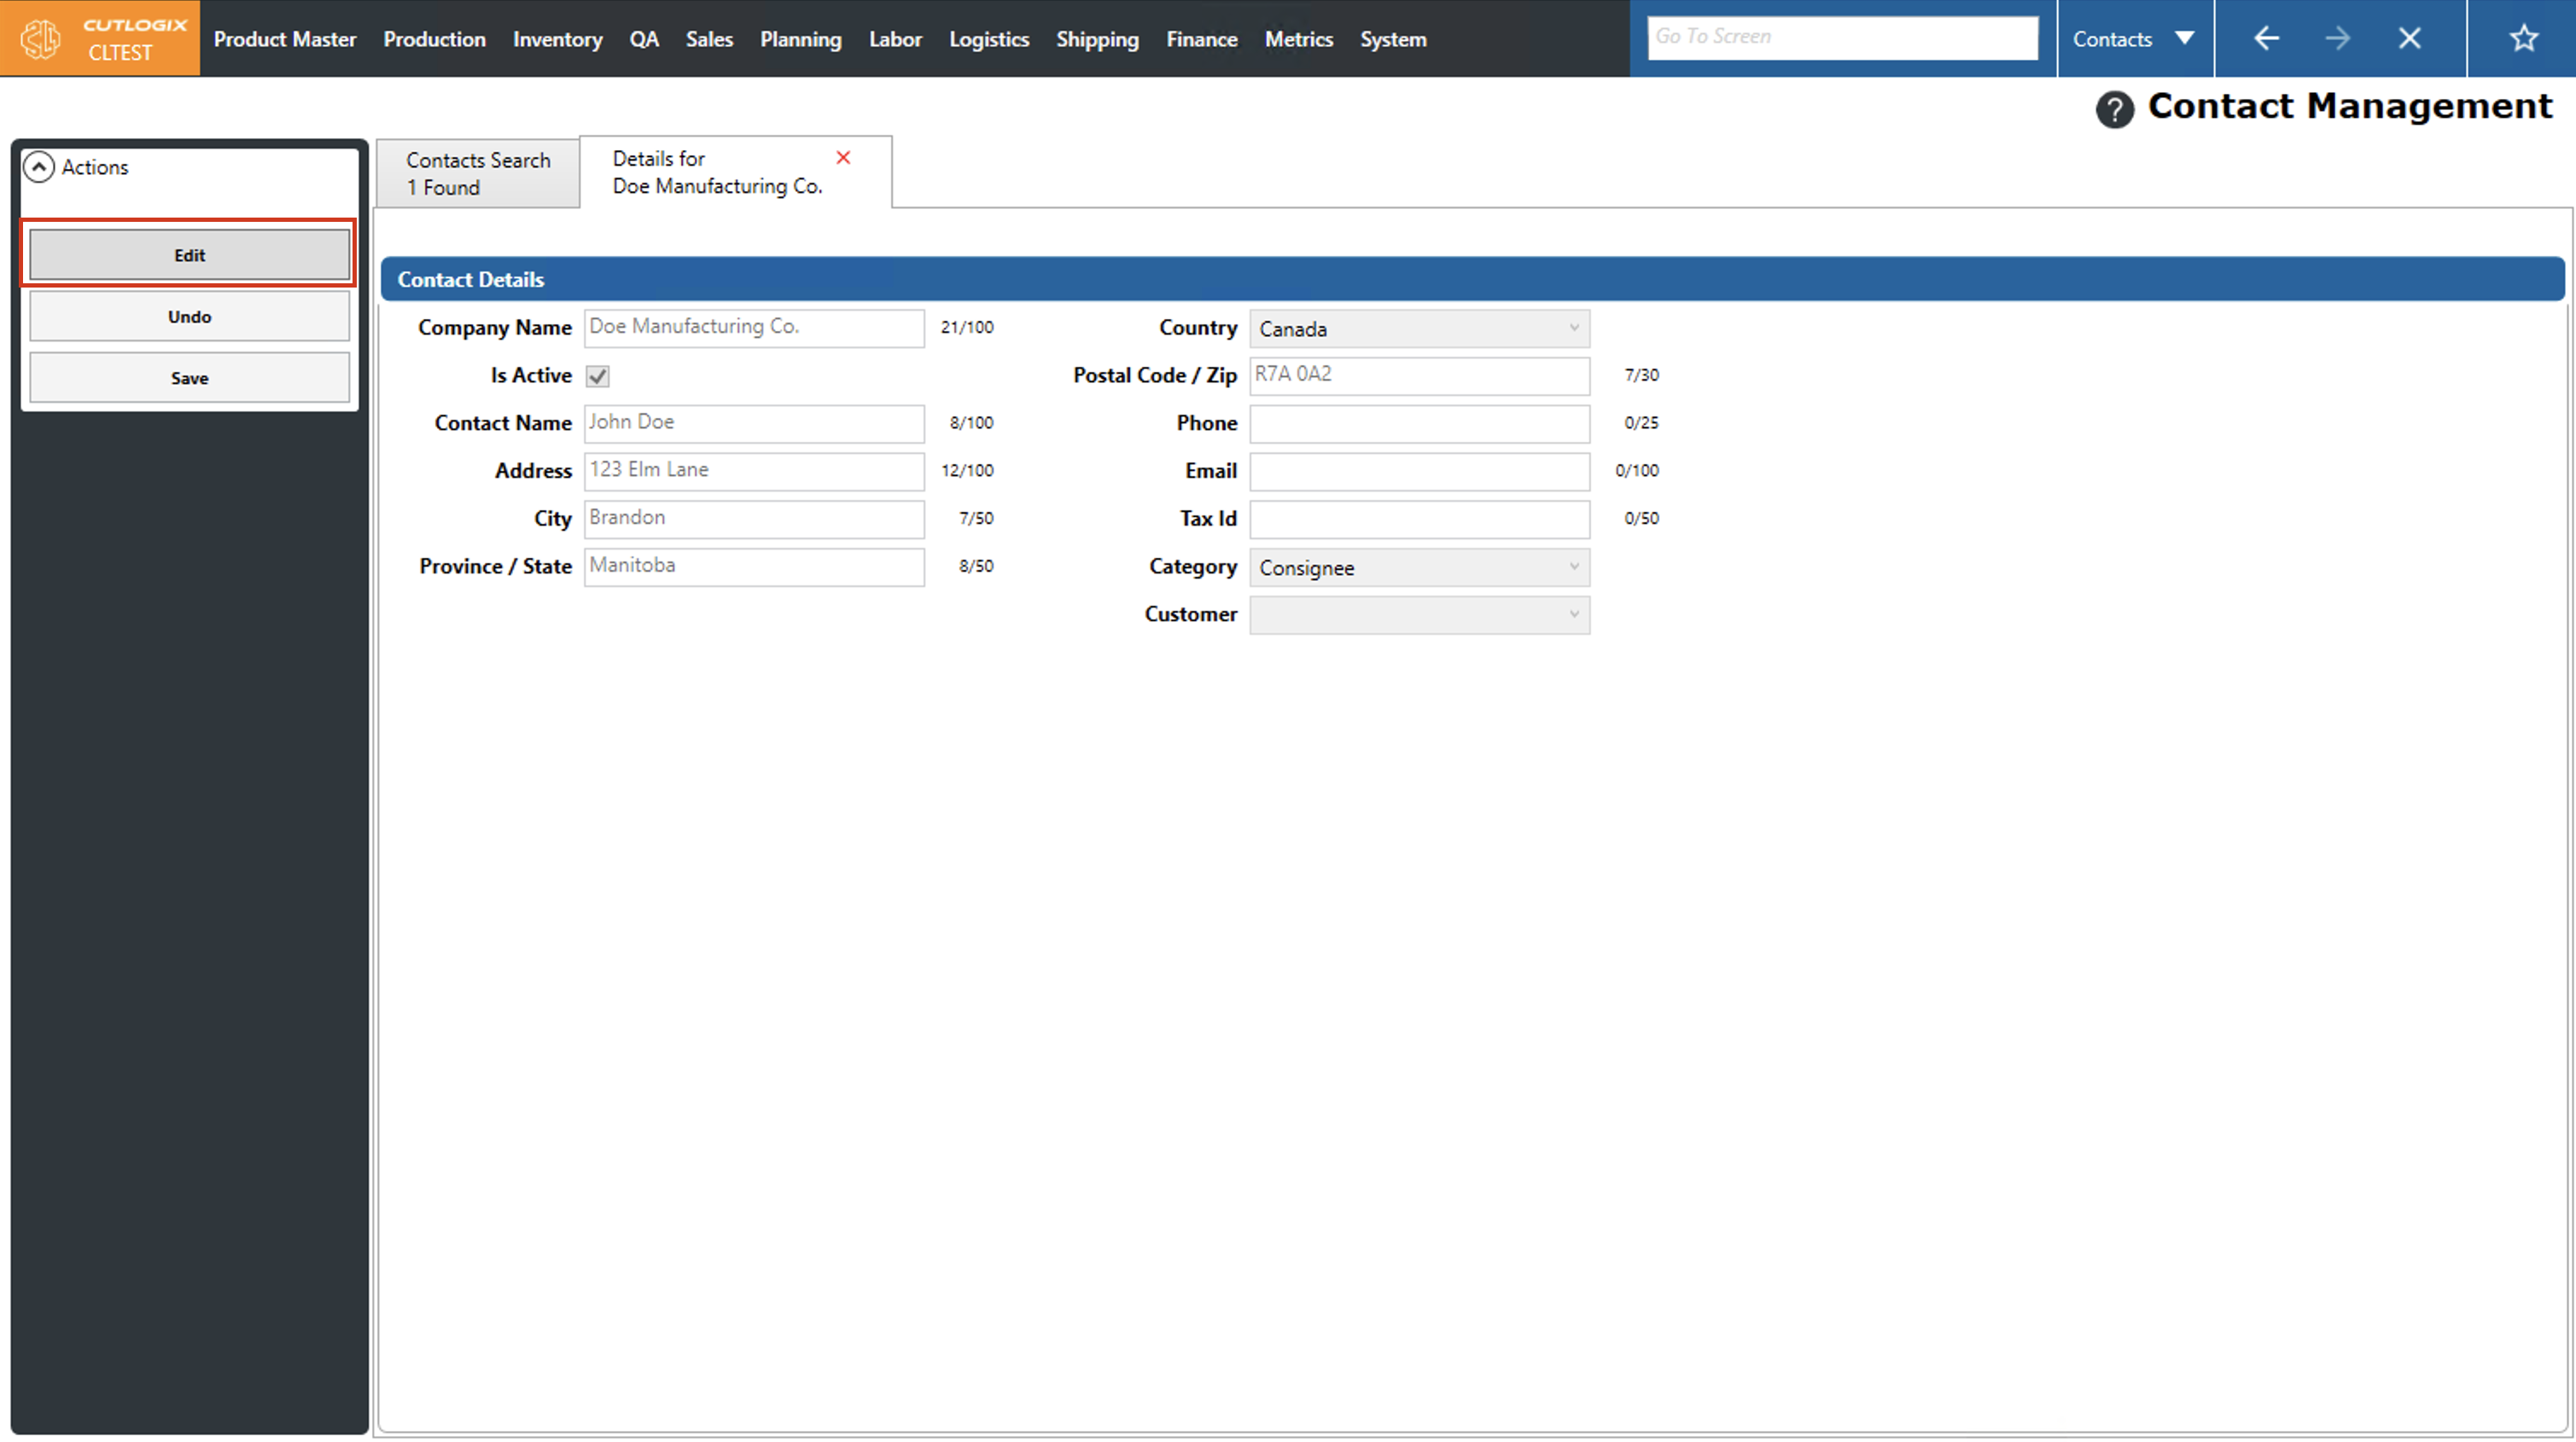
Step 4: Now you can make any necessary changes to the contact using the contact fields under the "Contact Details" title. Once you're done making changes, click "Save" in the left actions panel to save the changes. Note: If you've made changes that you don't want to save, you can click "Undo" in the left actions panel, and will revert any changes that you have made to the contact.