Certificate Tasks
How to Add Certificates
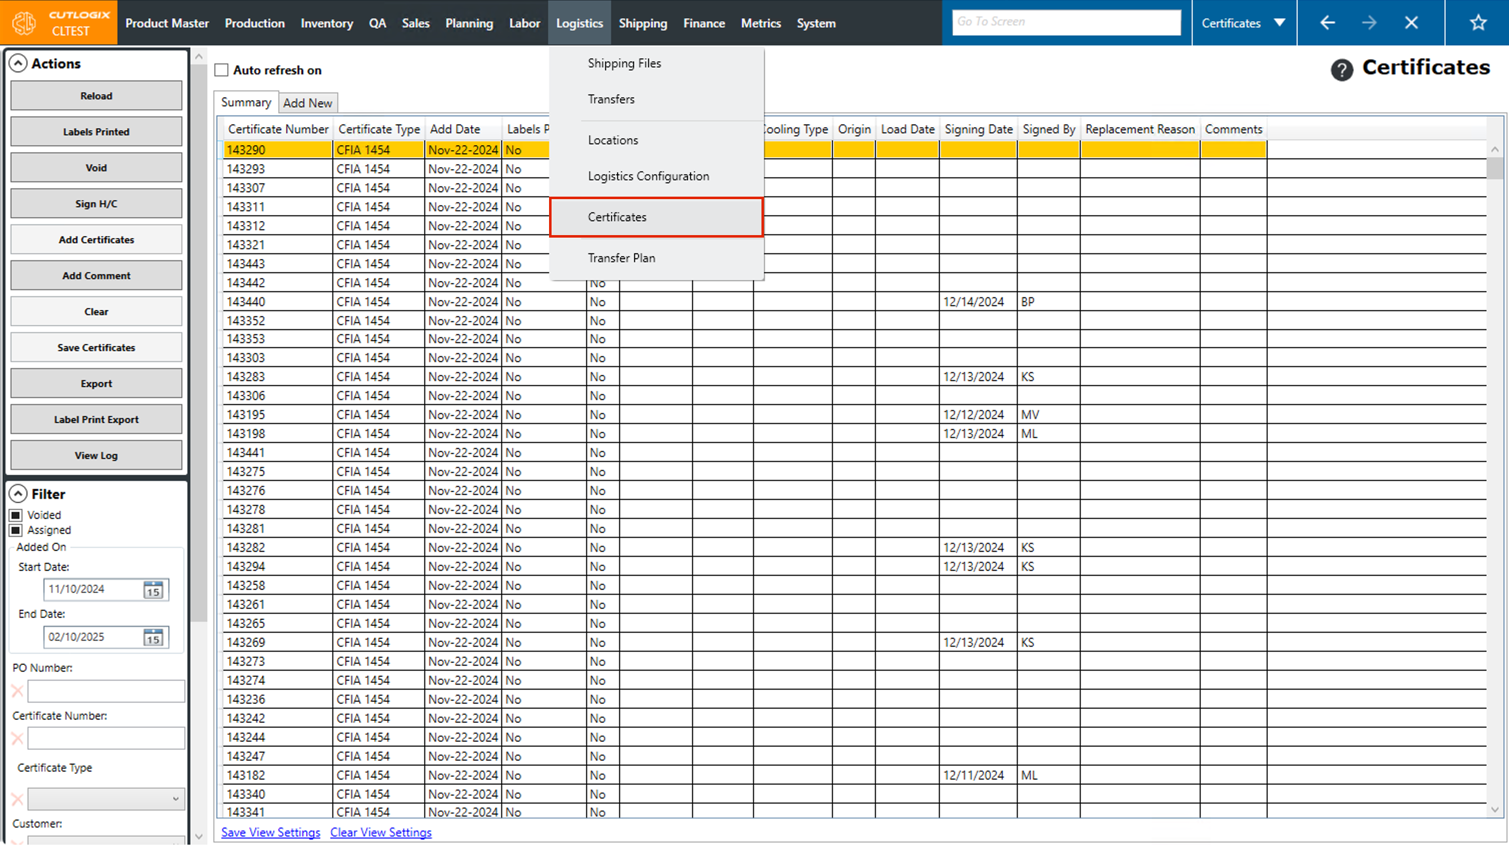
DemoStep 1: Navigate to the "Certificates" page (Under the Logistics menu → Certificates).
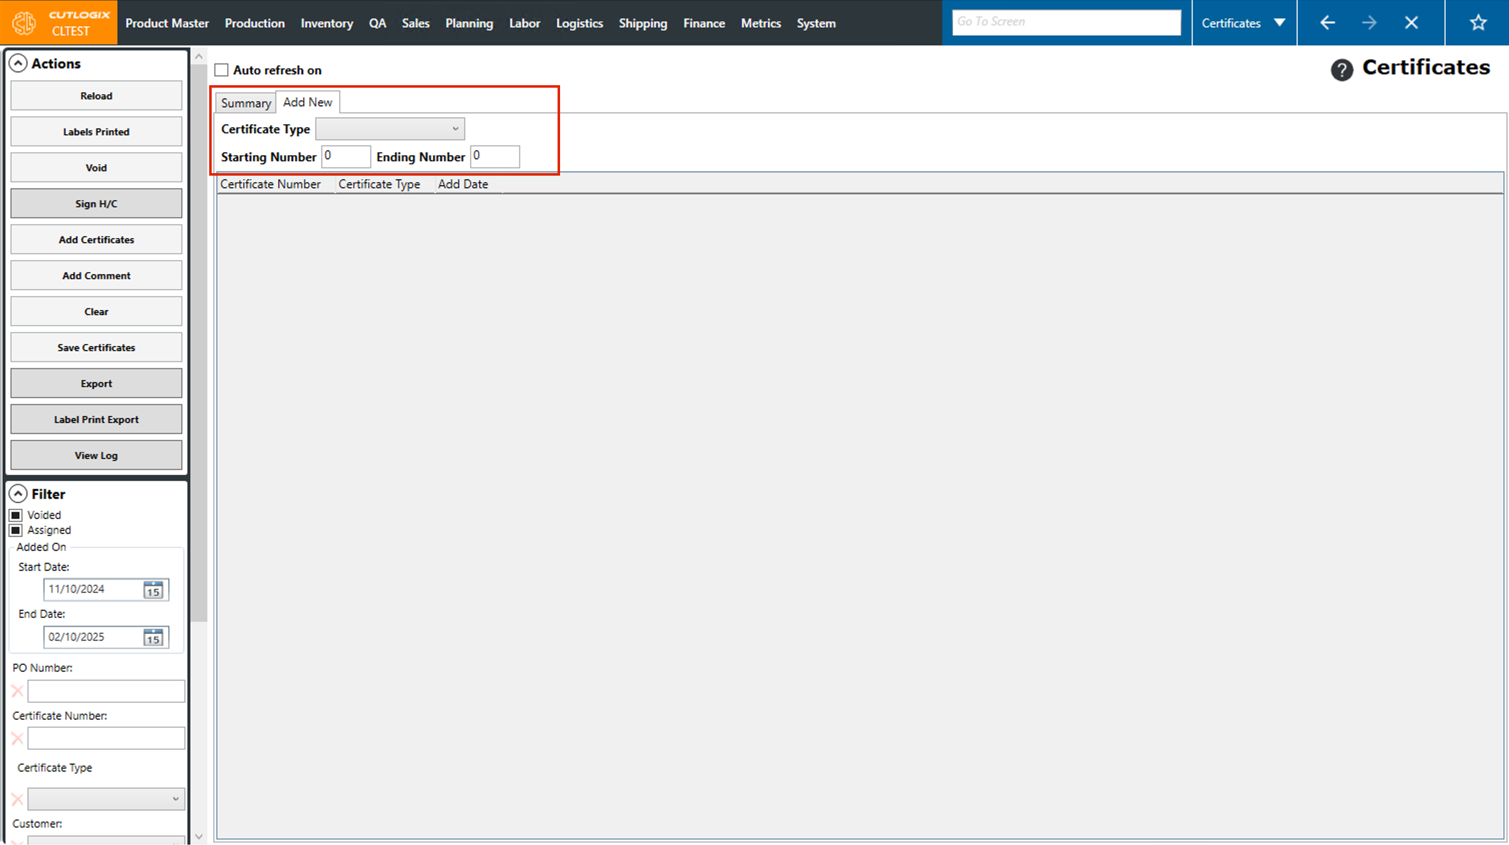
Step 2: Click the "Add New" tab near the top of the page.

Step 3: This tab is where you can enter the information about the certificates you're adding. You'll need to enter the following information:
• Certificate Type: Choose the type of certificate from the dropdown list.
• Starting Number: Enter the starting number of the certificates that you're adding.
• Ending Number: Enter the ending number of the certificates that you're adding.
• Certificate Type: Choose the type of certificate from the dropdown list.
• Starting Number: Enter the starting number of the certificates that you're adding.
• Ending Number: Enter the ending number of the certificates that you're adding.
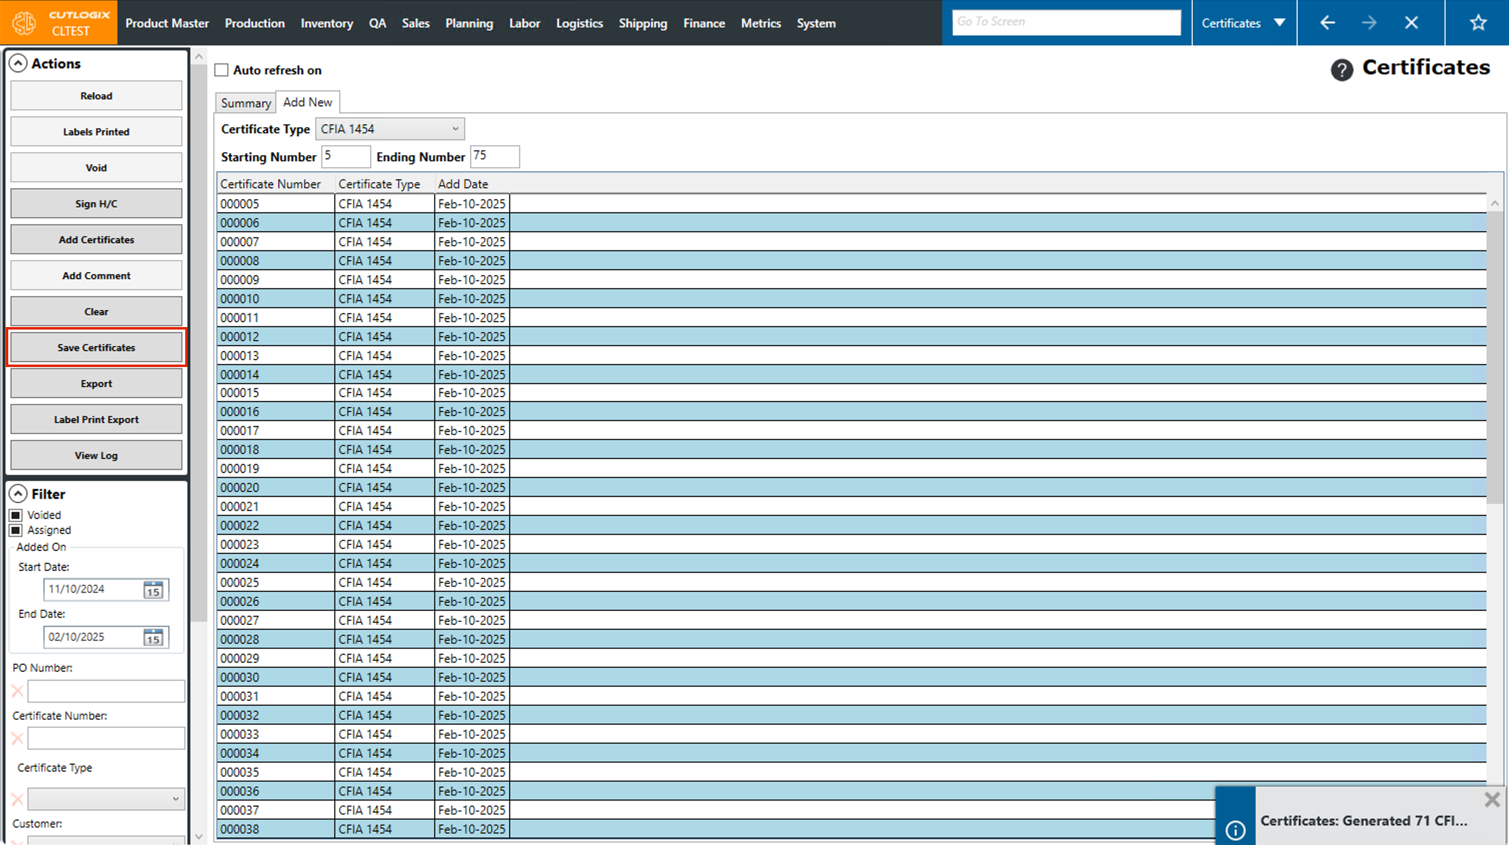
Step 4: Once the certificate type and start/end numbers have been filled out, click the "Add Certificates" button in the Actions Panel. the certificates to be added will appear on the screen.
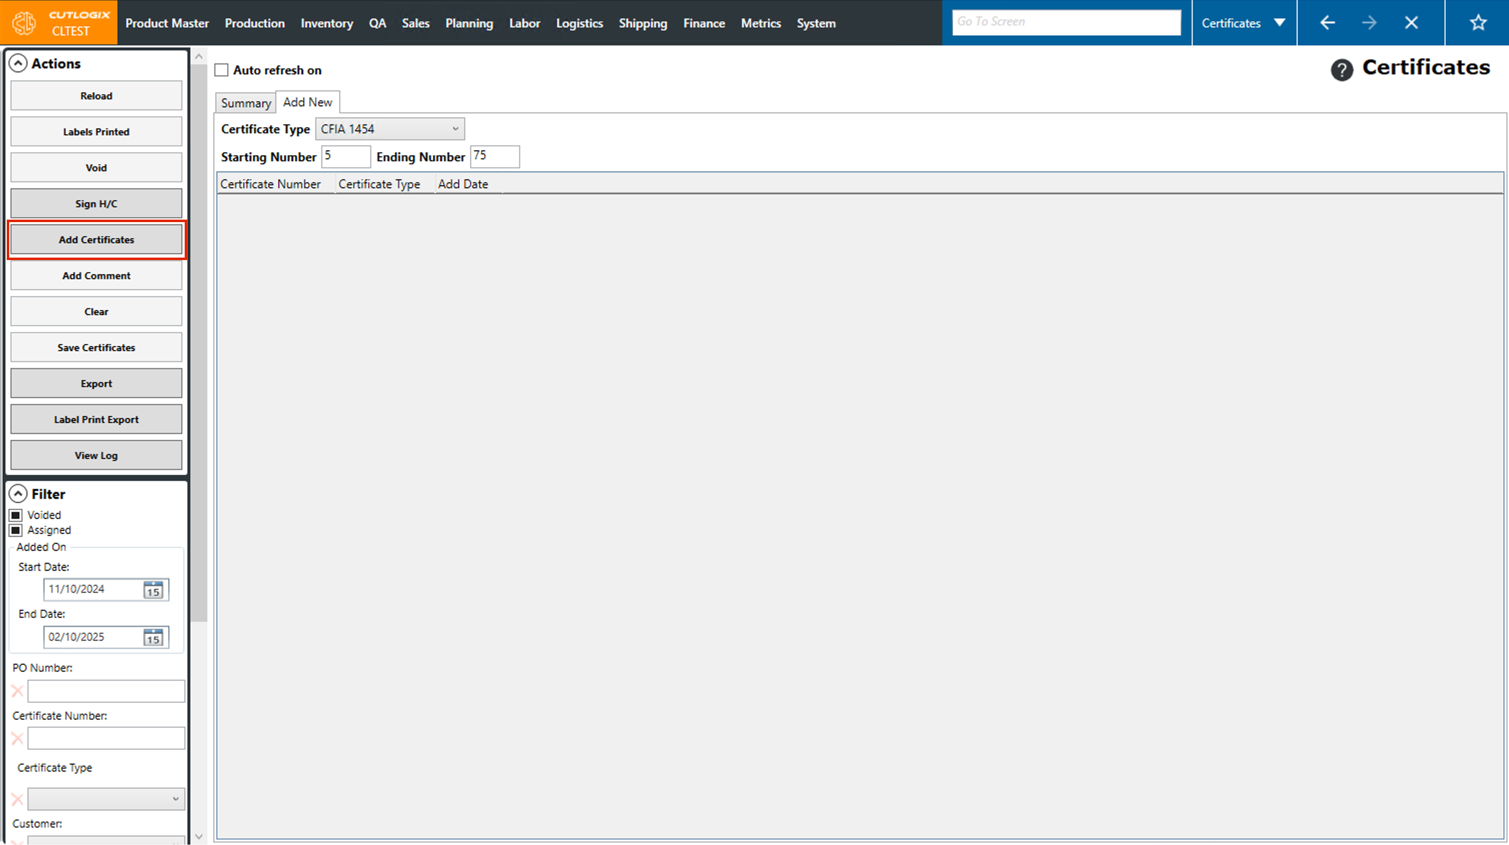
Step 5: Click "Save Certificates" to save the certificates, if you don't want to save them, click "Clear". Once saved, they will appear in the Summary tab.
How to Update Certificates
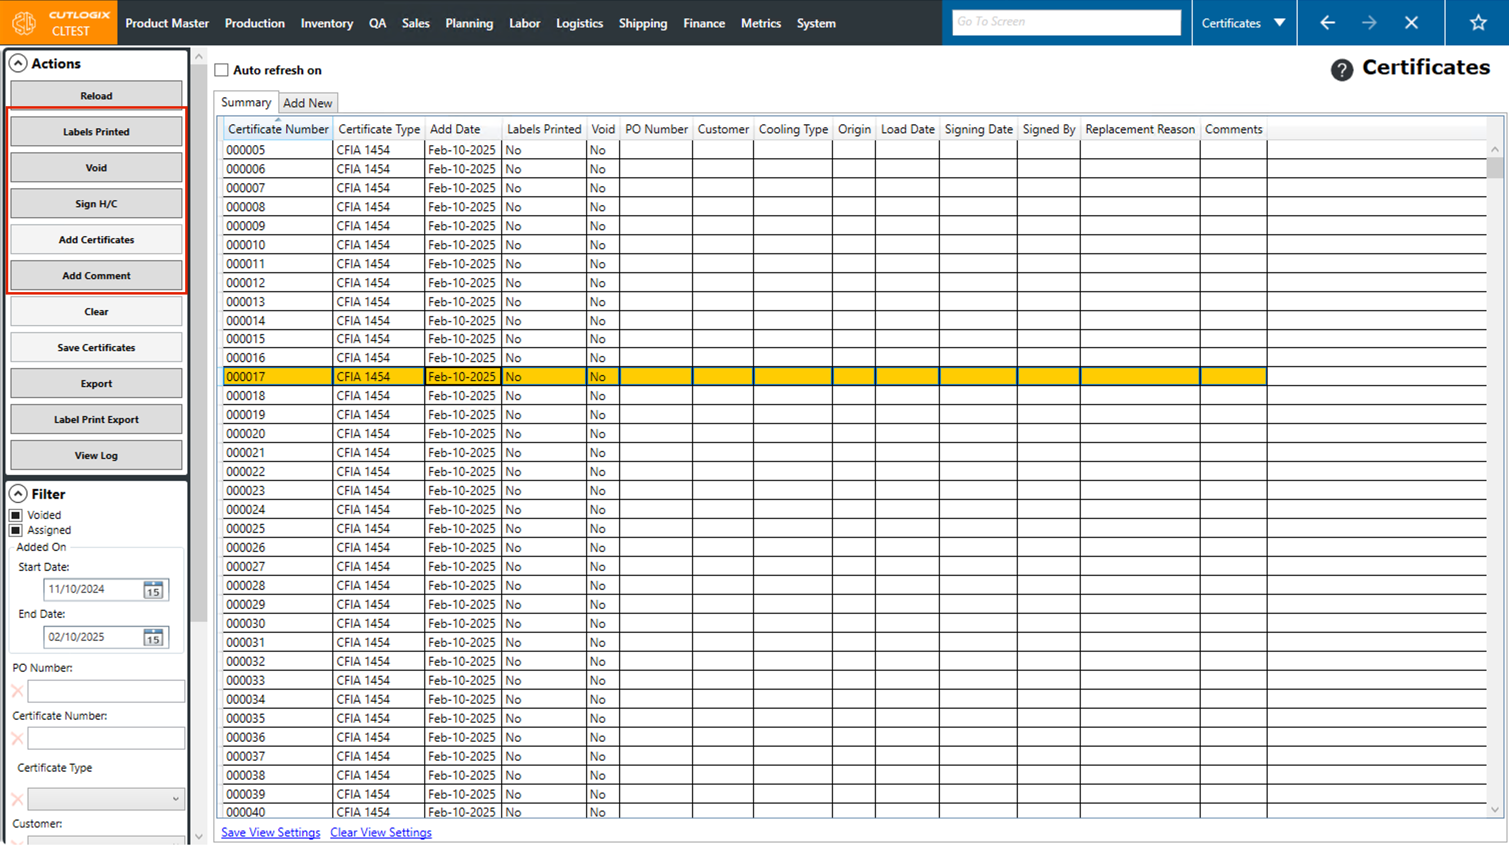
DemoStep 1: Navigate to the "Certificates" page (Under the Logistics menu → Certificates), then click on the certificate that you want to update (it will be highlighted in orange once it's selected).
Step 2: There are several actions in the Actions Panel that you can use to update certificates that are selected. They are as follows:
• Labels Printed: This marks the certificate as having labels printed for it. You'll notice the "Labels Printed" column will show "Yes" once this is set.
• Void: This voids the selected certificate. Once voided the certificate will be highlighted in pink in the list of certificates. Certificates can be un-voided by clicking on them, then clicking "Revert Void" in the Actions Panel.
• Sign H/C: This marks the certificate as being digitally signed and records the signing date as well as the person it was signed by.
• Add Comment: This enables you to add a comment to the currently selected certificate.
Changes are applied as they are made, there's no need to click a save button after the above actions.