Freezing Time Constraints Tasks
How to Add Freezing Time Constraints
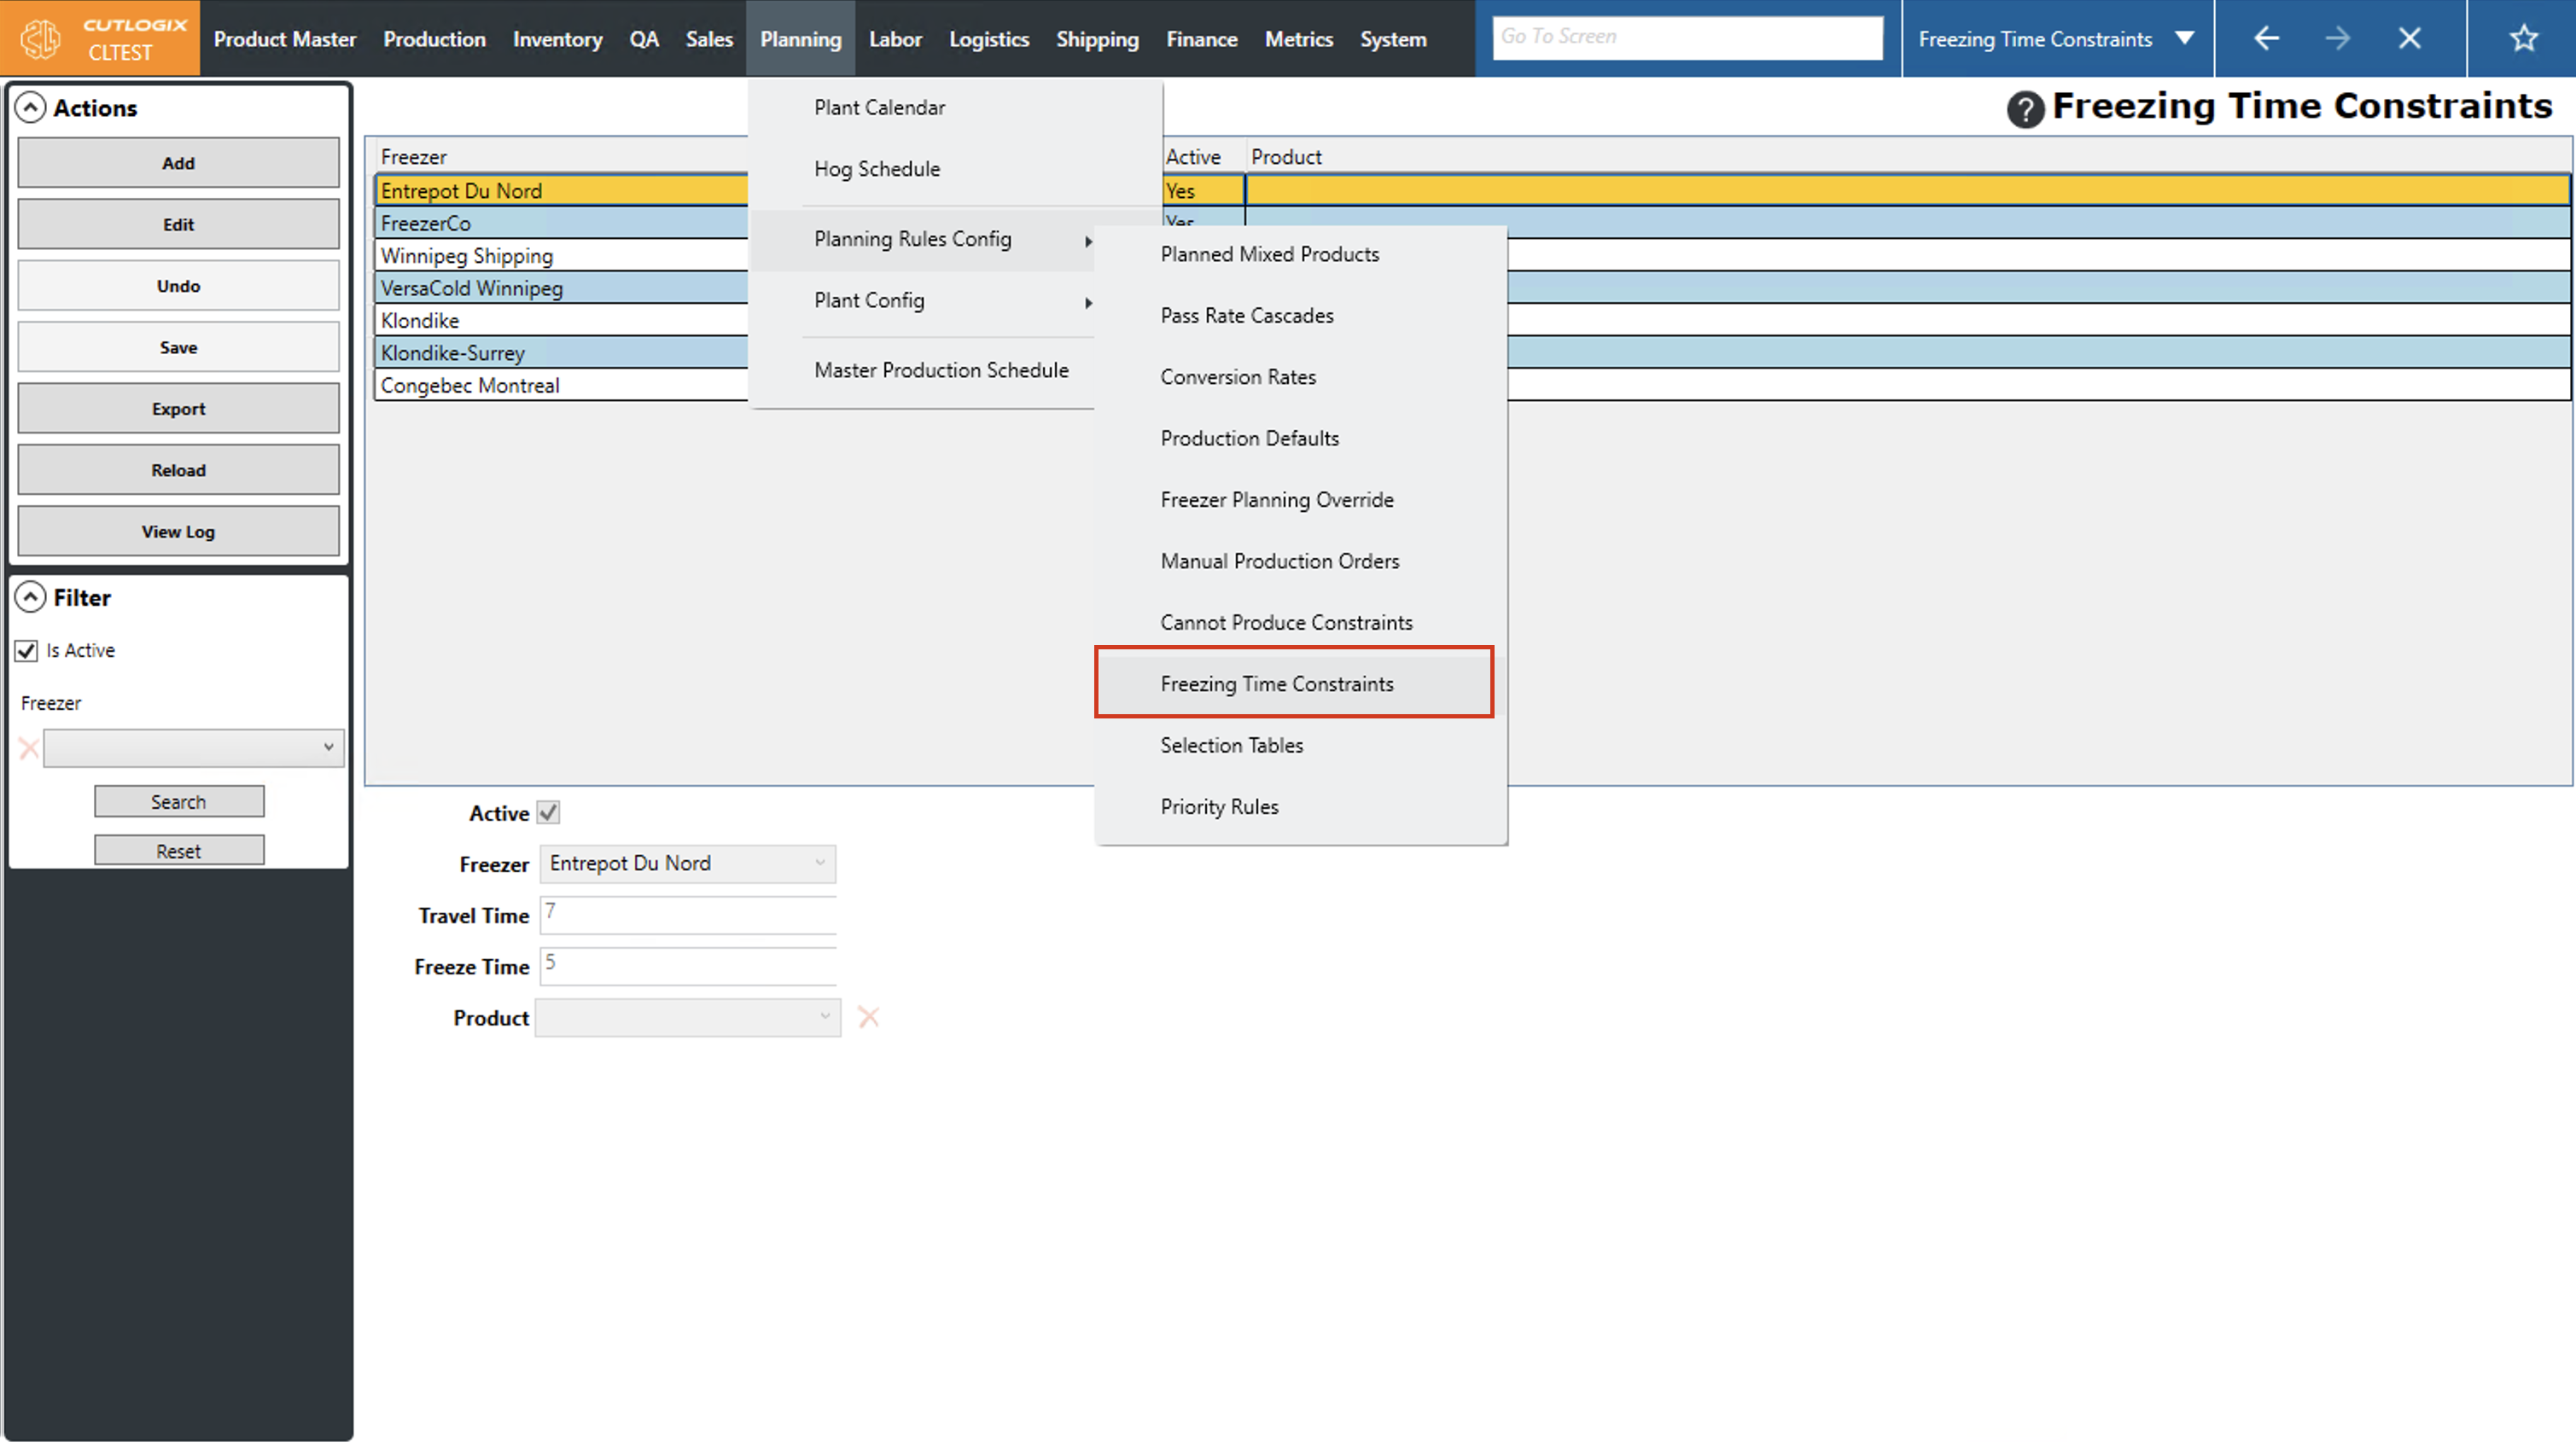
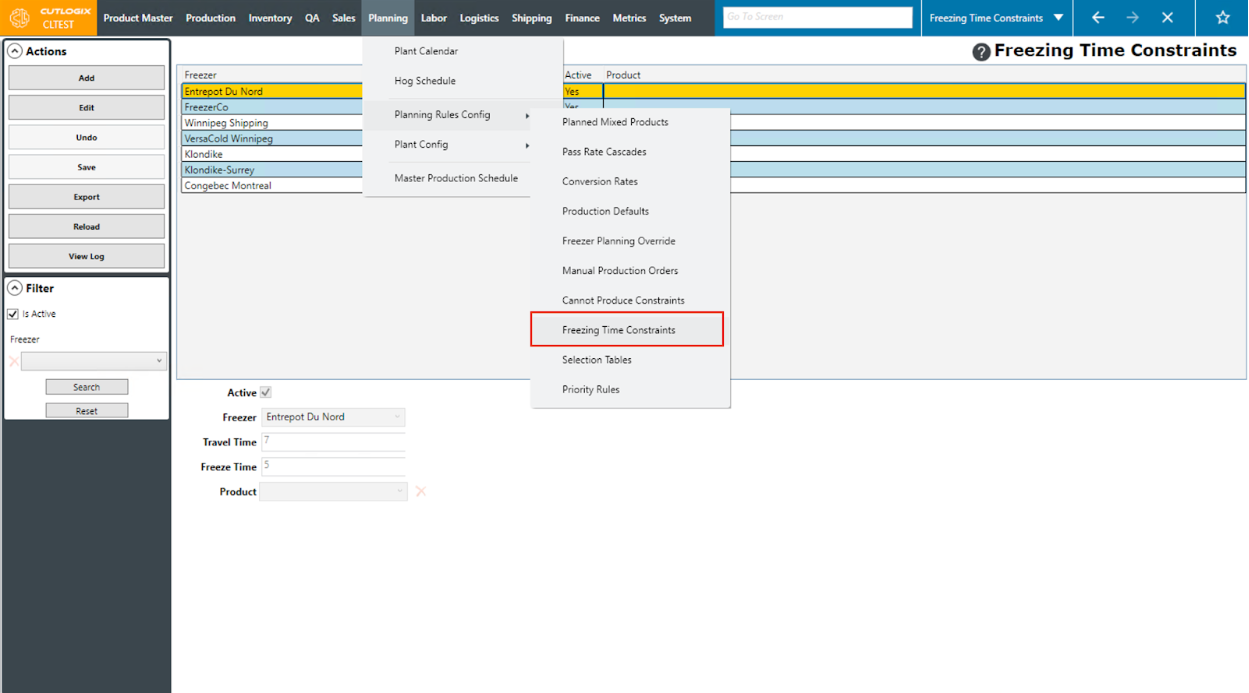
DemoStep 1: Navigate to the "Freezing Time Constraints" page (Under the Planning menu → Planning Rules Config → Freezing Time Constraints).
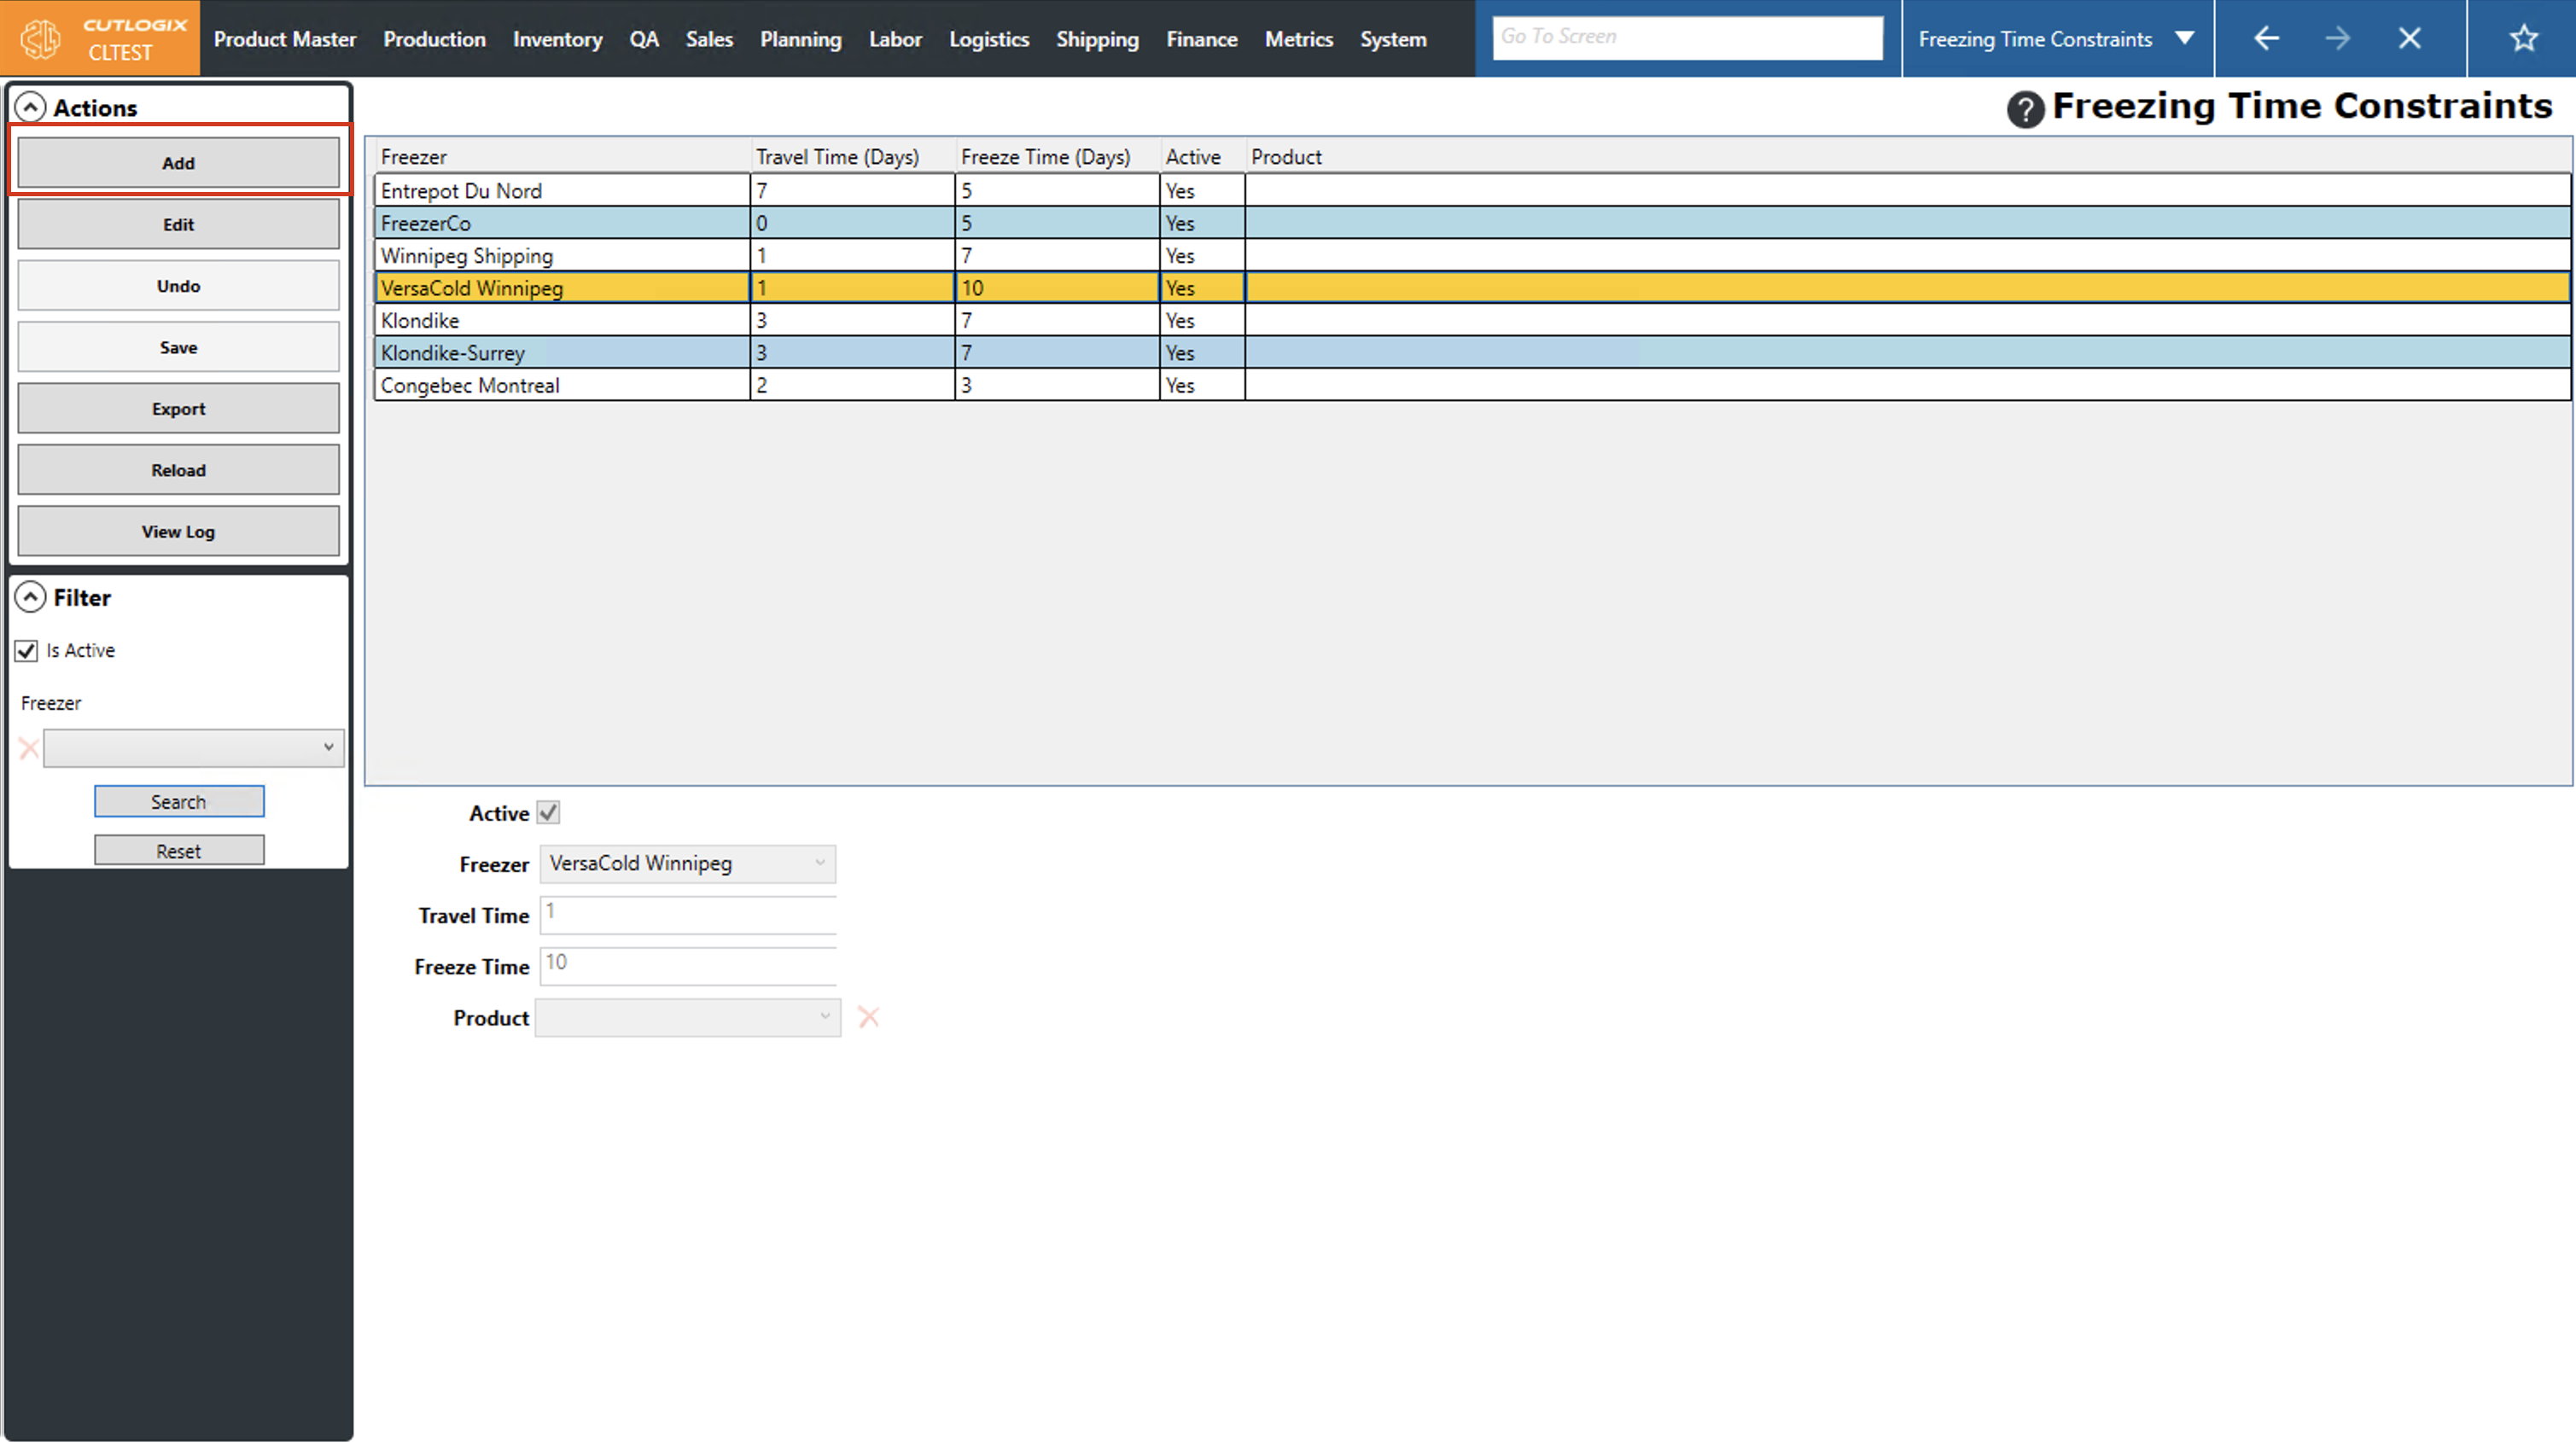
Step 2: Click on the "Add" button in the Actions Panel.
Step 3: Several fields will appear near the bottom of the screen for you to enter the details for the freezing time constraint. The fields that are highlighted in red are required and must be entered before the override can be saved. The only required field is the freezer that you're setting the travel & freeze time for.
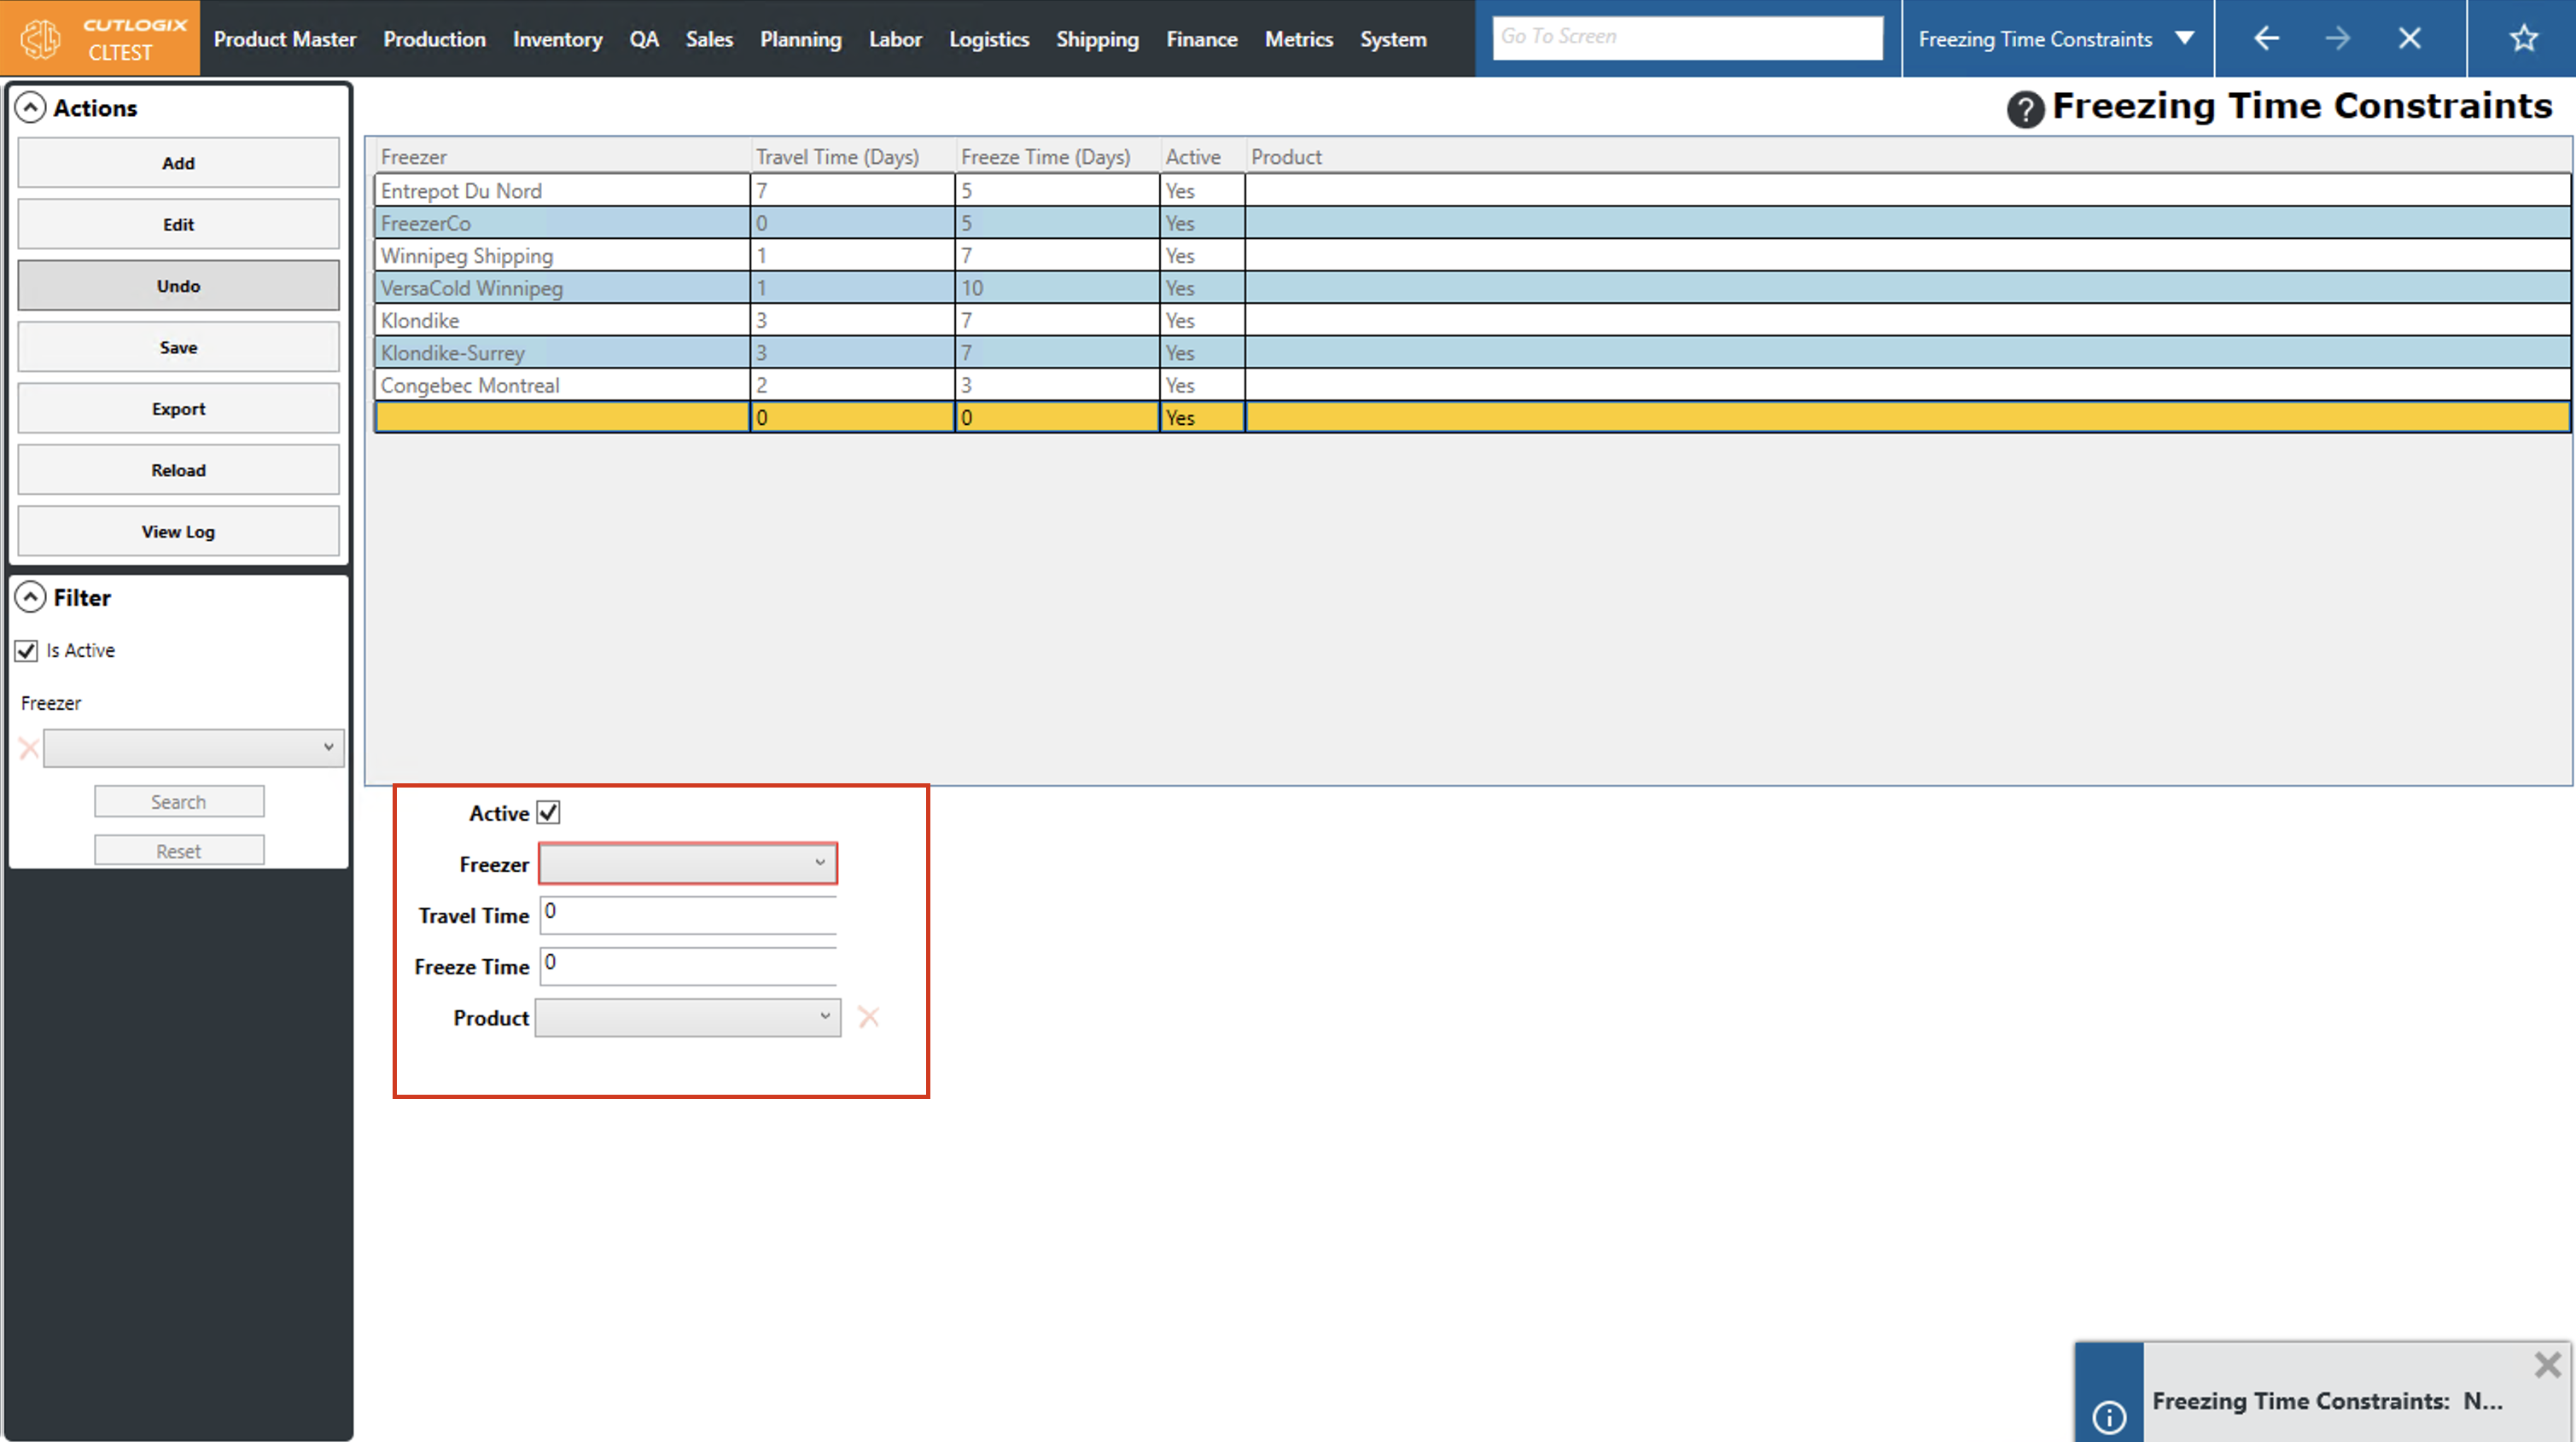
Step 4: Once you've entered all the details for the freezing time constraint, click "Save" in the Actions Panel to save the new constraint. If you don't want to save it, clicking "Undo" will discard your changes.
How to Export the Freezing Time Constraints List
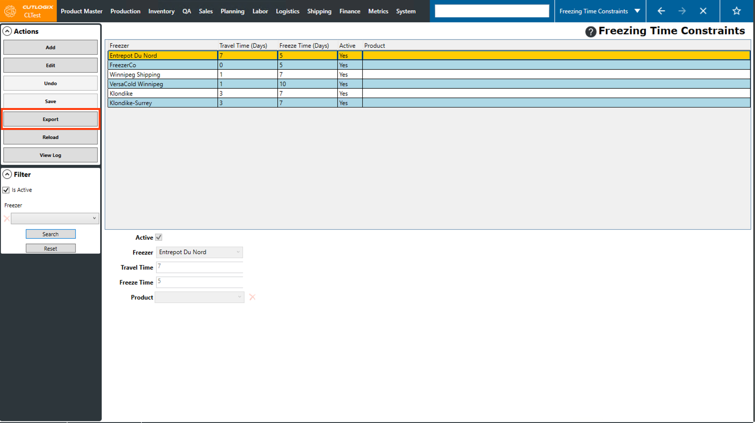
Step 1: Navigate to the "Freezing Time Constraints" page (Under the Planning menu → Planning Rules Config → Freezing Time Constraints).
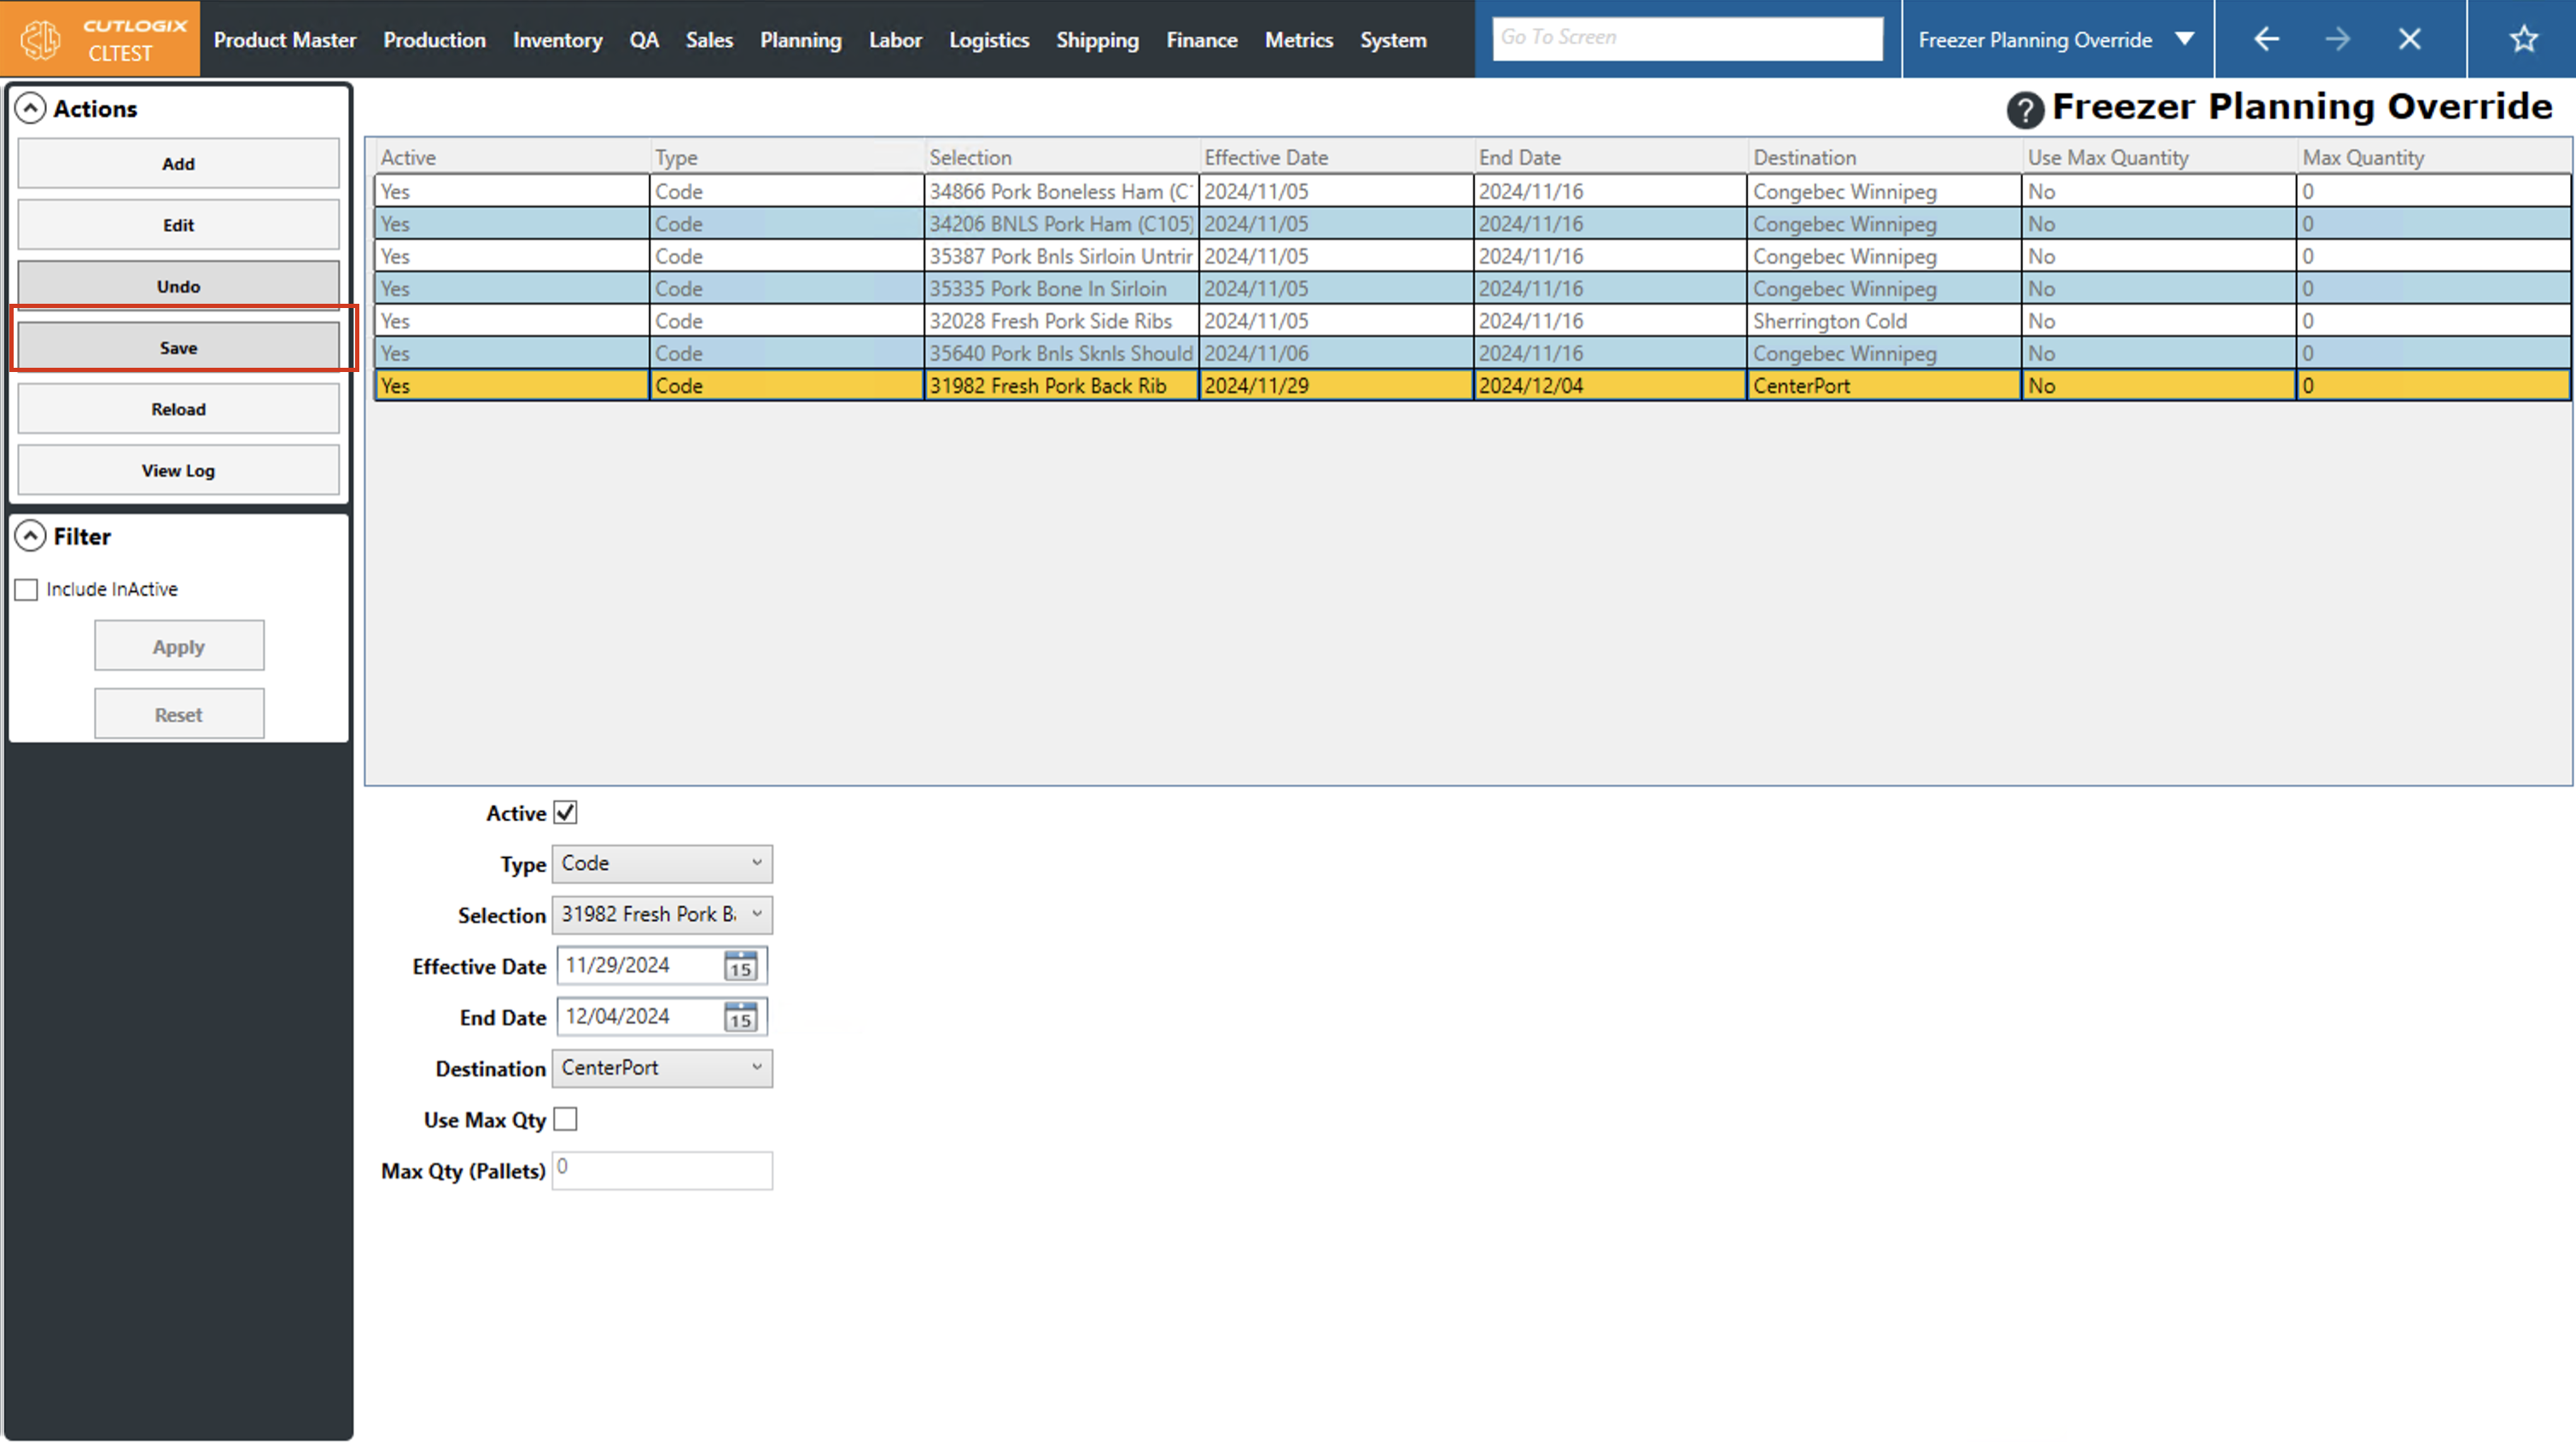
Step 2: Click the “Export” button in the Actions Panel.
Step 3: A dialog will appear, asking where you want to save the report on your computer. Select a location to save it and modify the filename that you want it to have if necessary, then click “Save”
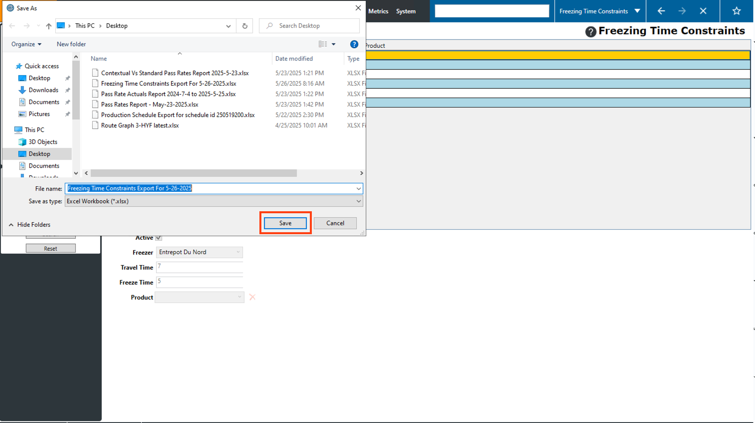
Step 4: Locate the report in the location that you saved it in on your computer and open it. (Note: You’ll need to have excel installed on your computer to open it). The report will show all the freezing time constraints as of the date that it was generated.
