Transfers Tasks
How Add a Transfer
Demo Note: Multiple transfers can be created for frozen products at once by using the "Create Transfers" option on the "Transfer Plan" page (under the Logistics menu).
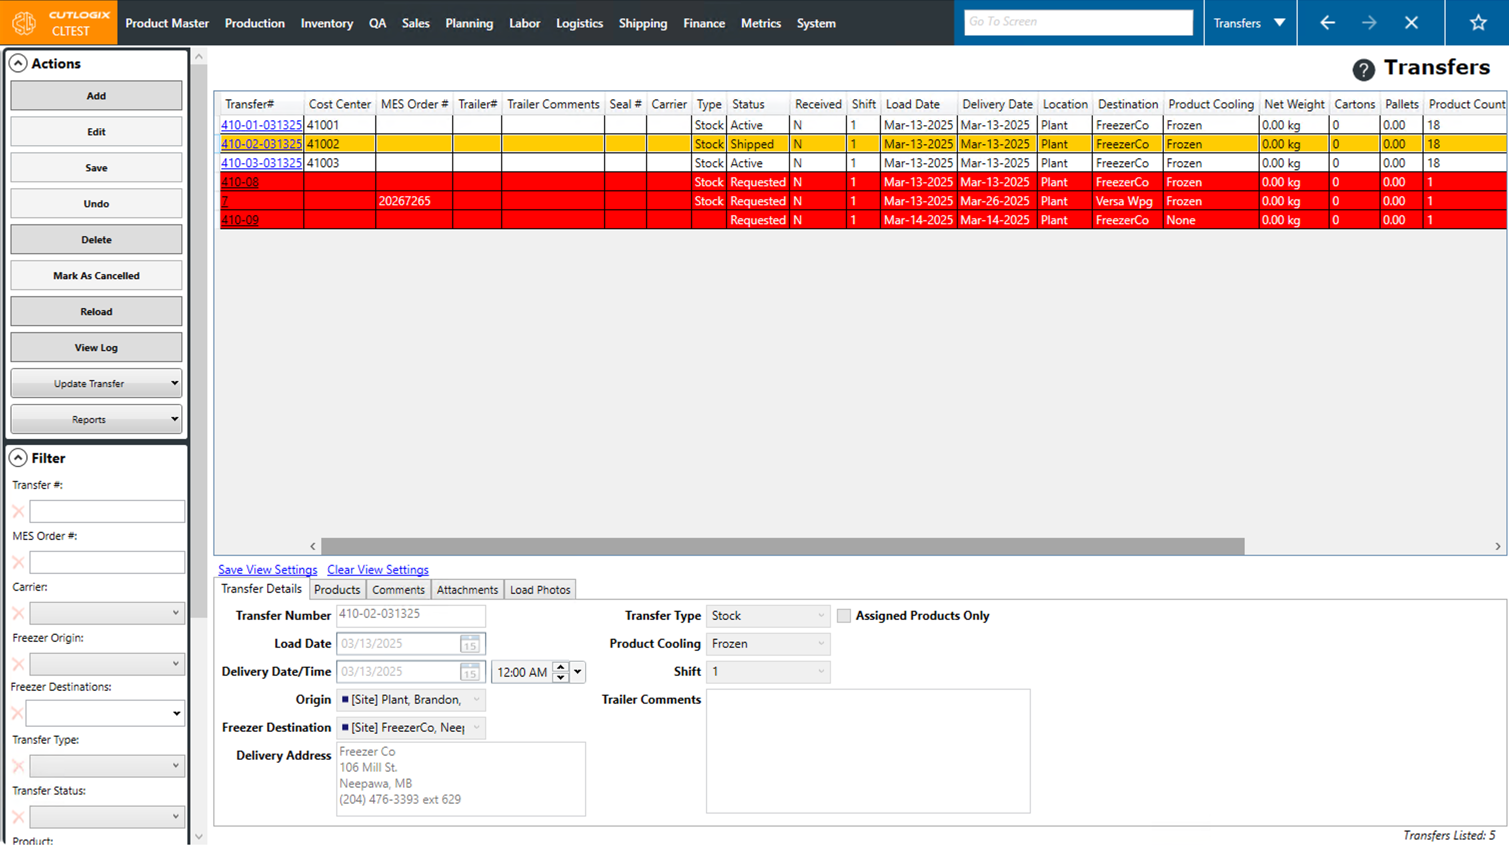
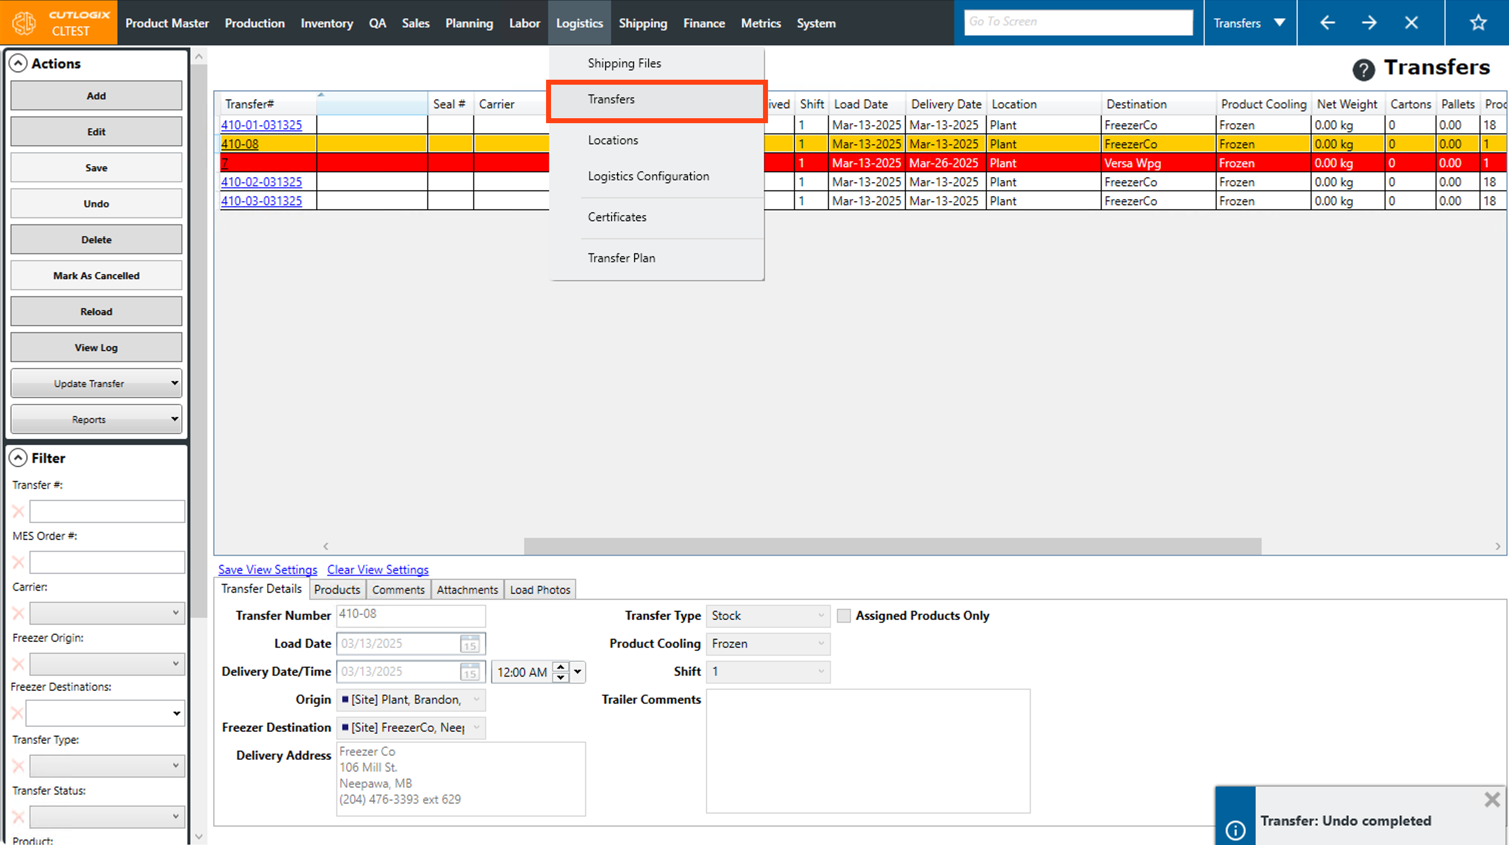
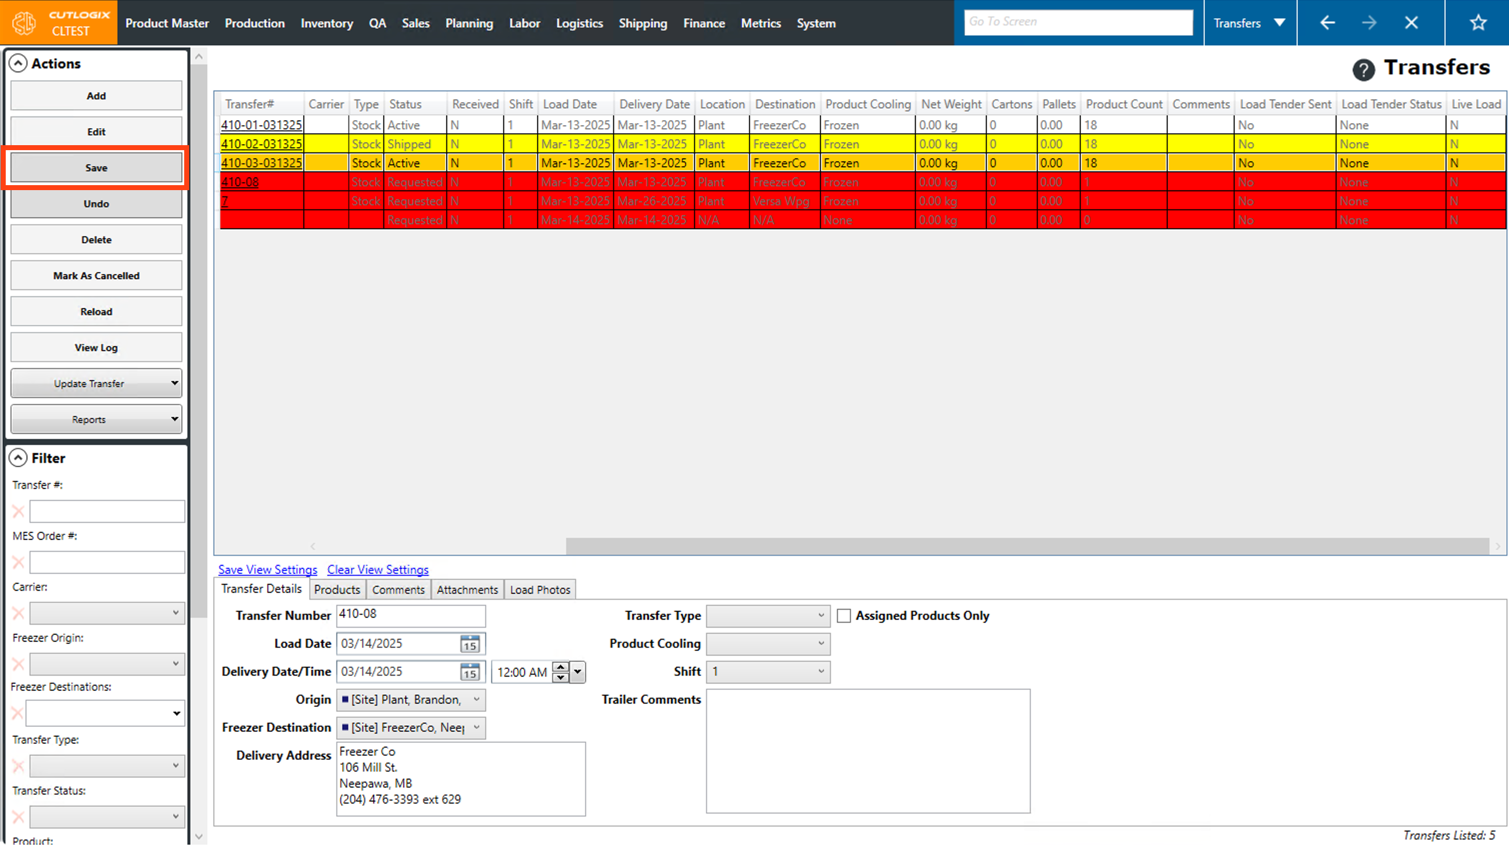
Step 1: Navigate to the "Transfers" page (Under the Logistics menu → Transfers).
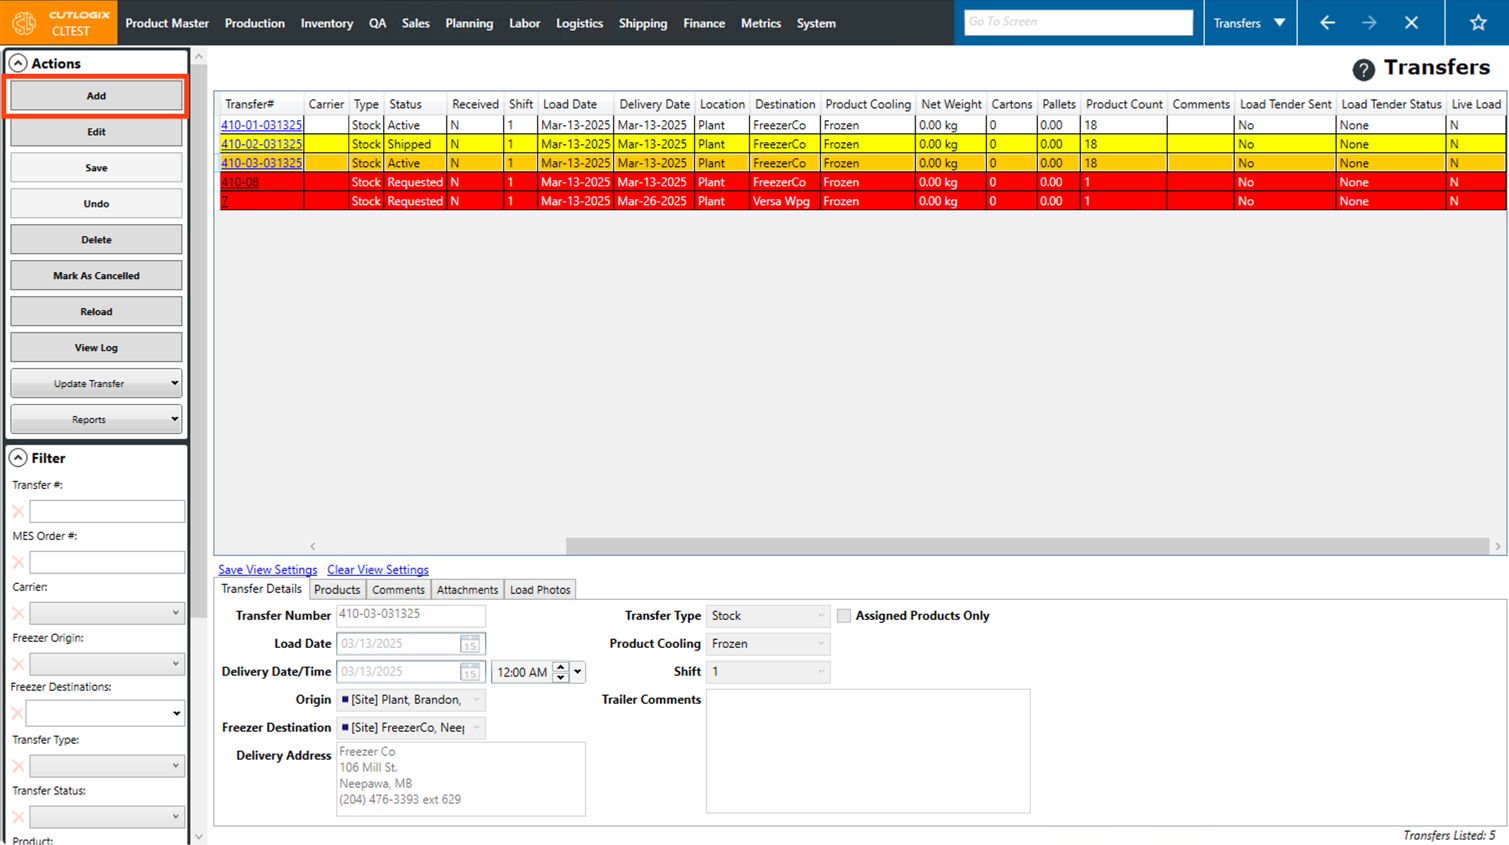
Step 2: Click the "Add" button in the Actions Panel.
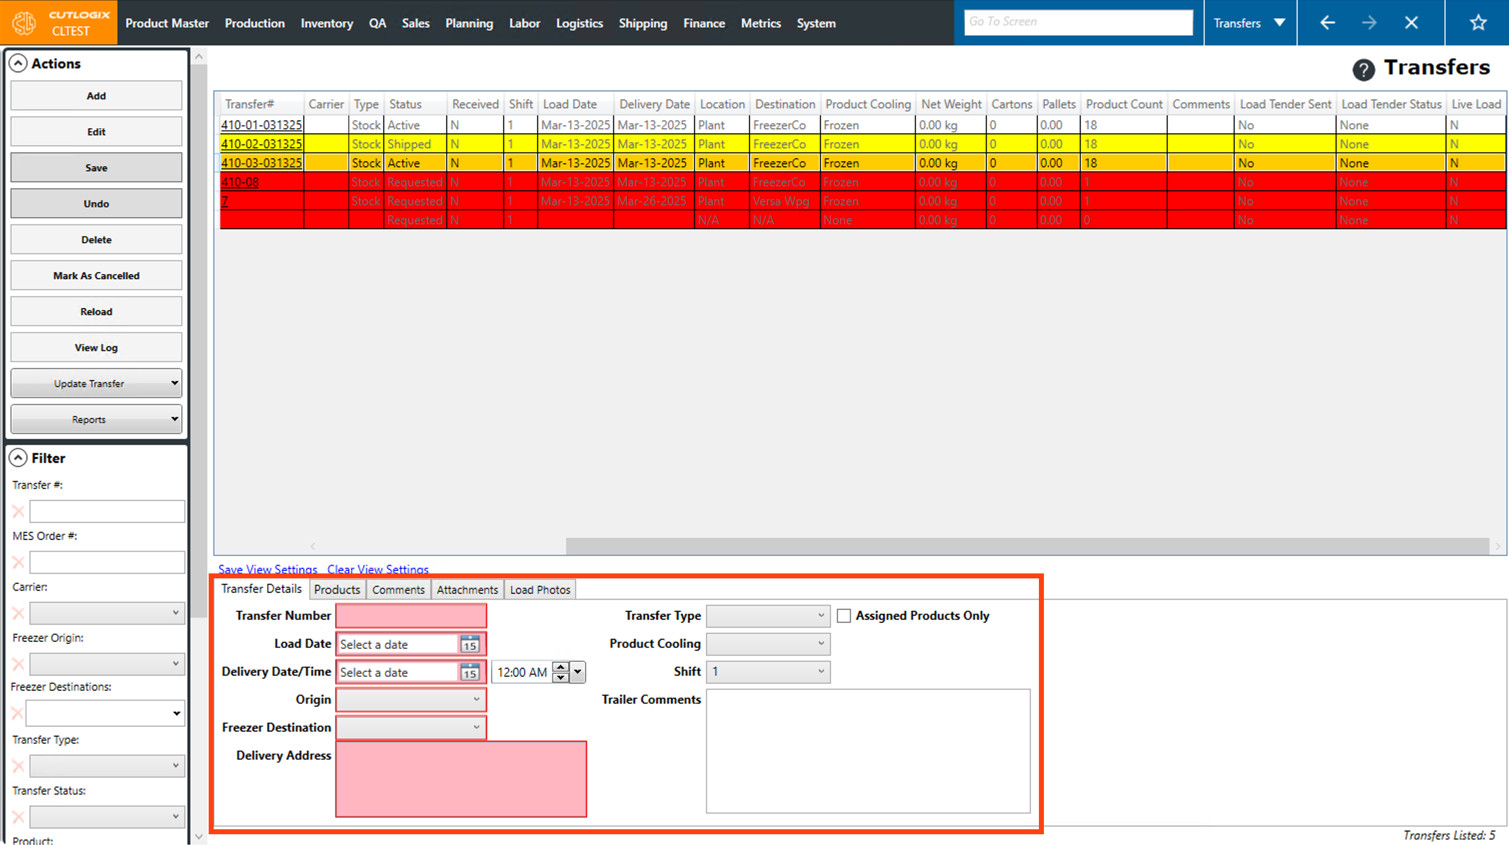
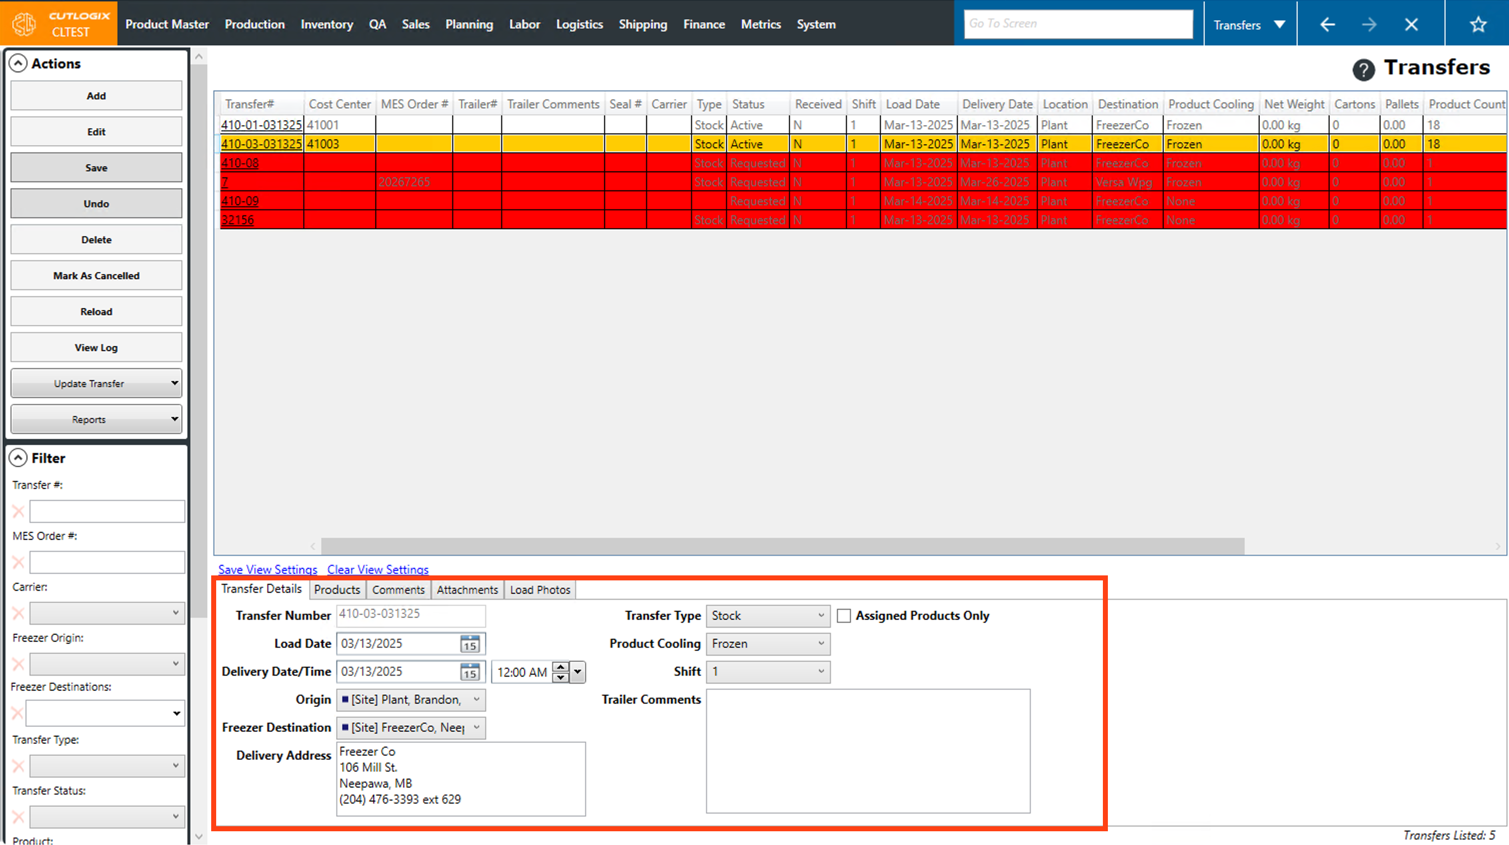
Step 3: Several tabs will appear at the bottom of the page with input fields for you to enter the details of the transfer into. The following fields are required and must be entered before the transfer can be saved:
Transfer Details Tab
• Transfer Number: Enter a transfer number to uniquely identify the transfer.
• Load Date: The date that the products being transferred should be loaded.
• Delivery Date/Time: Enter the date and time that the transfer should be delivered at its destination.
• Origin: Choose the location that the products are being transferred from, from the dropdown list.
• Freezer Destination: Choose the freezer that the products are being transferred to from the dropdown list.
• Delivery Address: The delivery address of the transfer. This will automatically populate with the address of the selected freezer destination, but can be modified if necessary.
The remaining fields are optional on this tab.
Products Tab
Click the "+" button to add a product to the transfer. A dialog will then appear where you cna specify the number of cartons and kgs to transfer. Once all the information on the dialog has been entered, click the "OK" button to save the product.
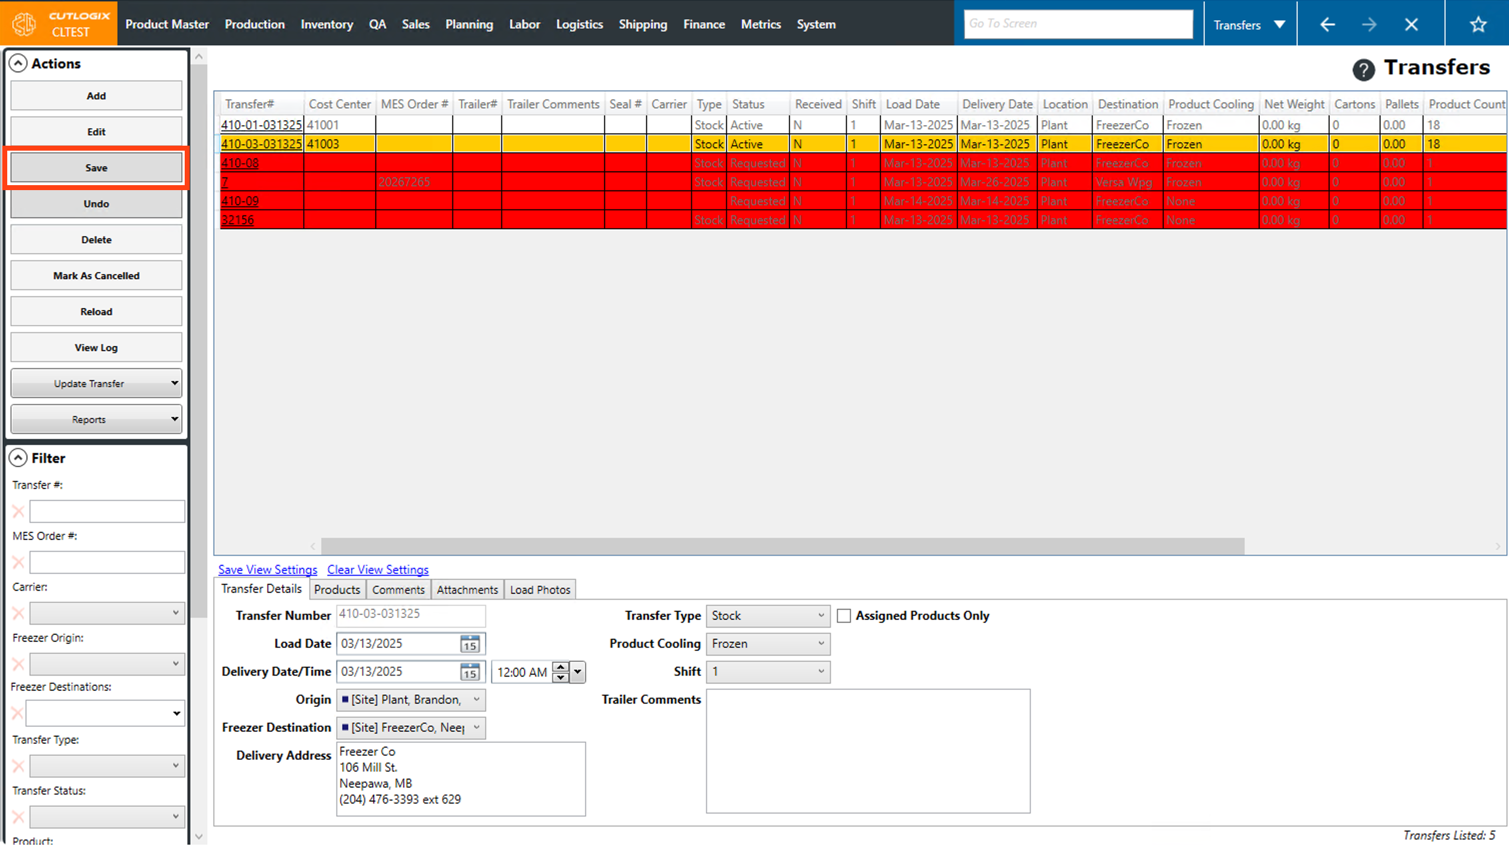
Step 4: The remaining tabs are optional, when you're ready to save the transfer, click the "Save" button in the Actions Panel.
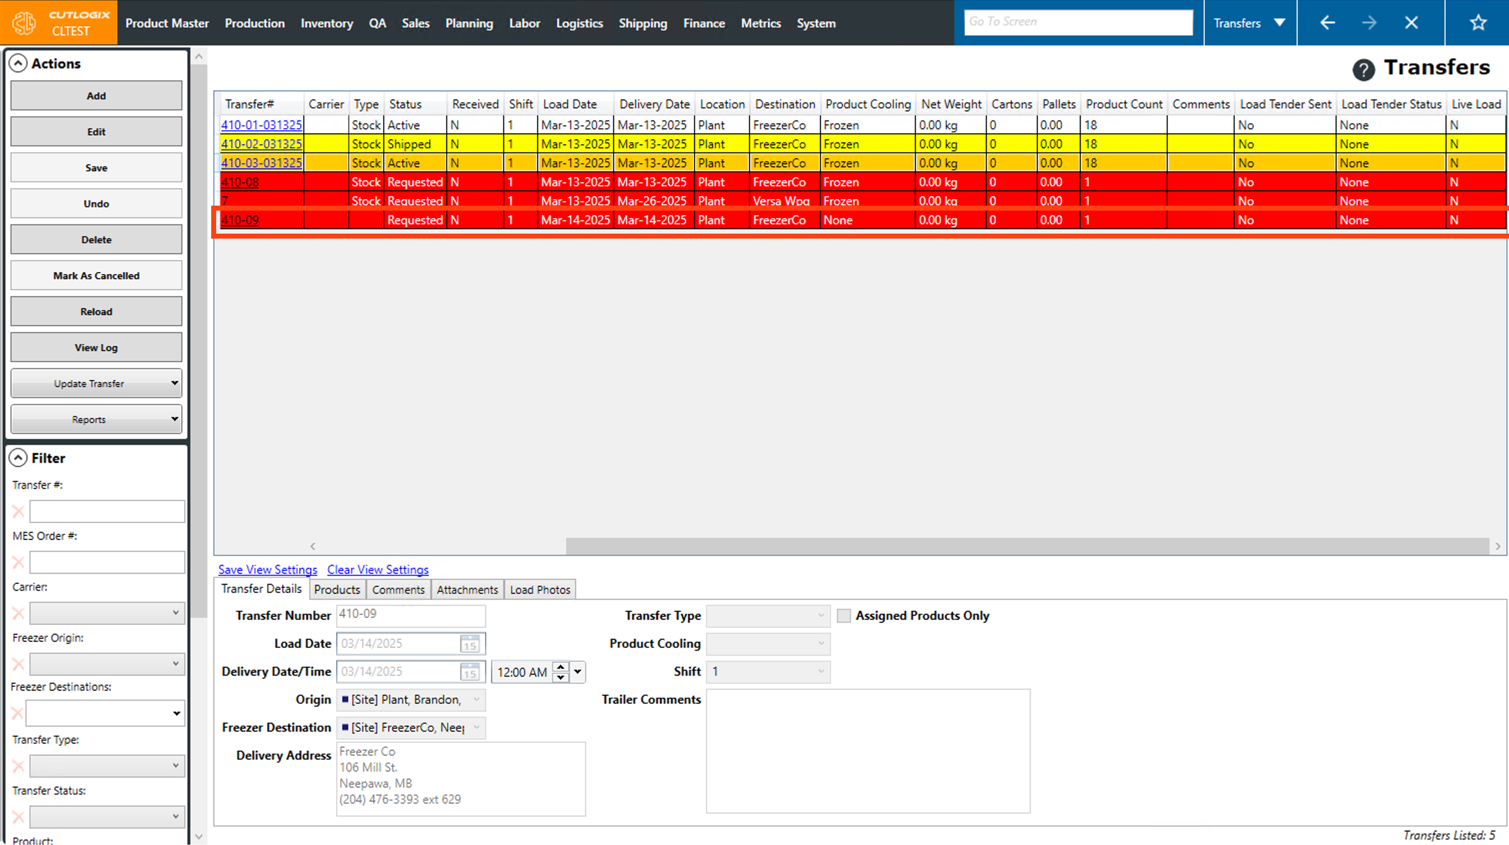
Step 5: The transfer will now appear on the transfers page with a "Requested" status.
How Edit a Transfer
DemoStep 1: Navigate to the "Transfers" page (Under the Logistics menu → Transfers).
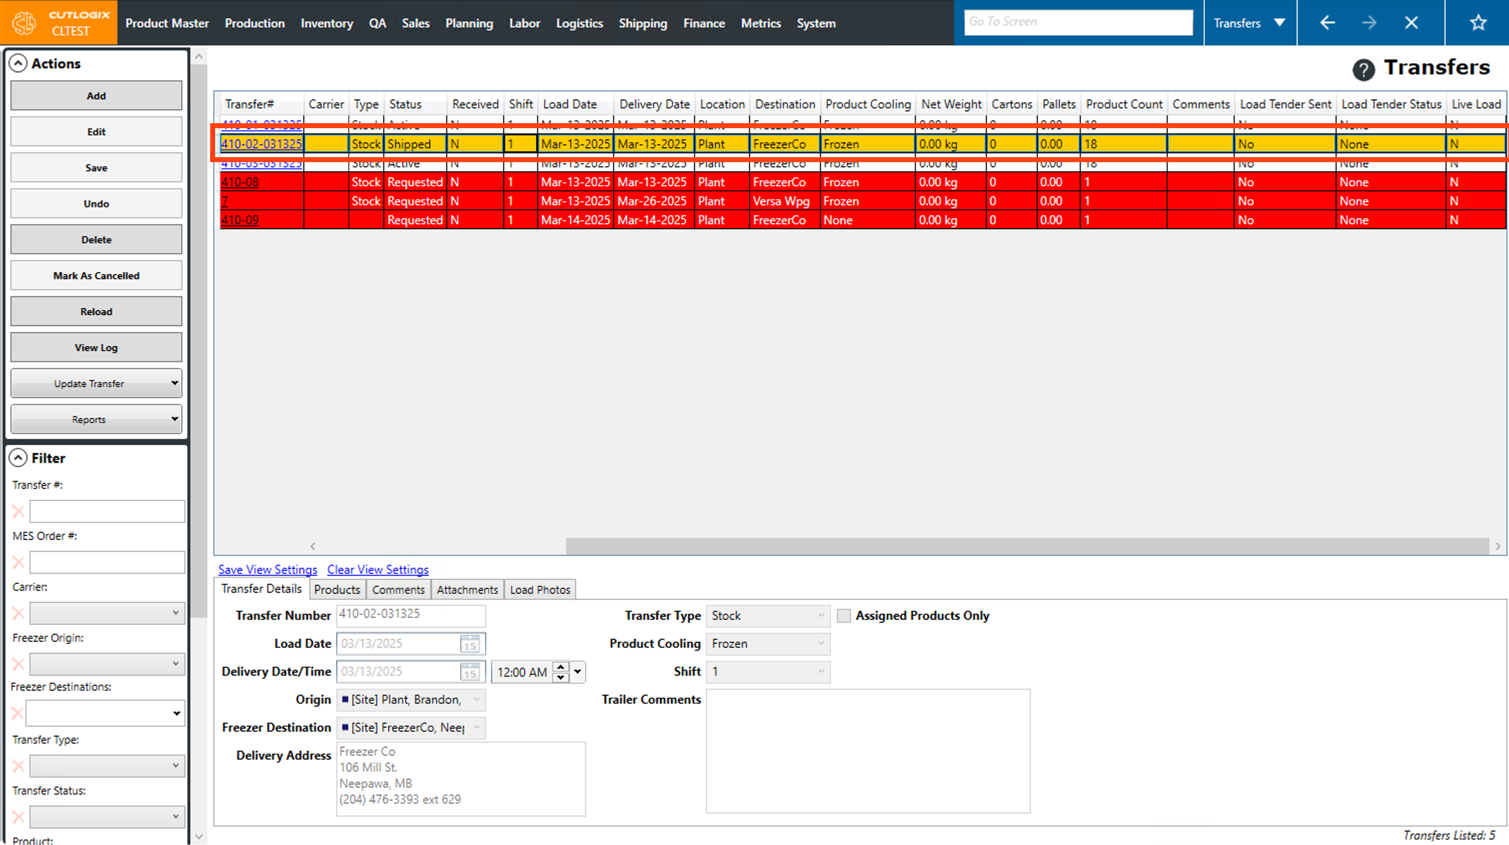
Step 2: Click on the transfer that you want to edit. Once selected, it will be highlighted in orange.
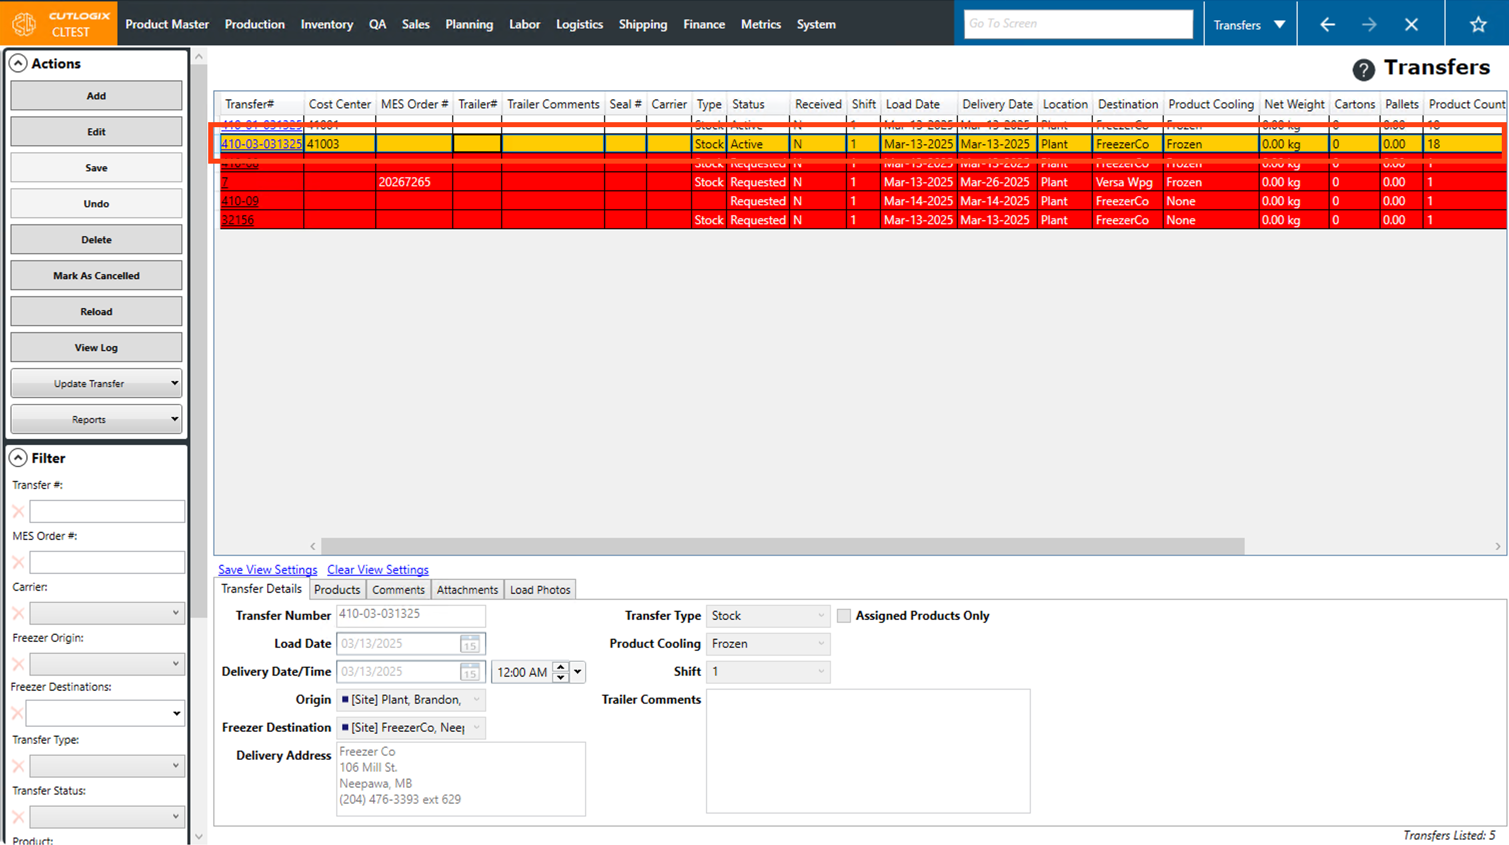
Step 3: Next, click the "Edit" button in the Actions Panel.
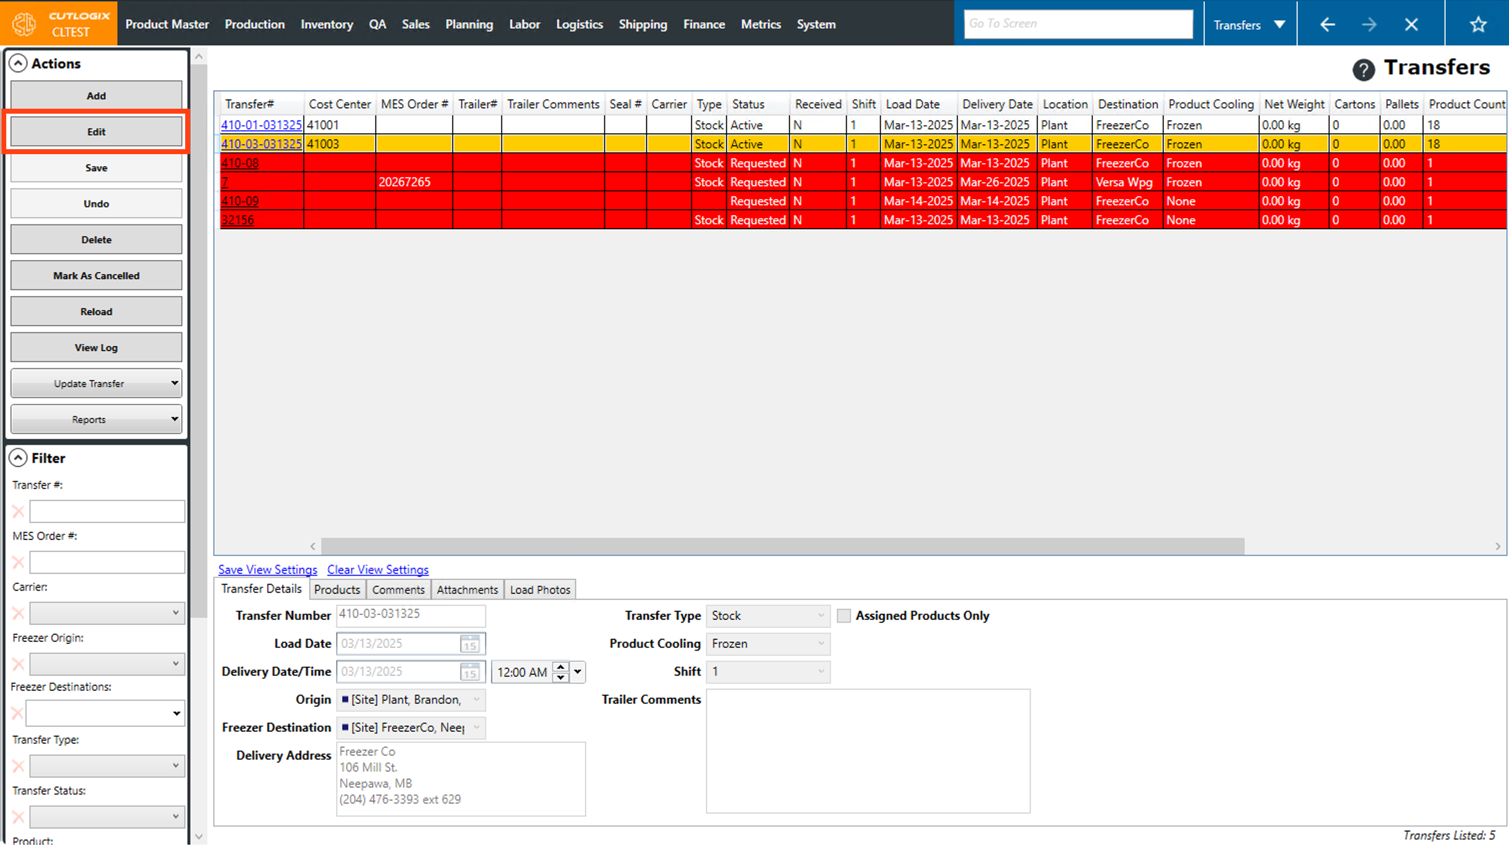
Step 4: The fields in the tabs at the bottom of the page for that transfer will now be editable. Make any necessary changes to the transfer here.
Step 5: Once you're finished making changes, click "Save" in the Actions Panel to save them. If you don't want to save your changes, clicking "Undo" in the Actions Panel will discard them.
How Update a Transfer
DemoStep 1: Navigate to the "Transfers" page (Under the Logistics menu → Transfers).
Step 2: Click on the transfer that you want to update. (Once selected, it will be highlighted in orange.)
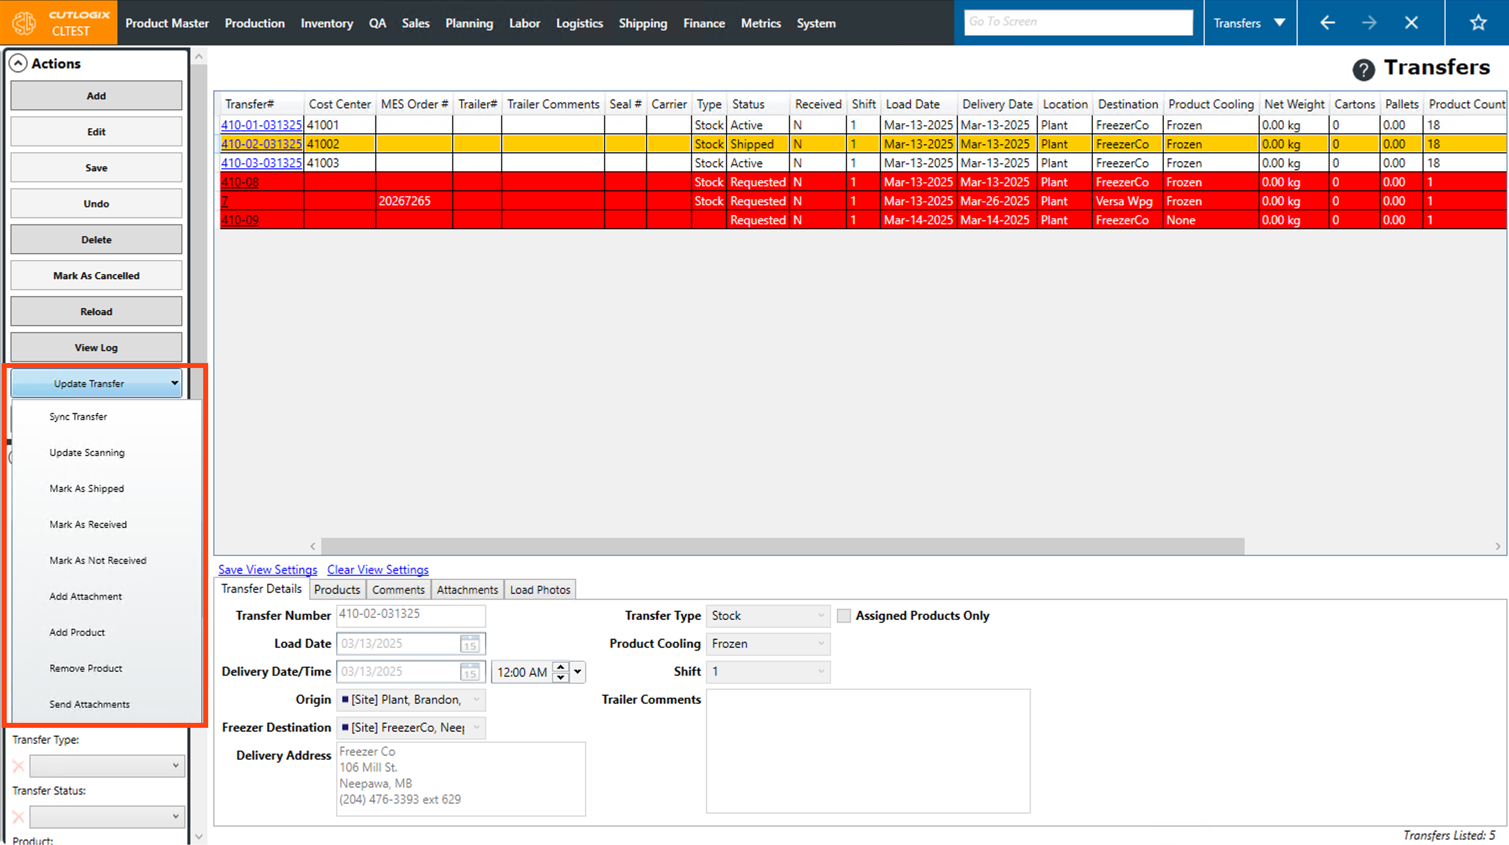
Step 3: Then, click the "Update Transfer" button in the Actions Panel.

Step 4: A dropdown list of options will appear for updates that you can make to the transfer. They are as follows:
• Sync Transfer: Syncs the currently selected records to the manufacturing execution system (MES). Users can select multiple records to sync by shift clicking the records they would like to sync.
• Update Scanning: Query the MES to get the scanning status of the currently selected transfer record.
• Mark as Shipped: Change the status of the transfer record to "Shipped". The current status of the transfer must be "Active" before it can be marked as shipped.
• Mark as Received: Updates the status of the transfer record to "Received". The order's status must be "Shipped" before it can be marked as received.
• Mark as Not Received: Removes the "Received" status from the transfer if it was previously set as received. The transfer's status must be marked as received before it can be marked as not received.
• Add Attachment: Adds an attachment to the currently selected transfer record. These can be viewed and modified in the Attachments tab at the bottom of the screen.
• Add Product: Add a product to the product list on the transfer.
• Remove Product: Remove an individual product from the product list on the transfer.
• Send Attachments: Brings up a popup window in which the user can select which file attachments will be sent. Users can also modify the list of recipients. Hitting send will email a copy of the file attachments to all addresses on the list.
Step 5: Once you've selected an option for updating the transfer, it will be updated accordingly.