Product Collection Points Tasks
How to Add a Product Collection Point
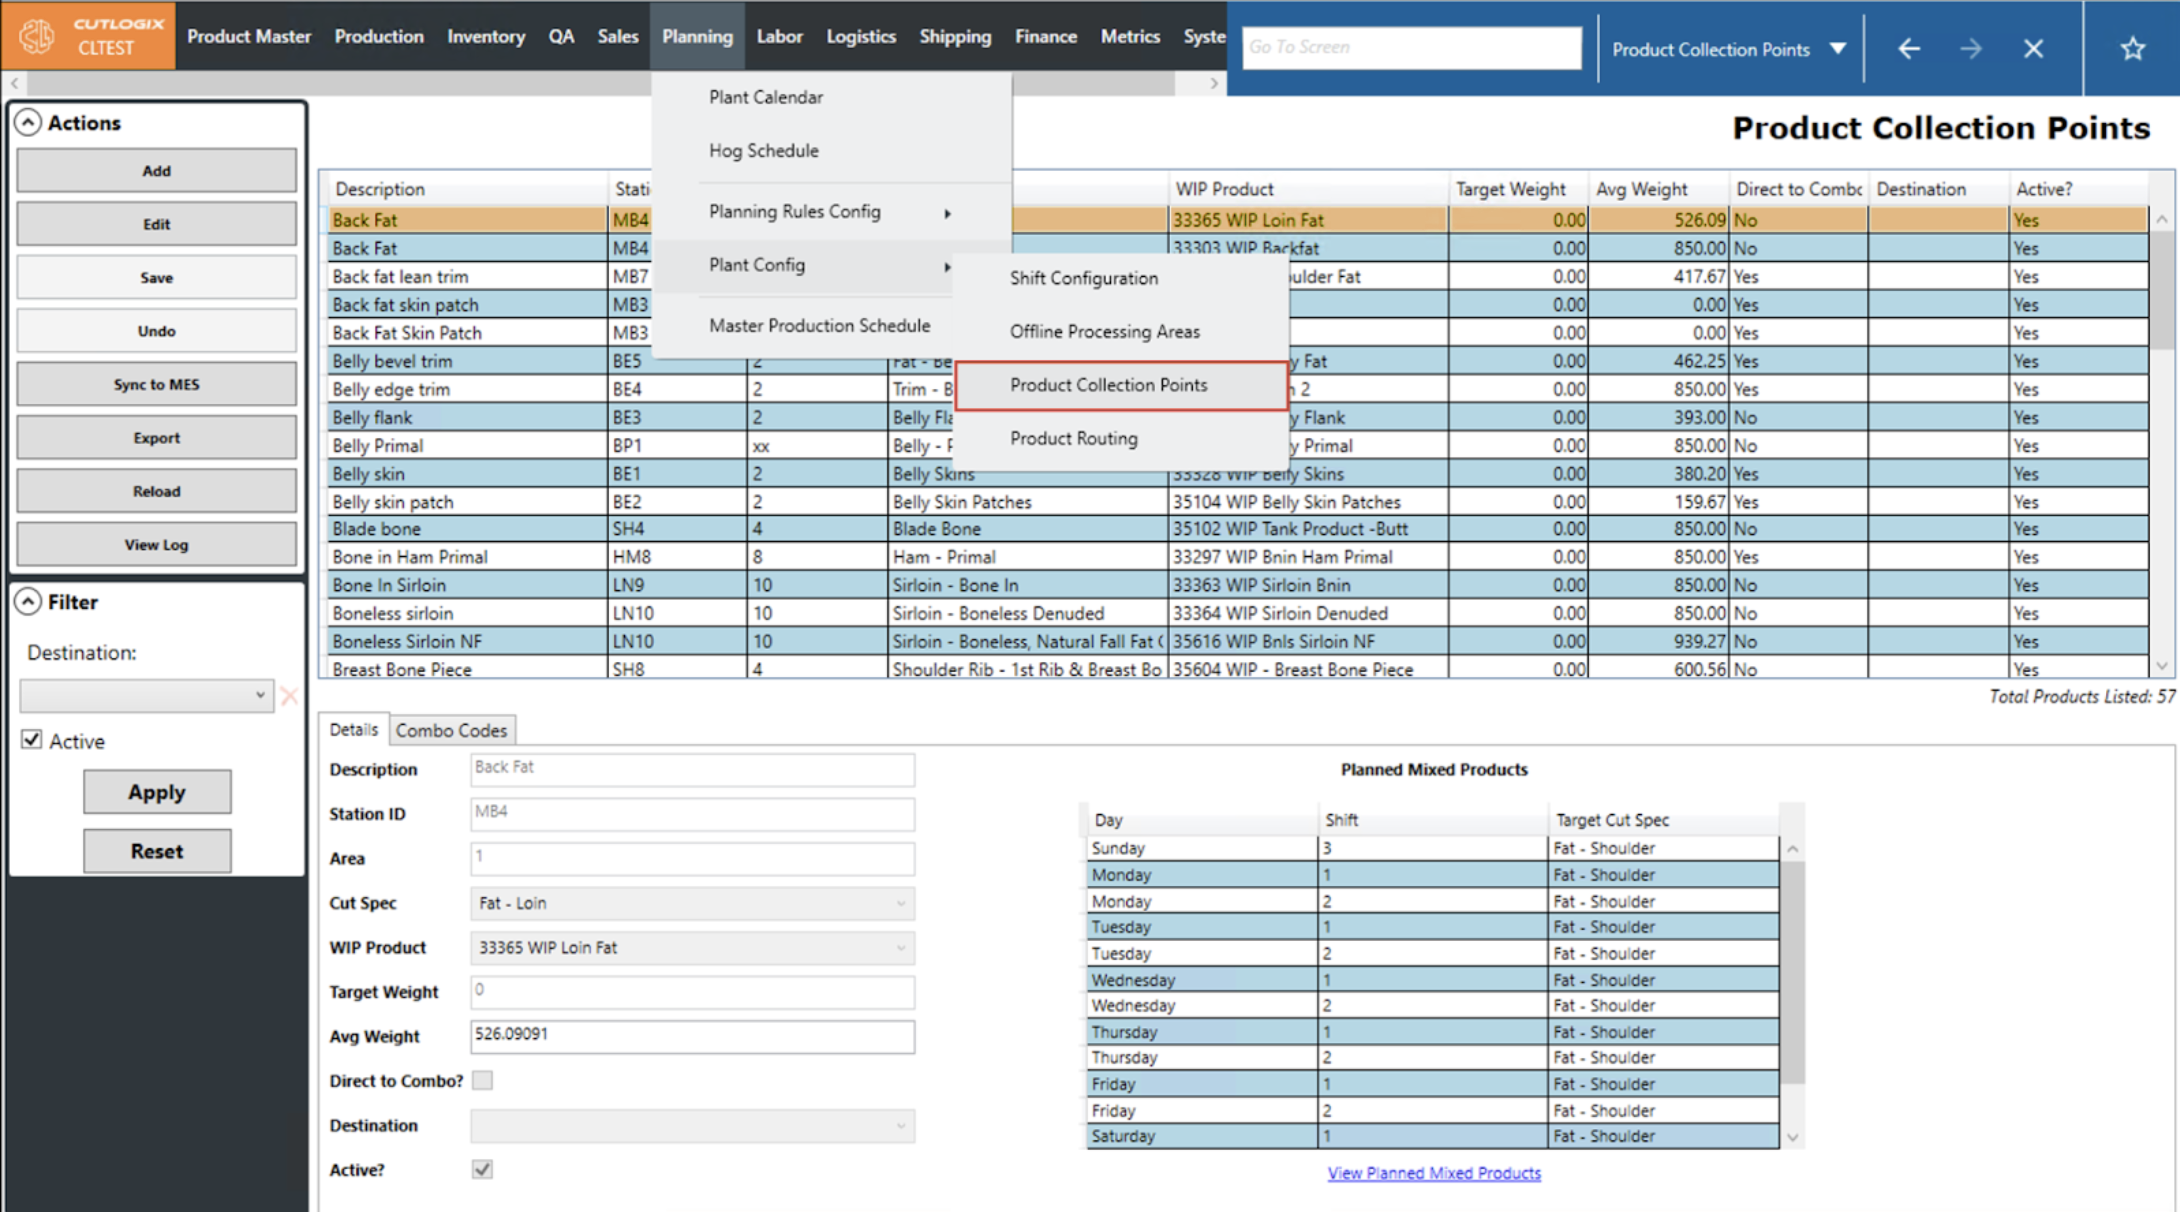
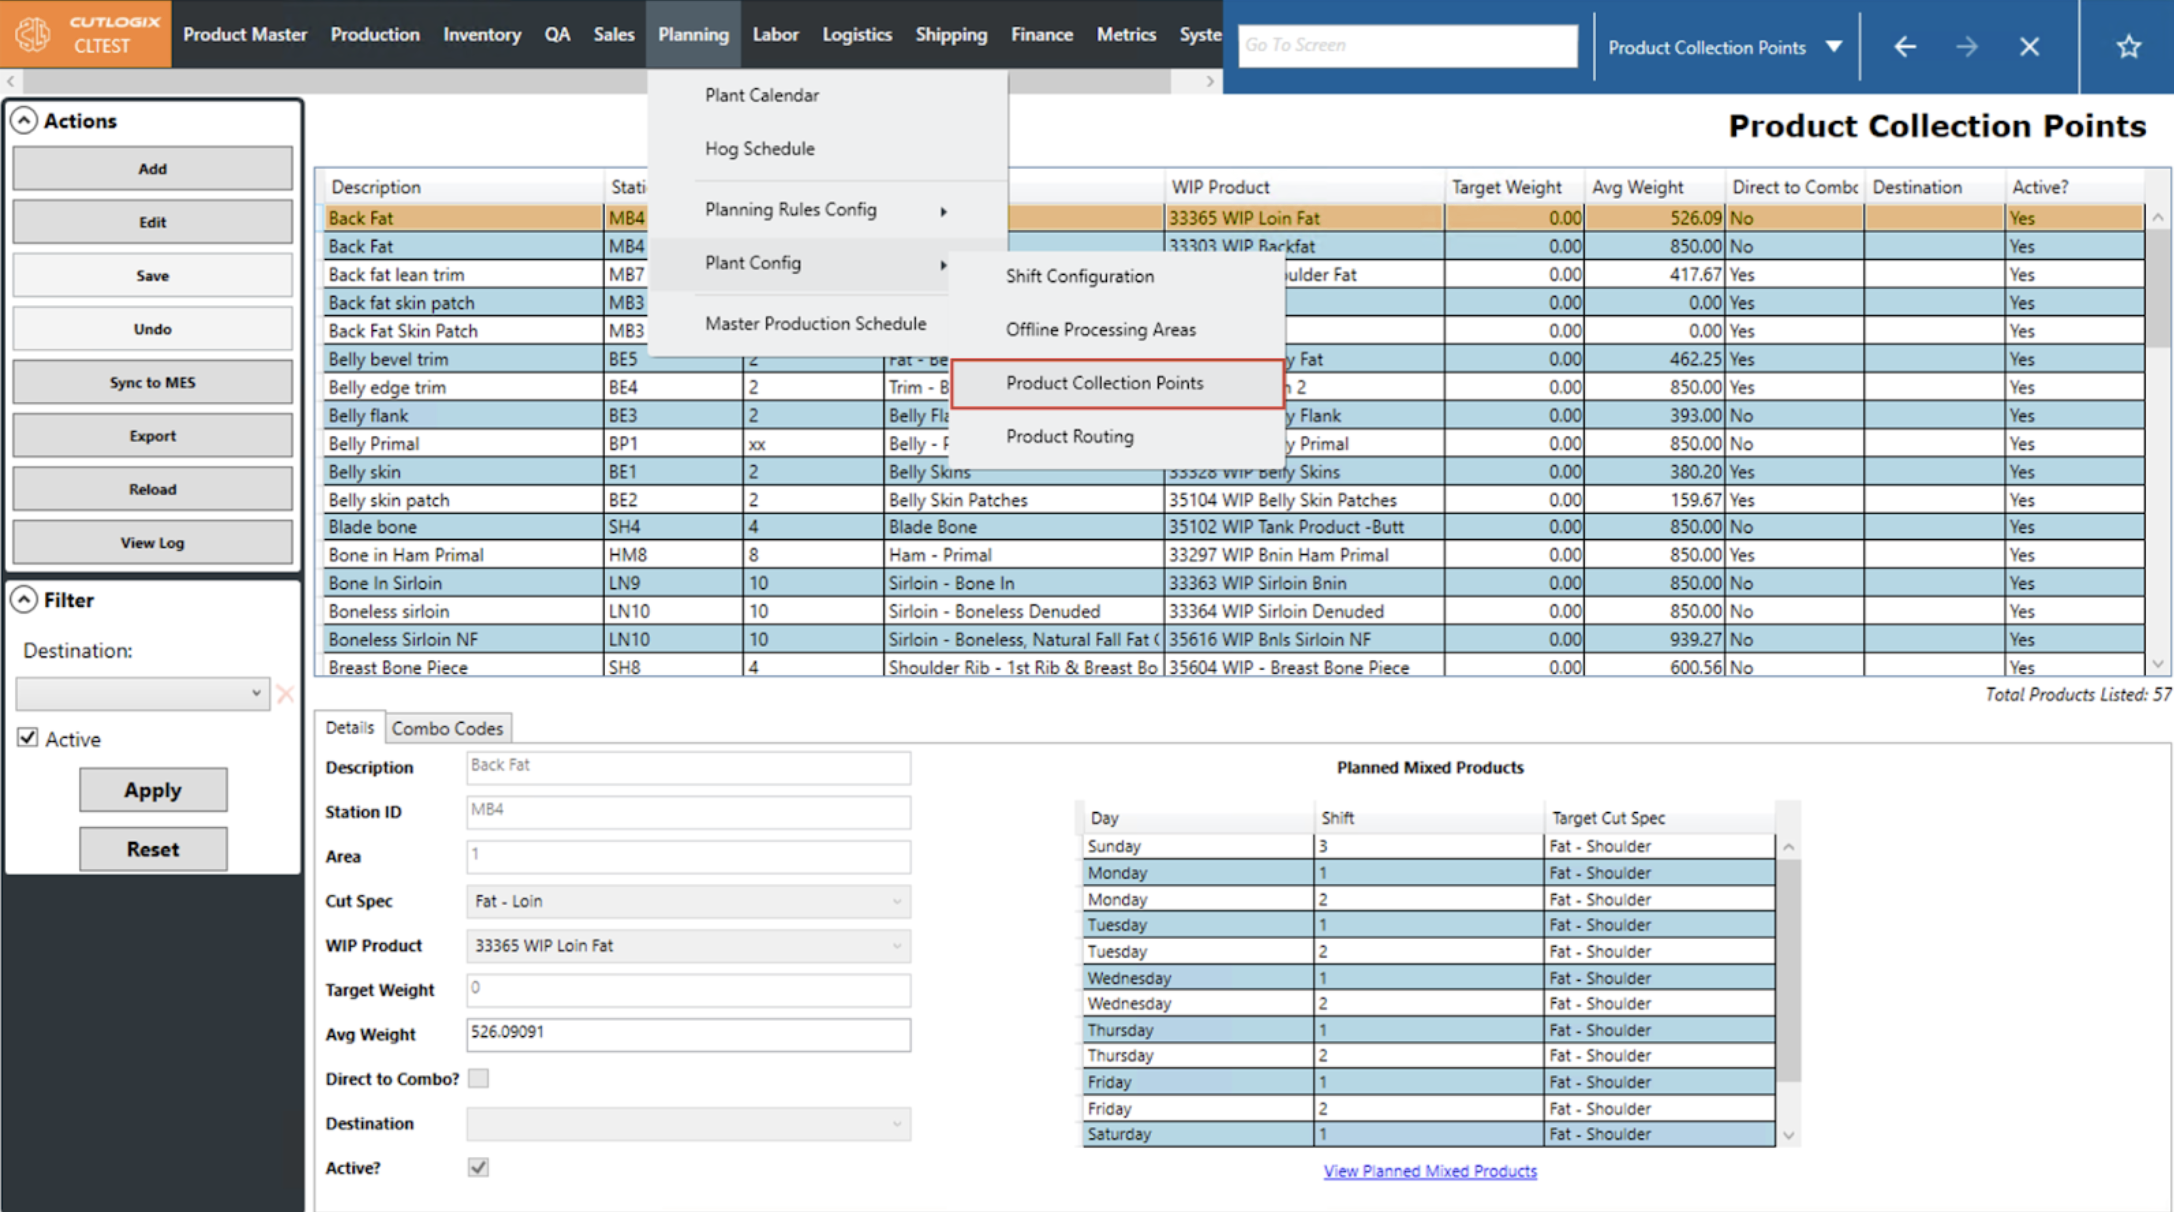
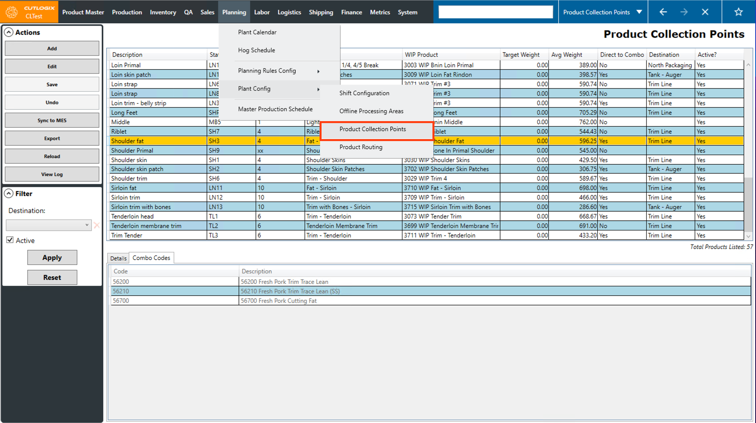
DemoStep 1: Navigate to the Planning > Plant Config > Product Collection Points screen.
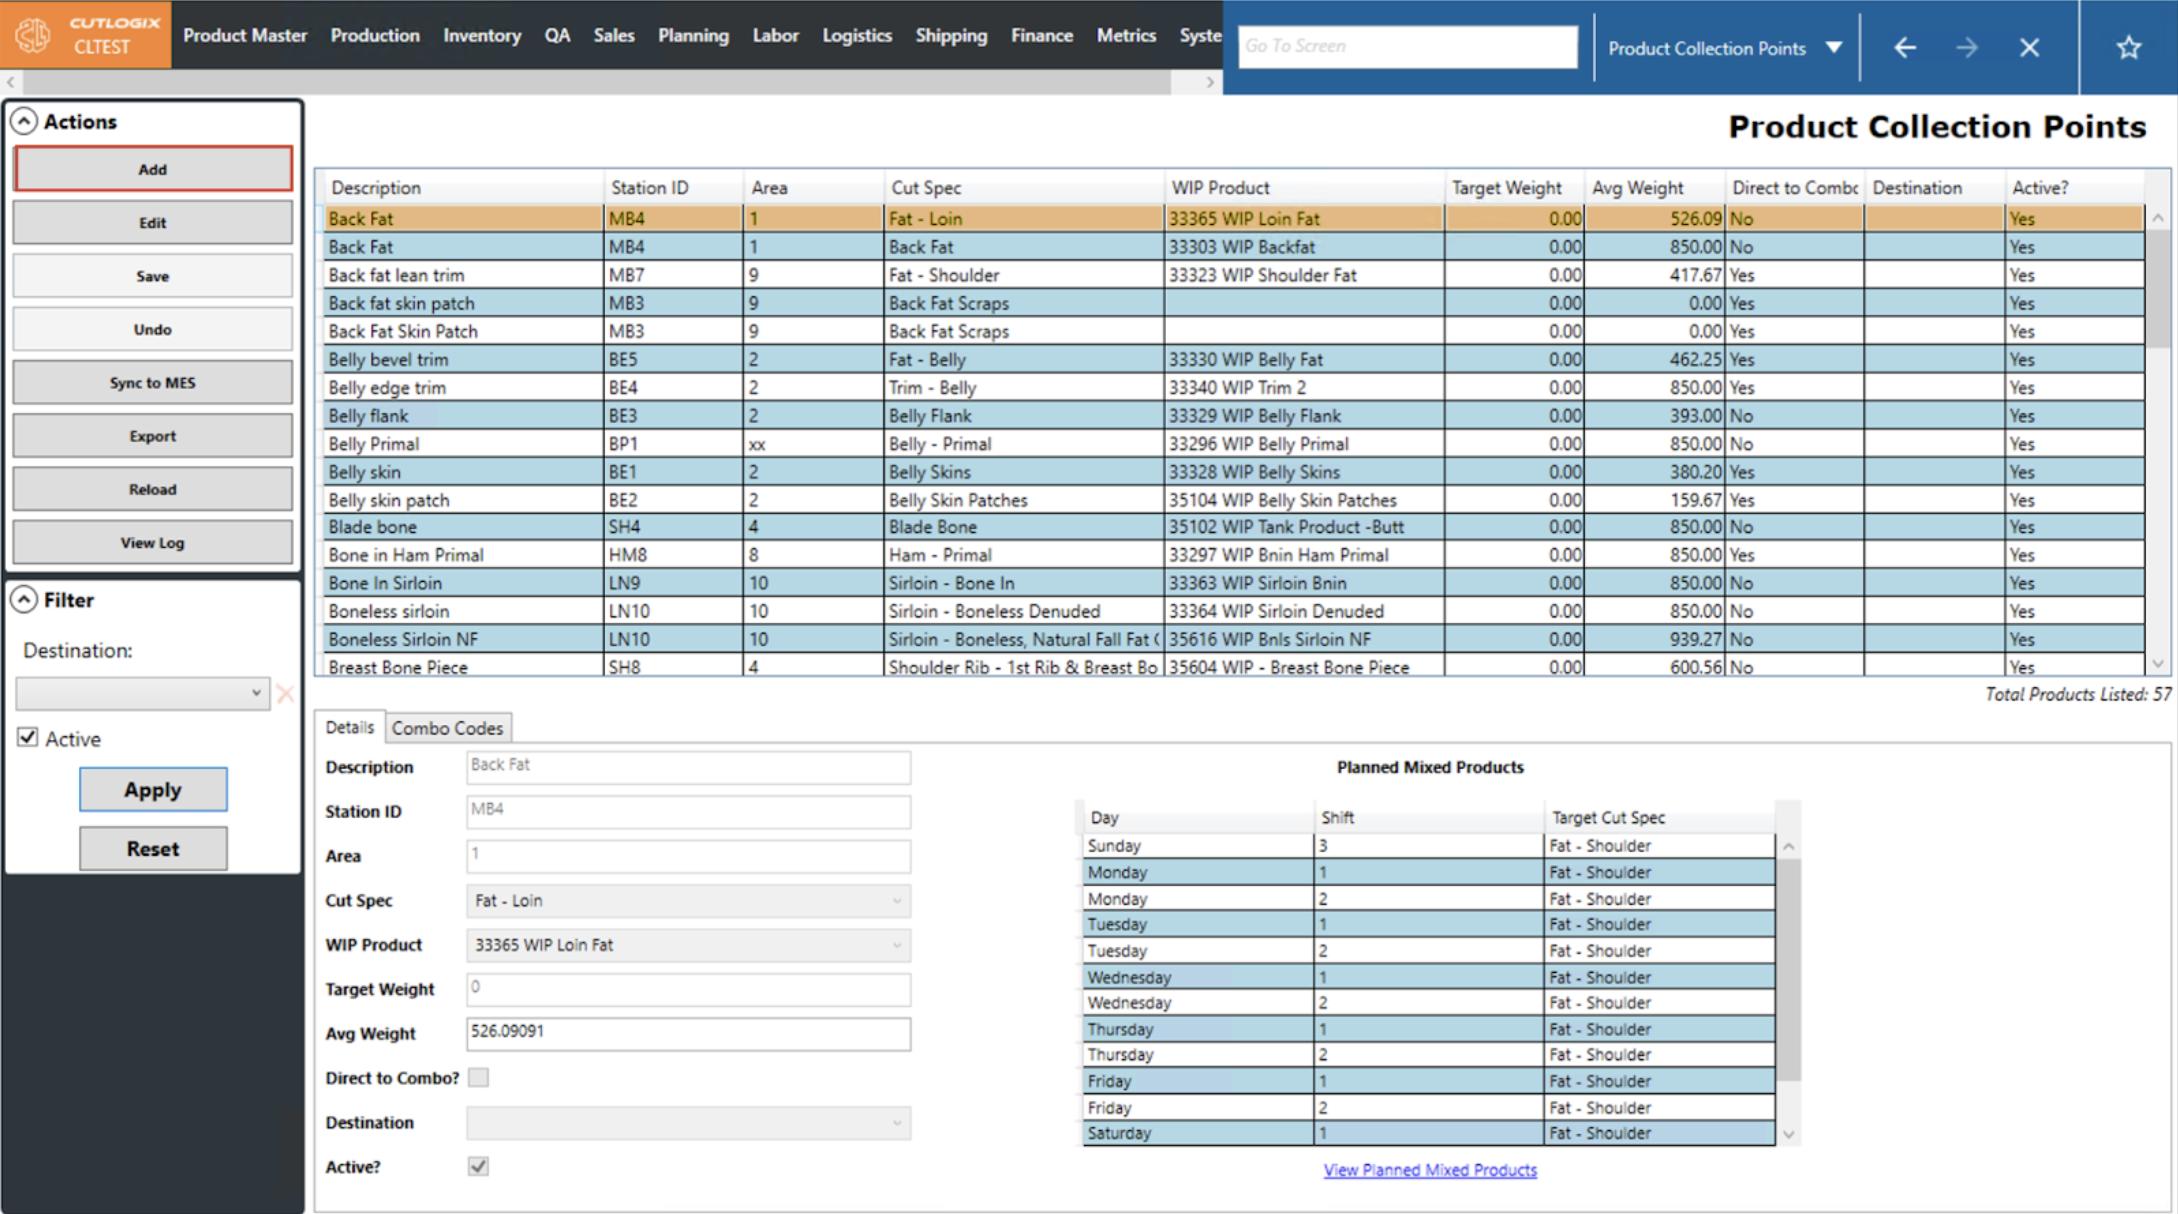
Step 2: Click the ‘Add’ button in the ‘Actions’ sidepod on the left. This will enter a new collection point into the main data grid at the top of the screen.
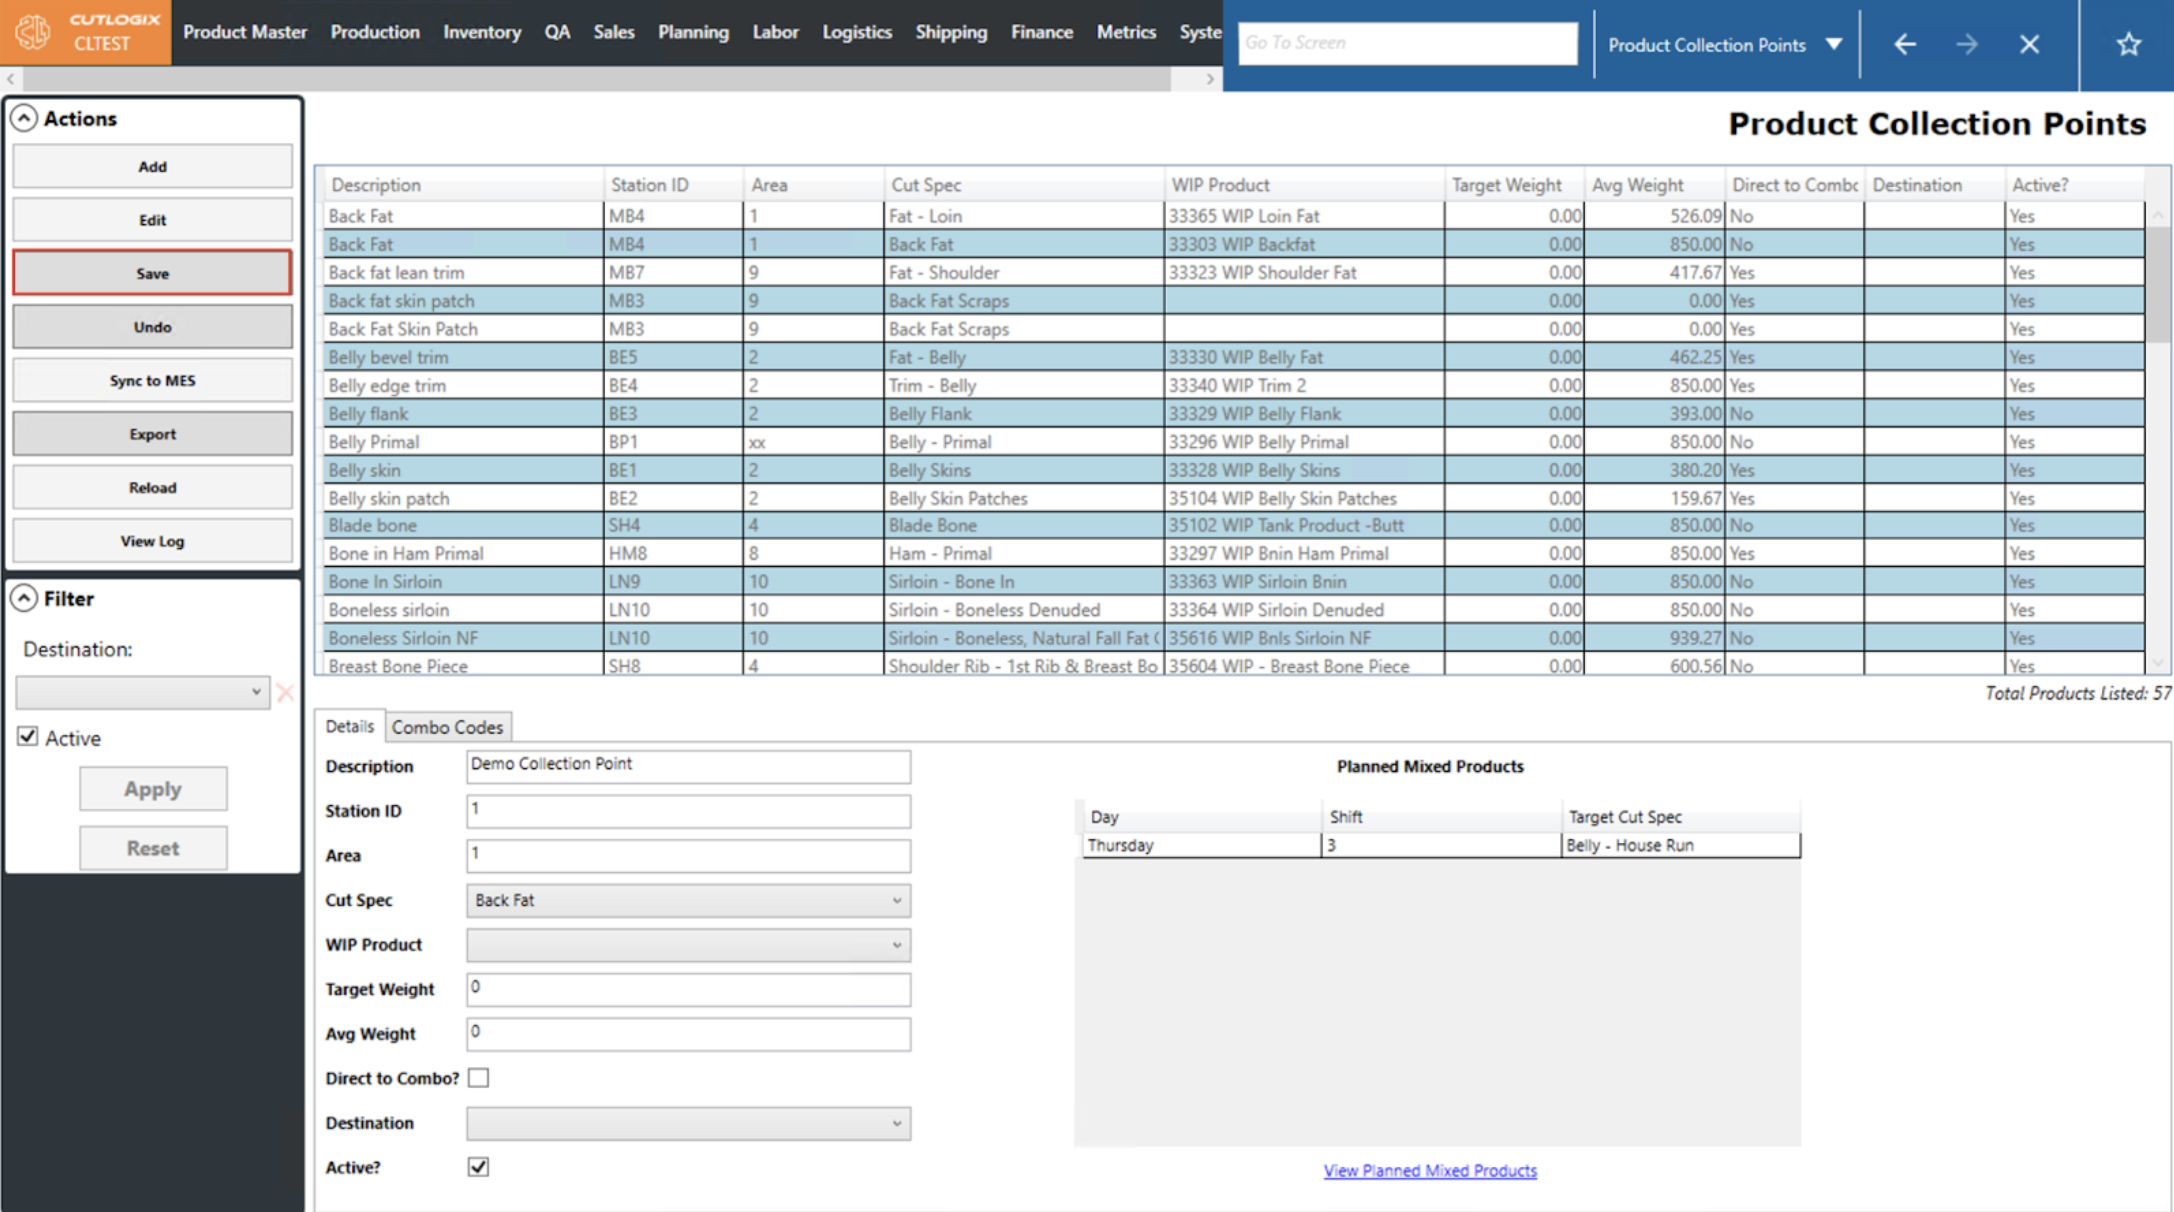
Step 3: From here, users can enter the information for the new collection point on the Details tab located on the bottom left of the screen.

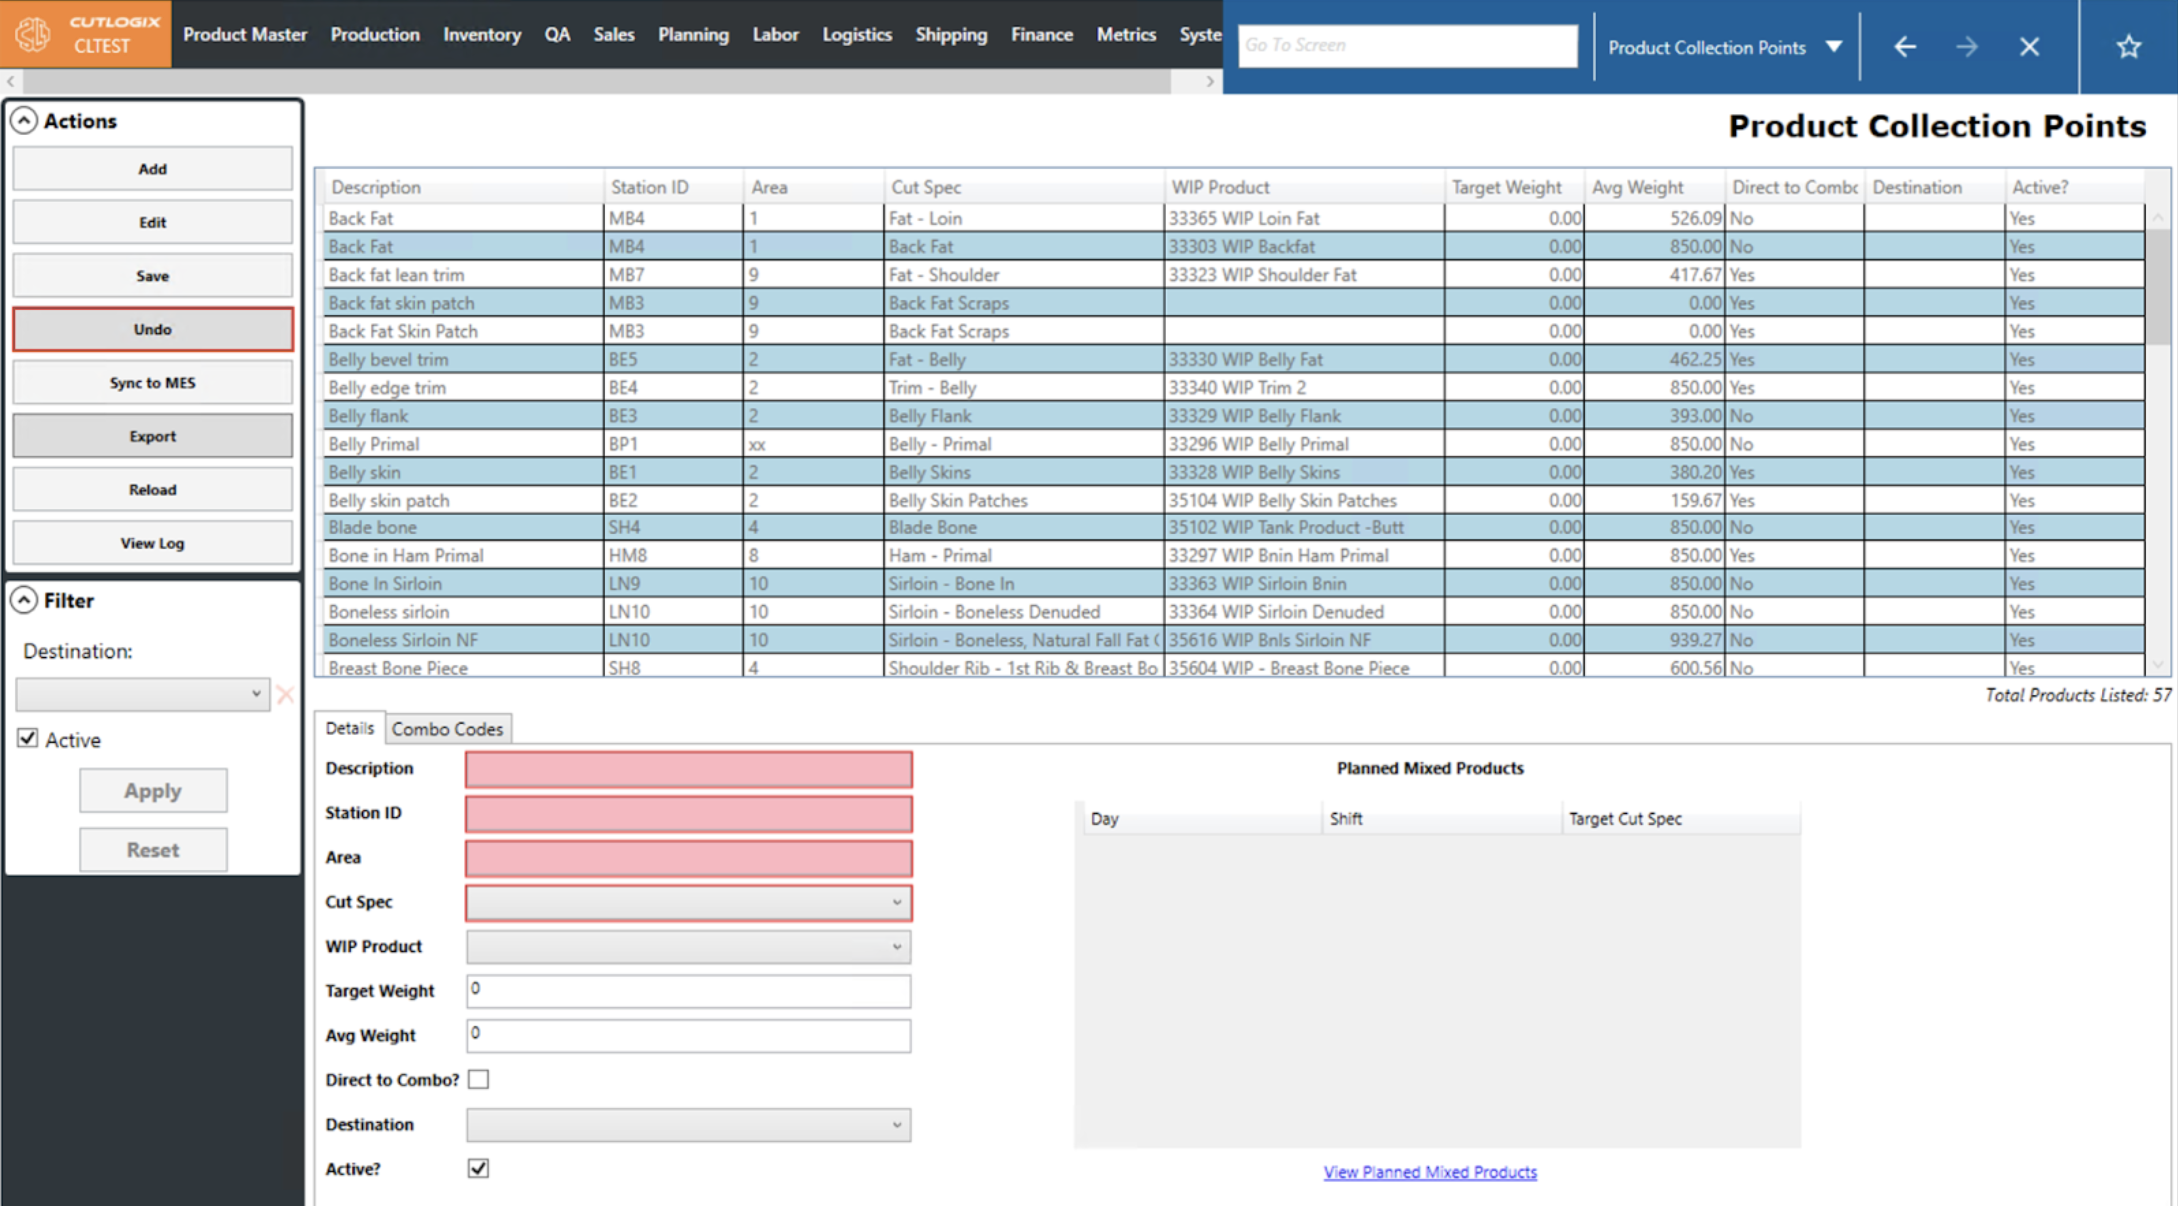
Step 4: If users wish to delete the new collection point without saving they can click the ‘Undo’ button in the ‘Actions’ sidepod.
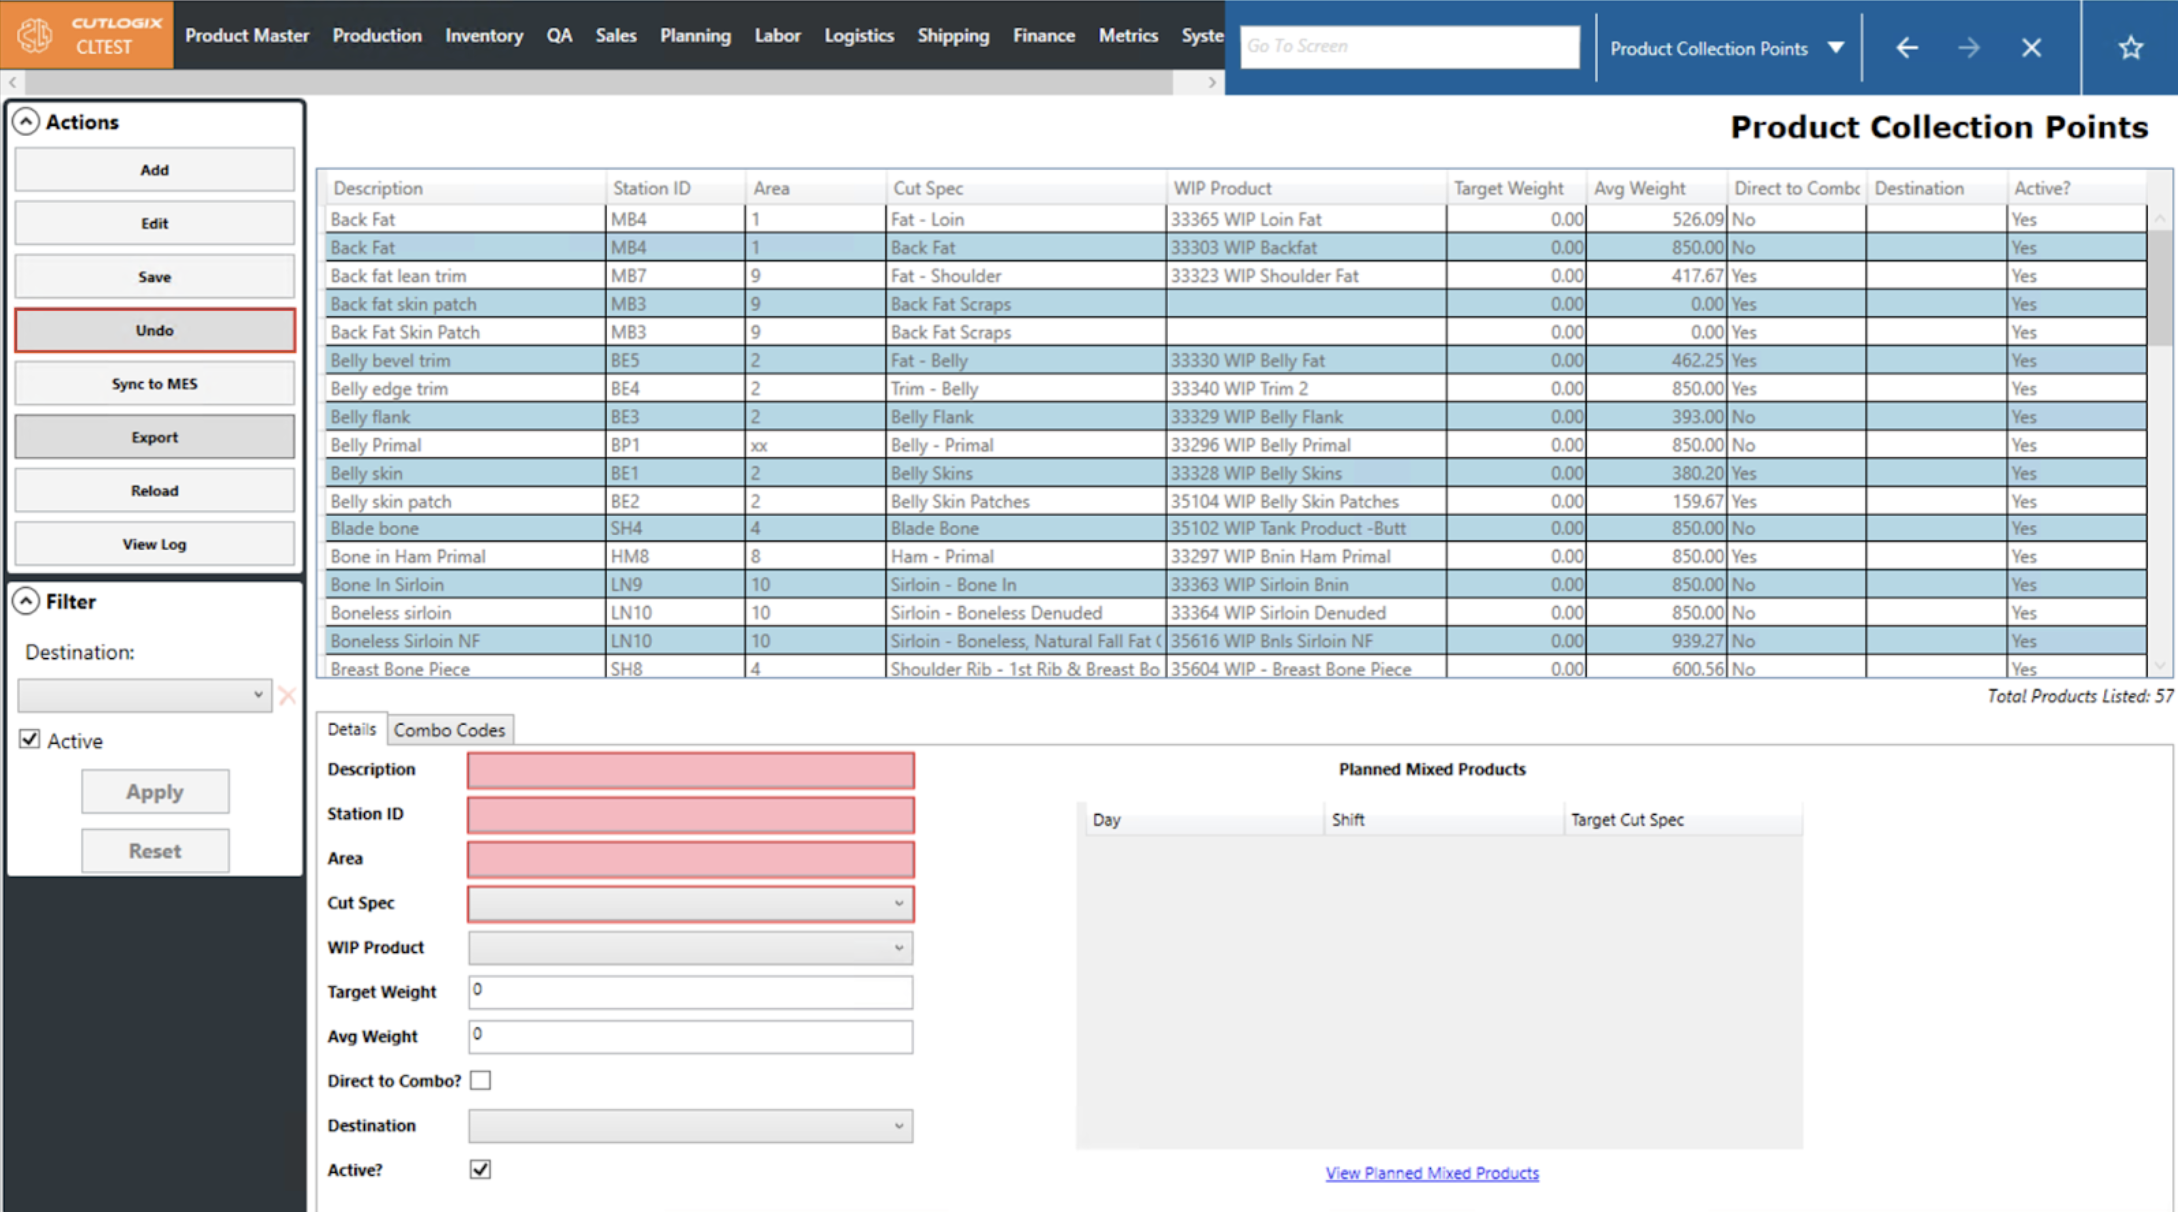
Step 5: If users wish to save the new collection point they can click the ‘Save’ button. In order to enable the save button, users must fill out the Description, Station ID, Area and Cut Spec fields.
NOTE: When users select a cut spec, its associated Planned Mixed Products will be auto-populated on the right and any associated combo products will be automatically filled out on the Combo Codes tab.
NOTE: When users select a cut spec, its associated Planned Mixed Products will be auto-populated on the right and any associated combo products will be automatically filled out on the Combo Codes tab.
How to Edit a Product Collection Point
DemoStep 1: Navigate to the Planning > Plant Config > Product Collection Points screen.
Step 2: Select the collection point you want to modify and click the ‘Edit’ button in the ‘Actions’ sidepod on the left.

Step 3: This will enable data entry for the selected collection point in the ‘Details’ tab at the bottom left of the screen. Users can make their desired changes to the collection point using the fields here.
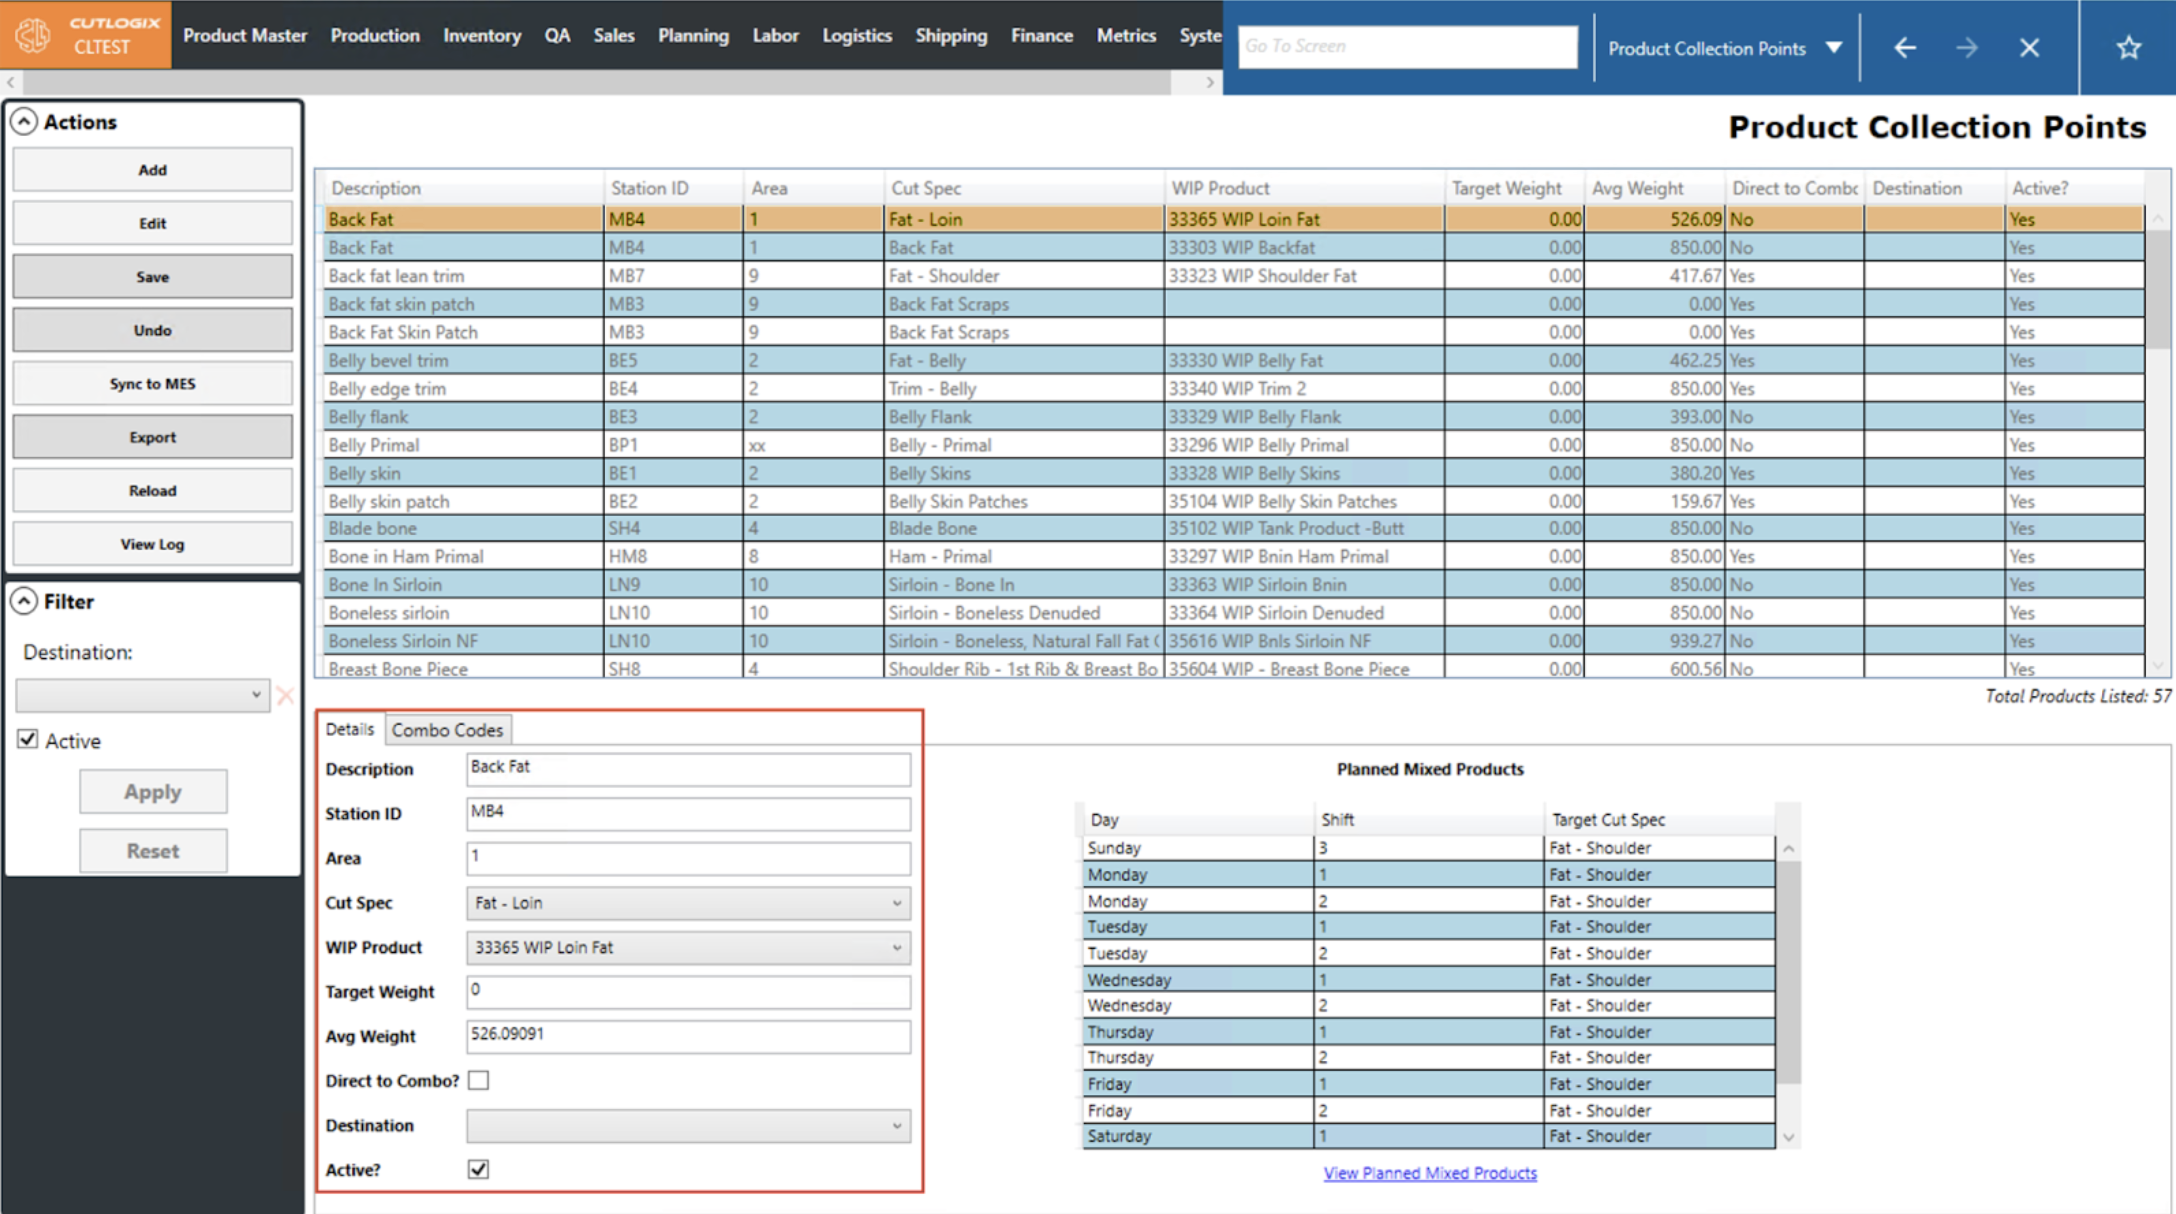
Step 4: If users wish to undo their changes and reset the collection point back to what it was before ‘Edit’ was clicked, they can click the ‘Undo’ button in the ‘Actions’ sidepod.
Step 5: If users wish to save their changes, they can click the ‘Save’ button. In order to enable the save button, users must ensure that the Description, Station ID, Area and Cut Spec fields are correctly filled out after their changes.
NOTE: When users select a cut spec, its associated Planned Mixed Products will be auto-populated on the right and any associated combo products will be automatically filled out on the Combo Codes tab.
NOTE: When users select a cut spec, its associated Planned Mixed Products will be auto-populated on the right and any associated combo products will be automatically filled out on the Combo Codes tab.

How to Export Product Collection Points Data
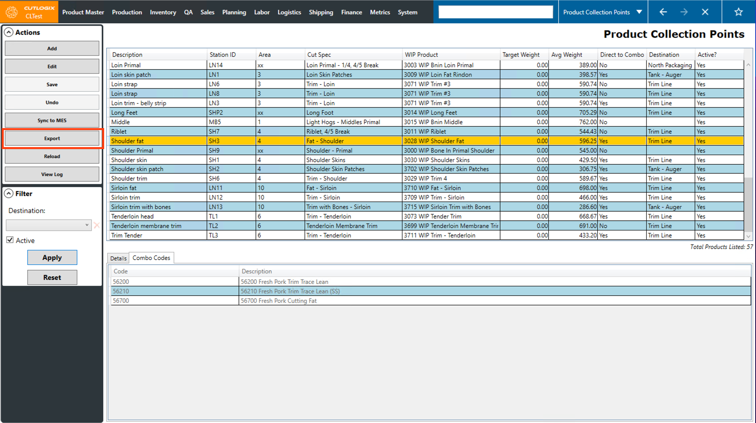
DemoStep 1: Navigate to the Planning > Plant Config > Product Collection Points screen.
Step 2: Click the “Export” button in the Actions Panel.
Step 3: A dialog will open where you can specify where on your computer that you want the export to be saved, you can also modify the filename if necessary. Once you’ve chosen a location, click the “Save” button to save the export.
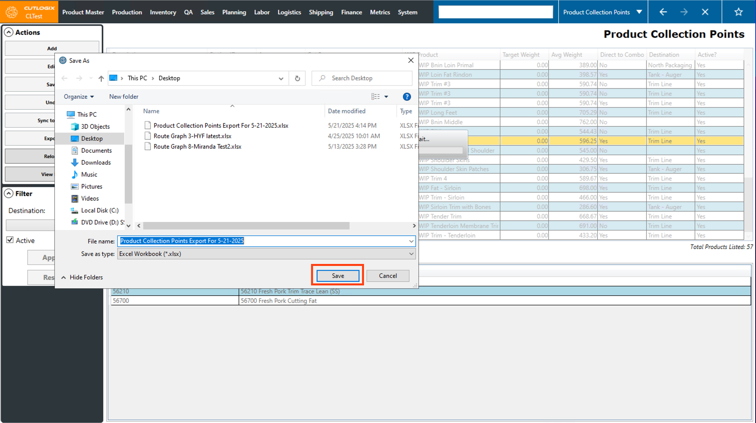
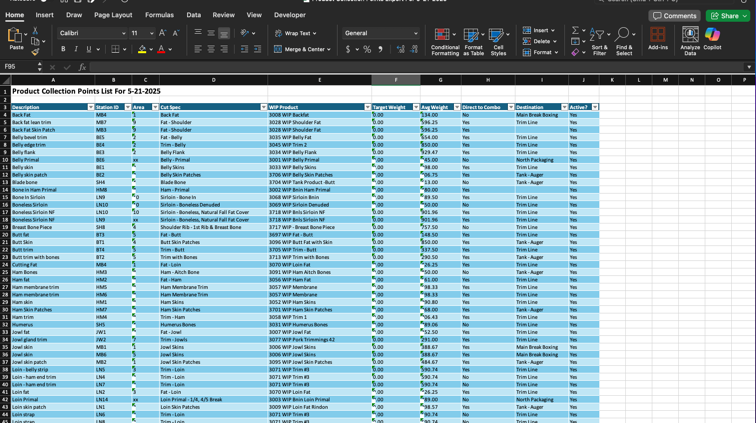
Step 4: Locate the excel file that downloaded (in the location chosen in the previous step) and open it. It will display the product collection point data (same information that is shown on the product collection points screen) for the current day.