Shipping Files Tasks
Shipping files are a view of a subset of a customer order, primarily used by the logistics team.
How to Generate a Final Price Sheet
Demo Final price sheets are used to declare the value of an order for export purposes, as opposed to requiring that an order be invoiced before it can be shipped. This can help prevent shipping delays by enabling orders to leave the plant before being officially invoiced.
Step 1: Navigate to the "Shipping Files" page (Under the Logistics menu → Shipping Files).
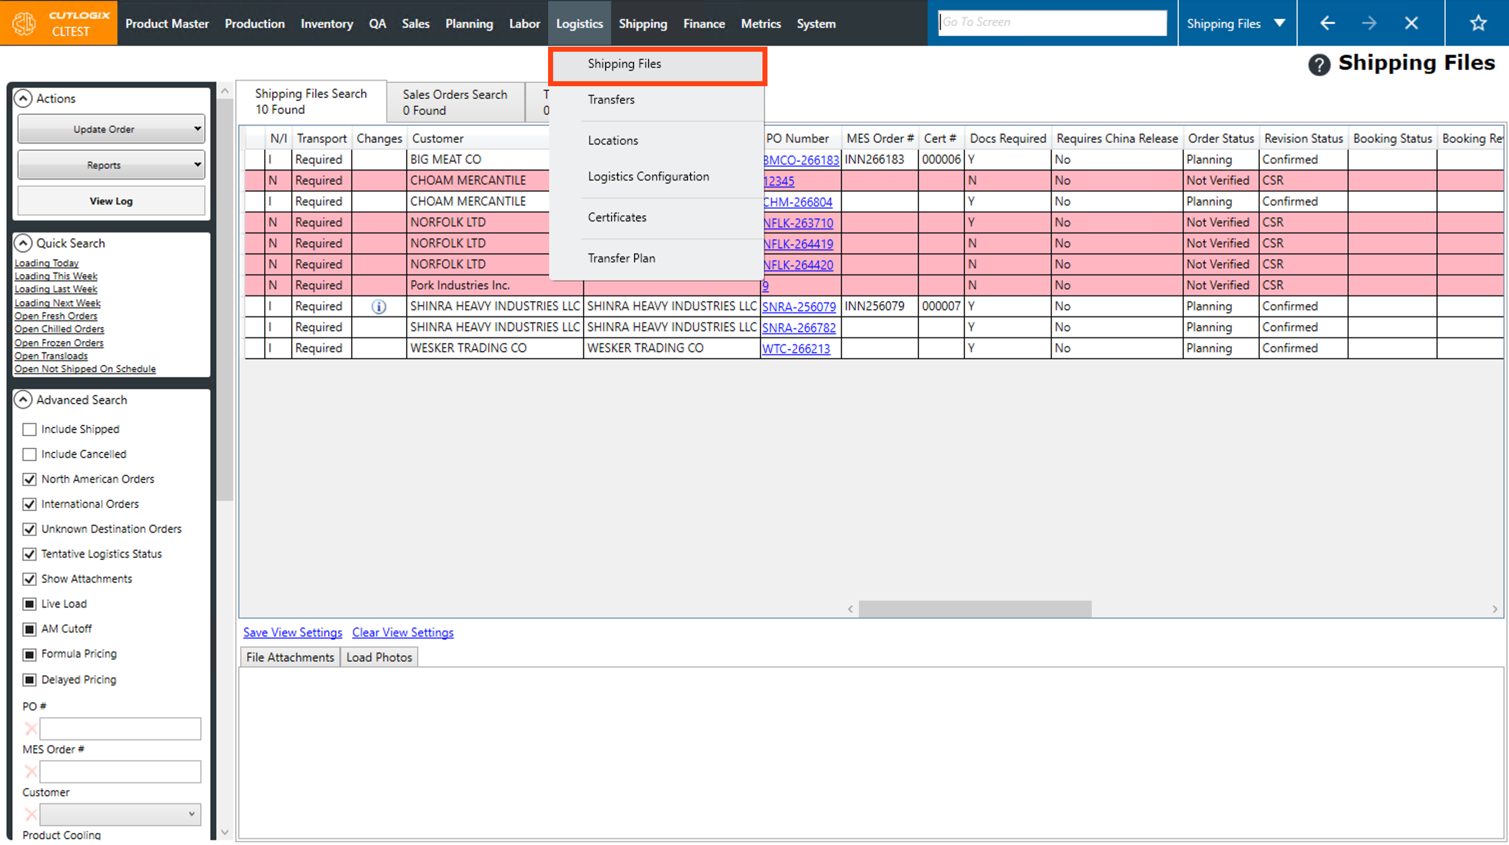
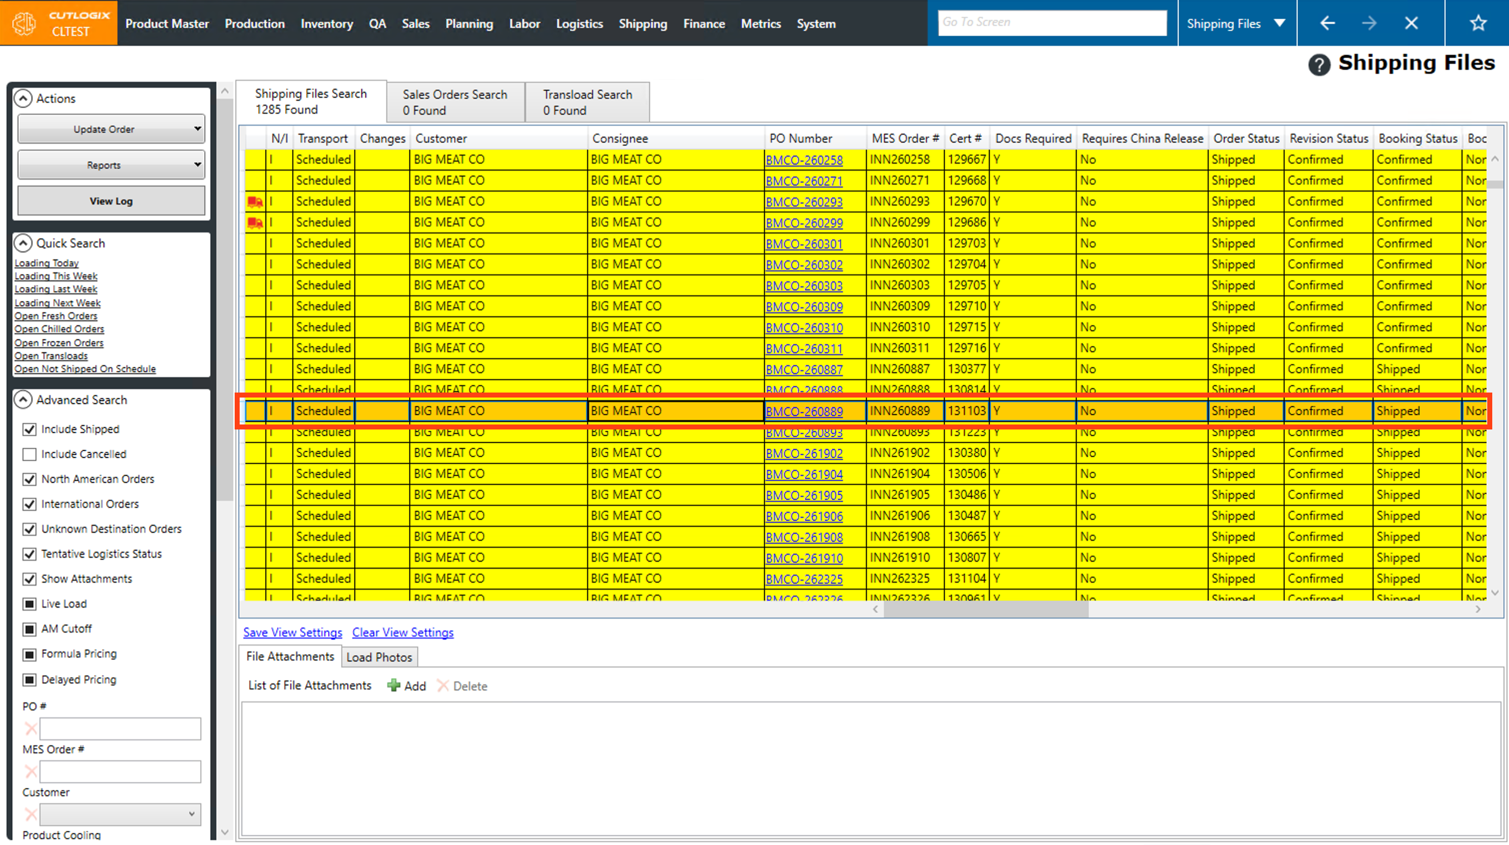
Step 2: This will bring up a list of shipping files. Shipping files are customer orders, displayed slightly differently with a focus on surfacing information important to logistics staff. Double-click on a shipping file that you want to view the final price sheet for, or click on the PO Number for the shipping file.
Step 3: The details page for that shipping file will then open. In the Actions Panel, click the "View Final Price Sheet" button.
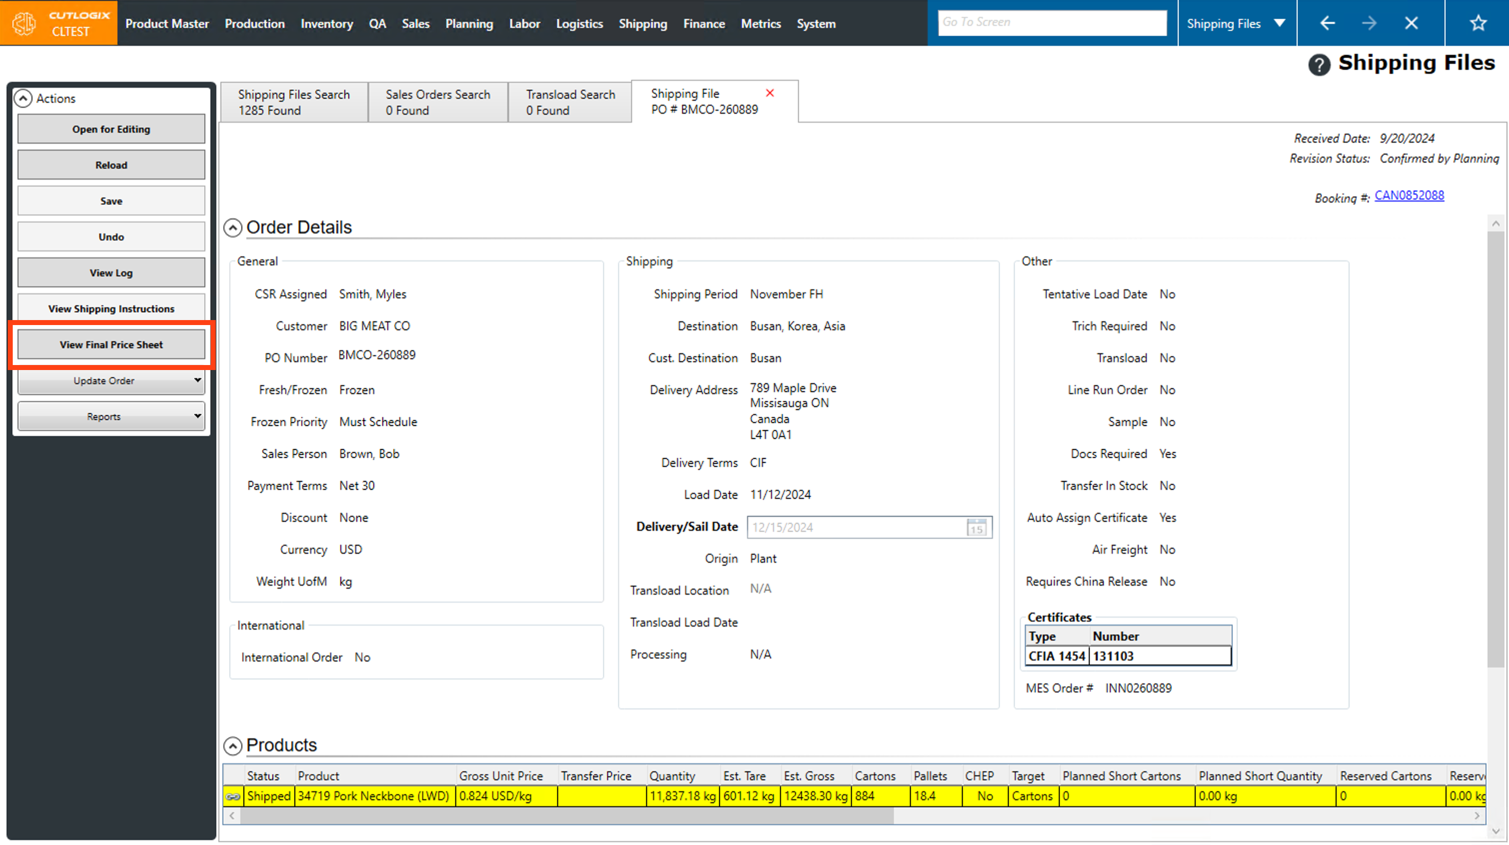
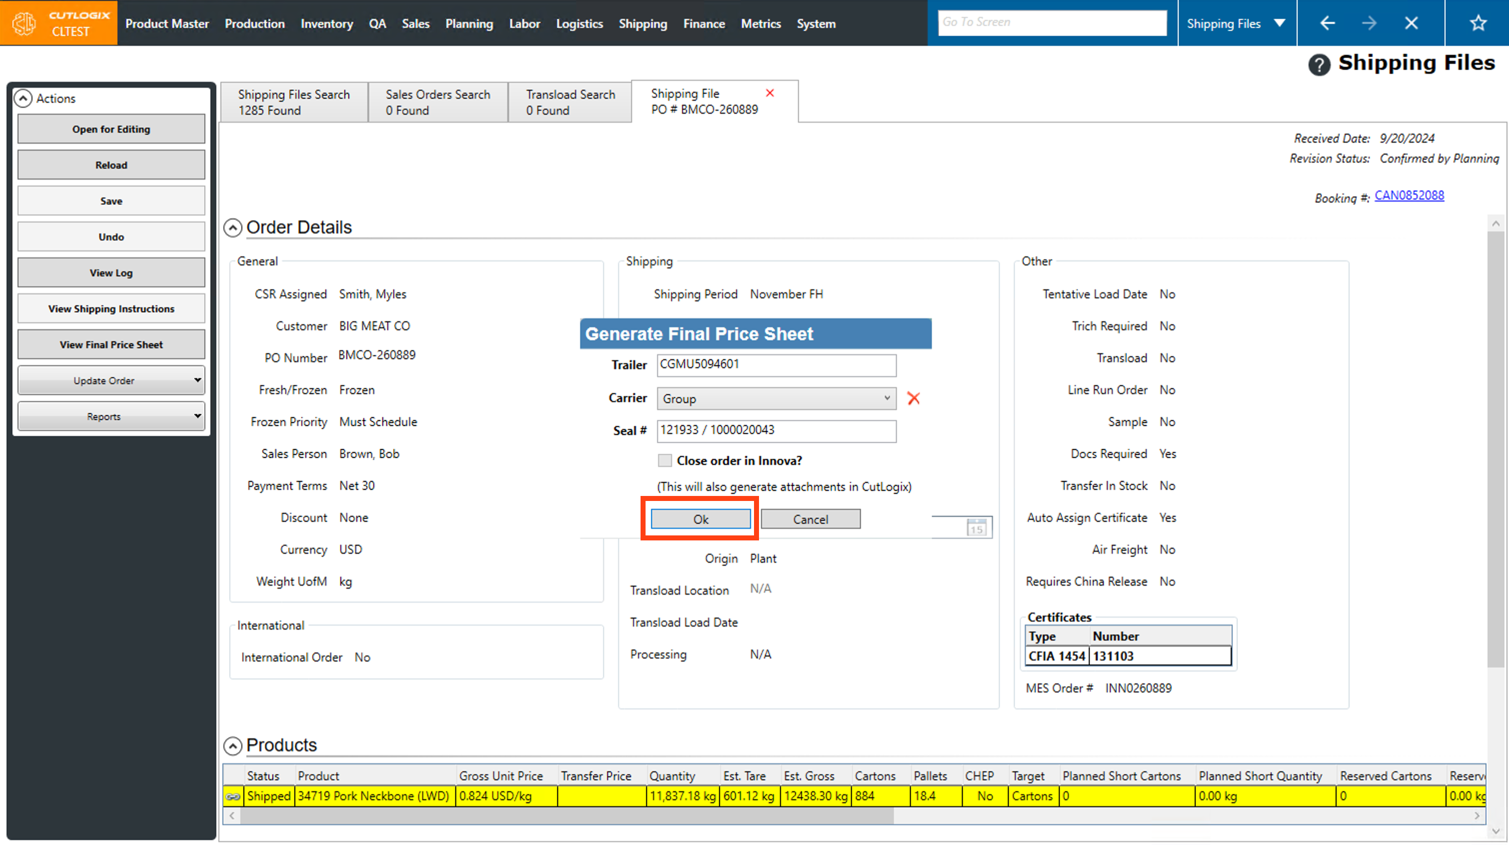
Step 4: A dialog will then open, displaying trailer, carrier and seal information. This can be modified/added as needed. Once those have been filled out, click the "OK" button to proceed with viewing the final price sheet.
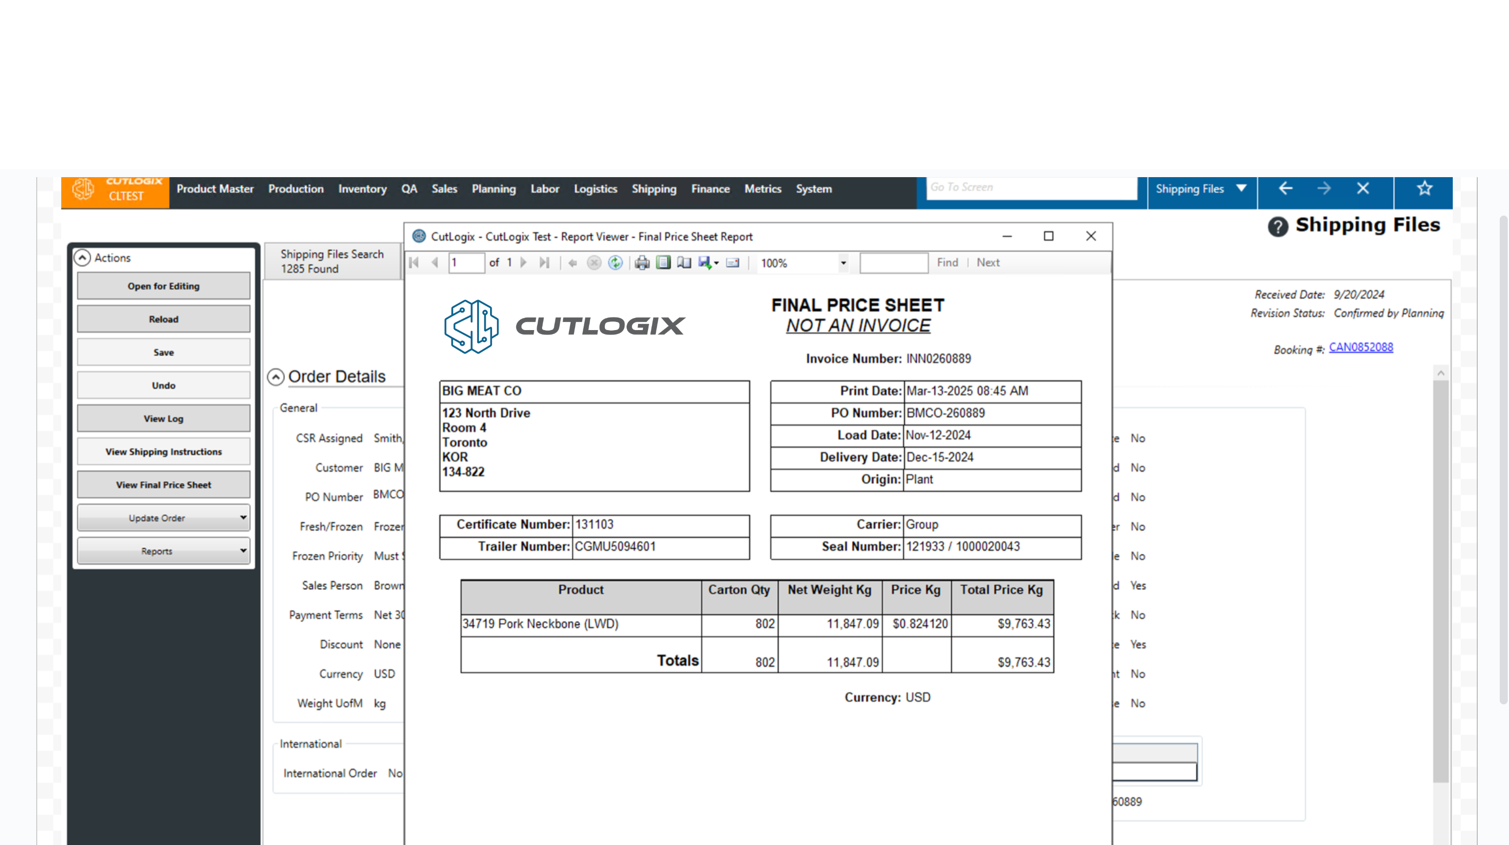
Step 5: The final price sheet will then appear. It can also be printed or saved as a PDF from this dialog.
How to Edit a Shipping File
DemoStep 1: Navigate to the "Shipping Files" page (Under the Logistics menu → Shipping Files).
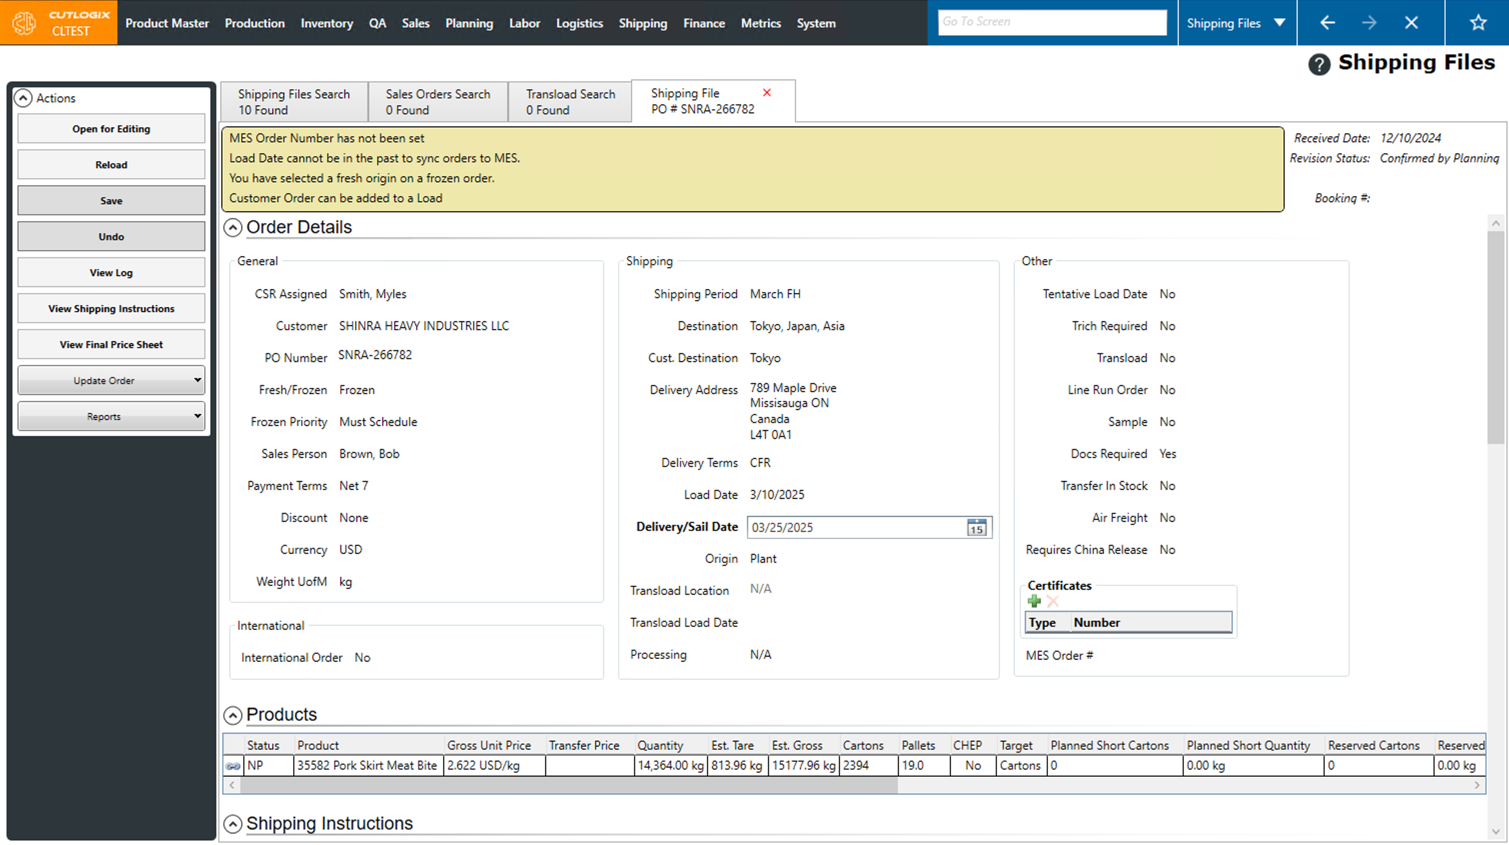
Step 2: Double-click on a shipping file or click on the shipping file's PO Number to enter the details page for it.
Step 3: Click on the "Open for Editing" button in the Actions Panel.
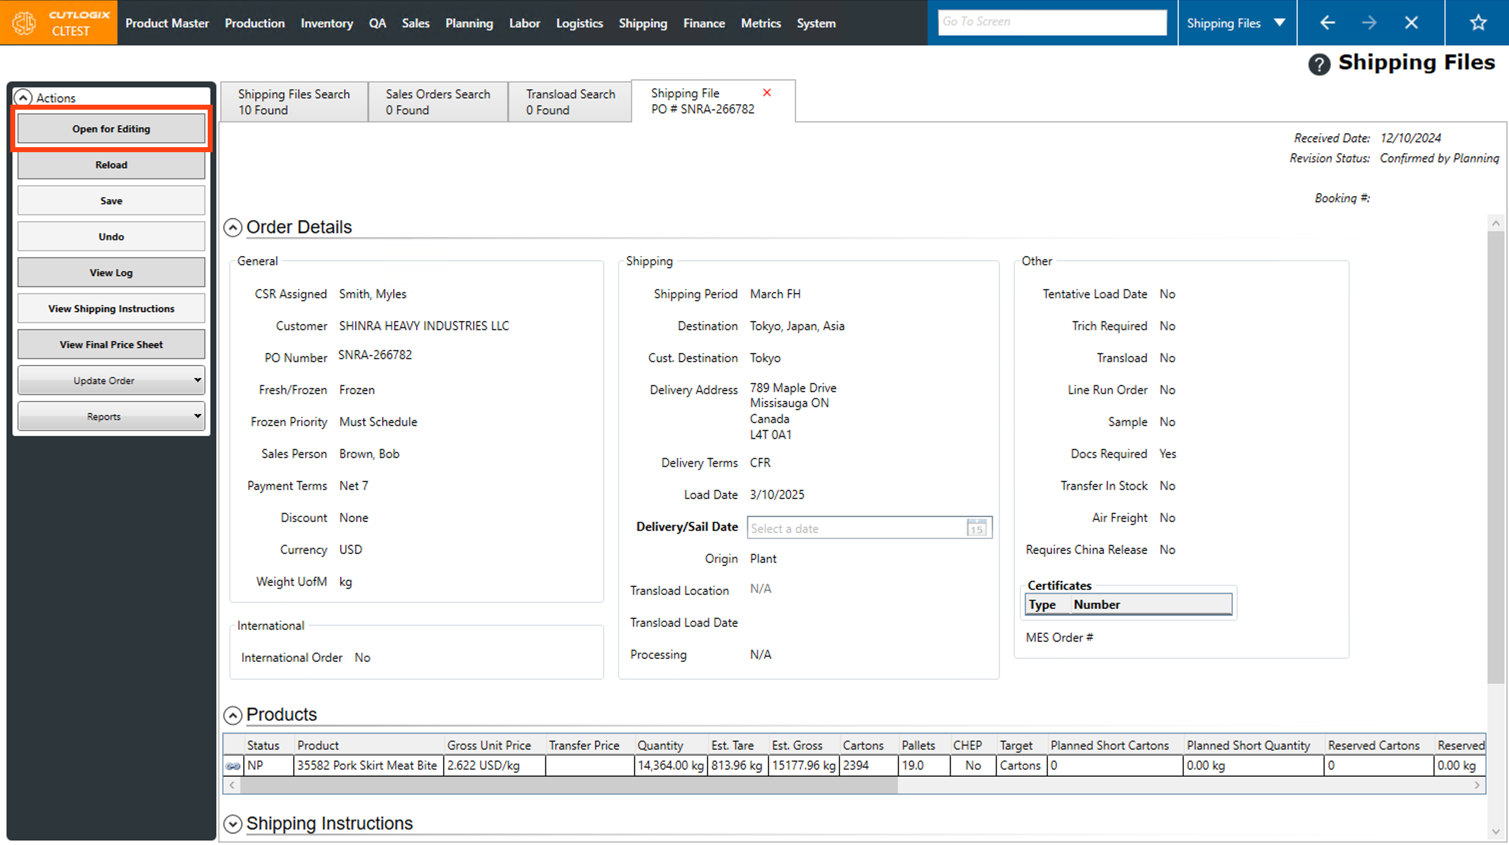
Step 4: Editing will then be enabled on the shipping file. You can make changes to shipping specific data on the shipping file, such as the delivery/sail date, certificates, shipping instructions, logistics notes and attachments. Changes cannot be made to the general order details or the products on the order.
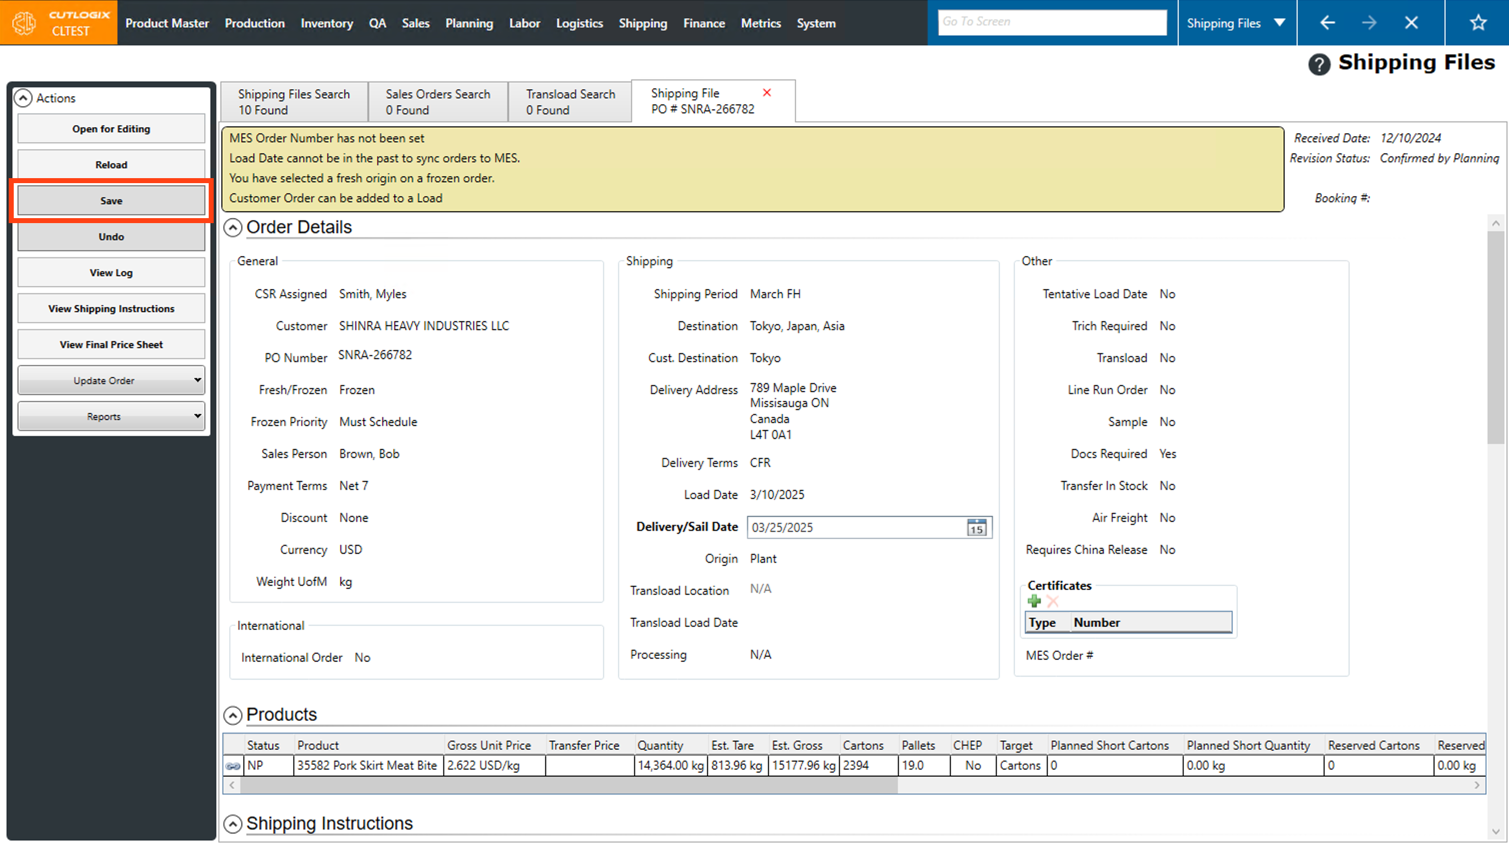
Step 5: Once you're finished making the necessary changes to the shipping file, click the "Save" button in the Actions Panel to save your changes. If you don't want to save your changes, clicking the "Undo" button will discard them.
How to Update a Shipping File
DemoStep 1: Navigate to the "Shipping Files" page (Under the Logistics menu → Shipping Files).
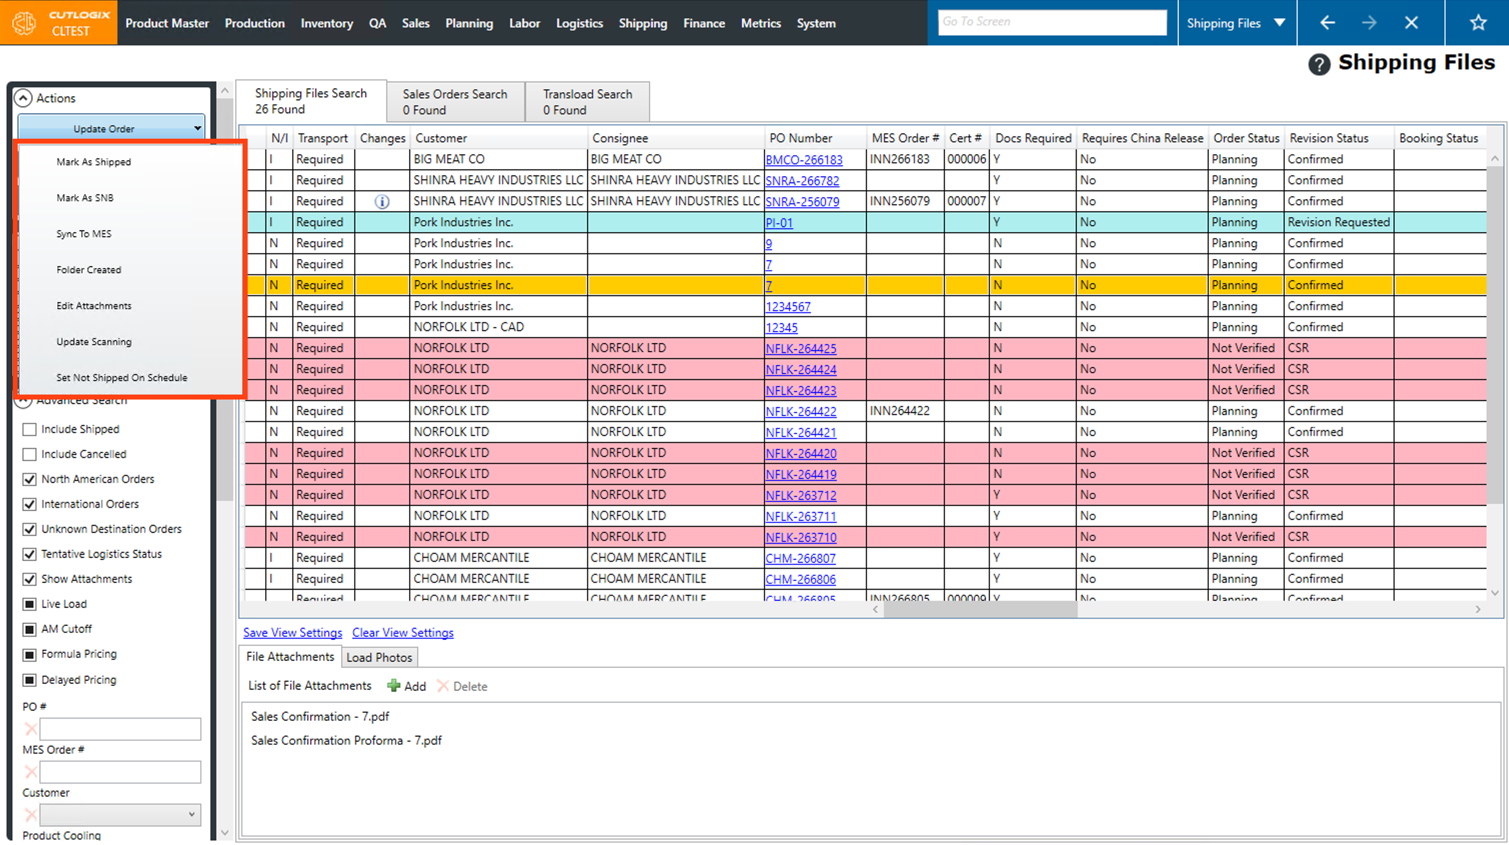
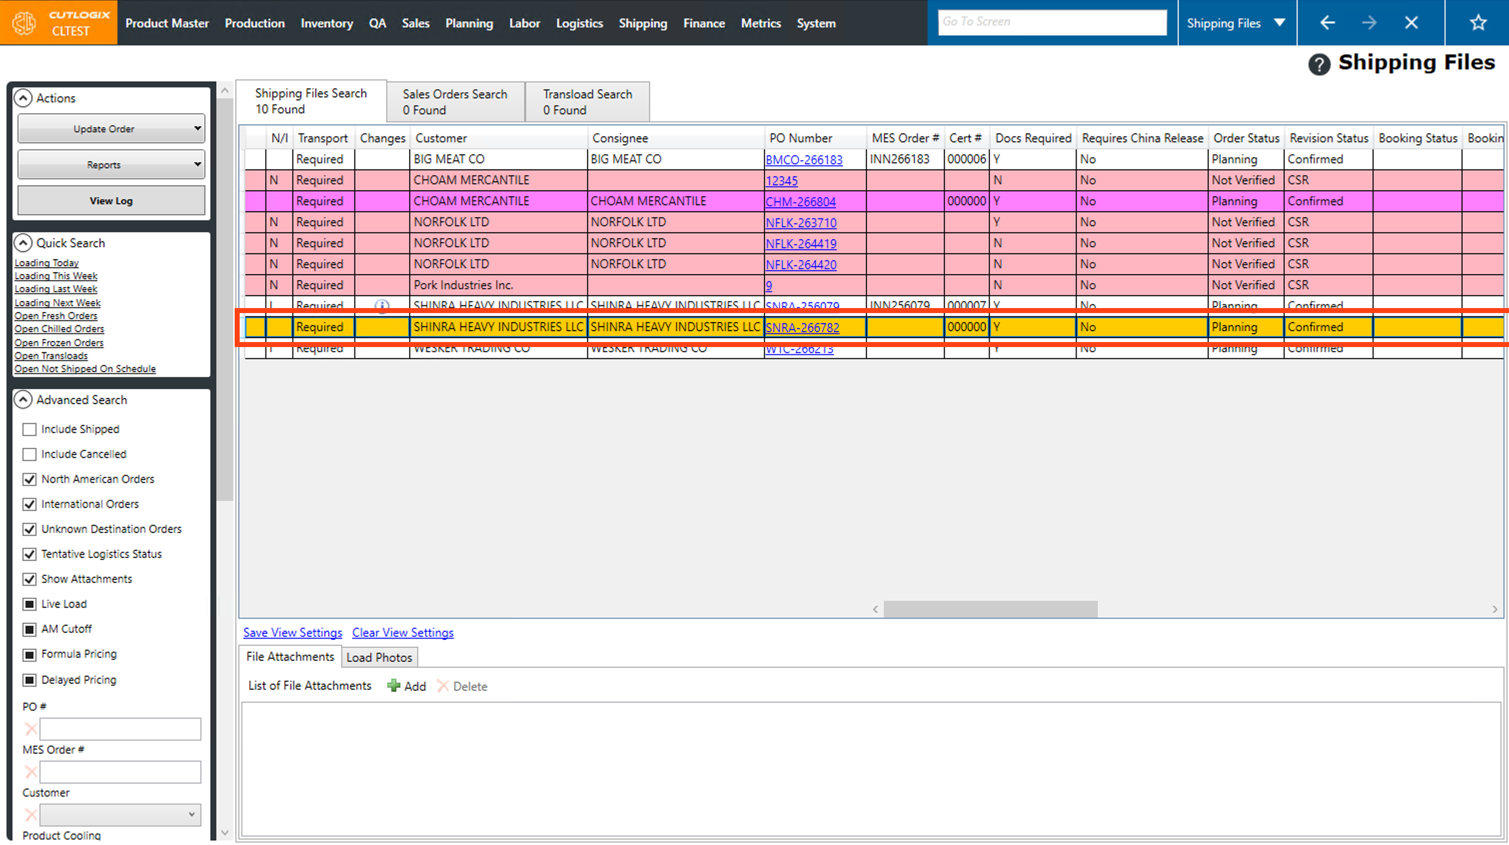
Step 2: Click on the shipping file that you want to update, once selected it will be highlighted in orange.
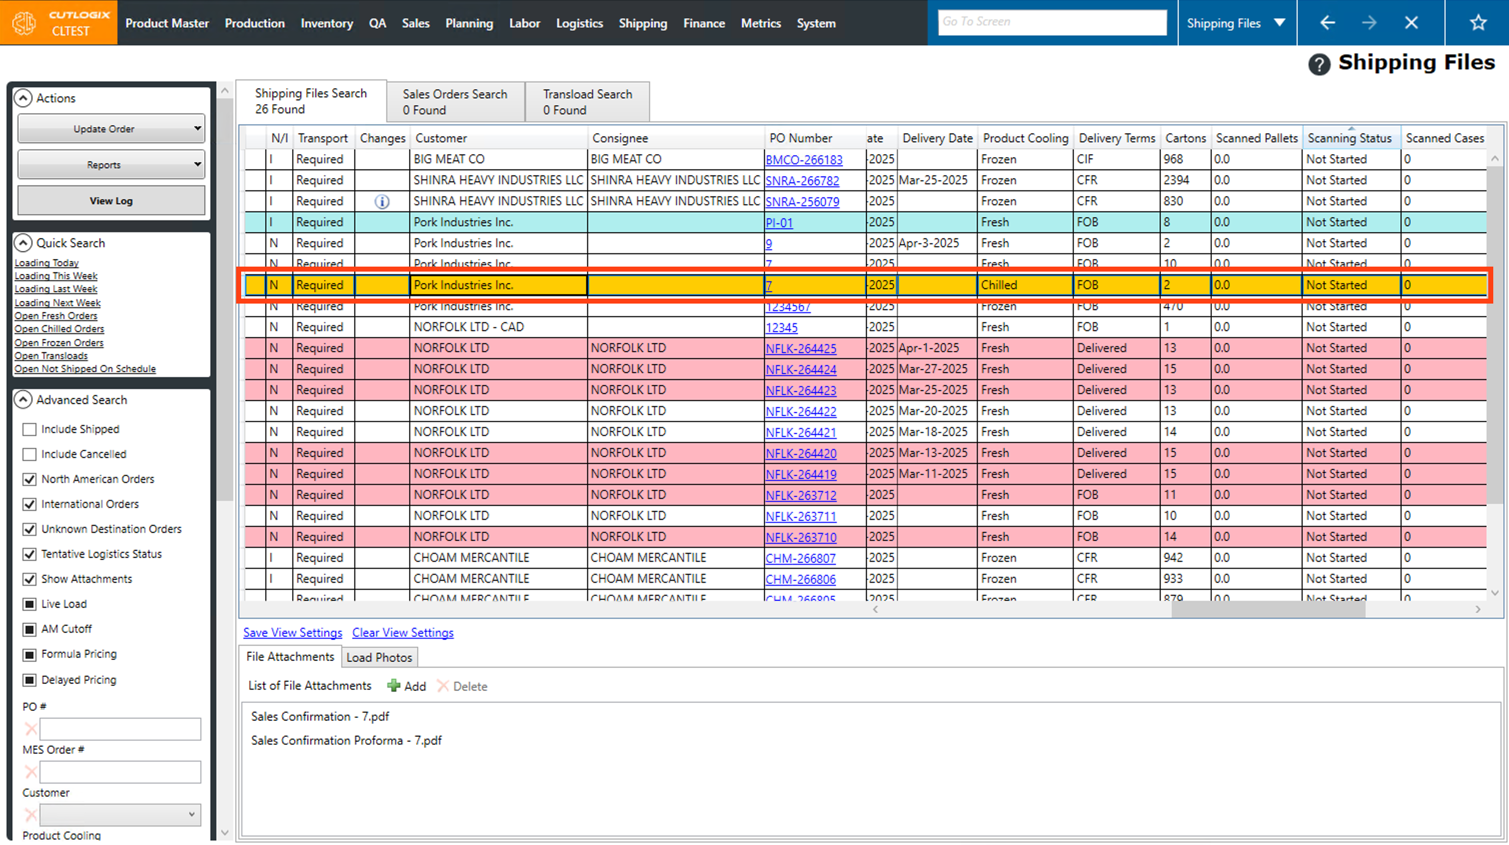
Step 3: Click on the "Update Order" button in the Actions Panel. A list of options will then appear for you to choose from to update the order. Certain options require specific criteria in order for them to be enabled. The following are the options for updating an order:
• Mark as Shipped: This tells CutLogix that the order has left the plant. This option is only enabled if the scanning status is not set to "Not Started". Once an order is marked as shipped, it will no longer appear on the shipping files search page or customer orders page by default, however these orders are still easily accessible by enabling the "Include Shipped" filter when searching orders.
• Mark as SNB: This marks the order as shipped but not billed. This would be used if an order has left the plant, but you want to hold off on invoicing for it.
• Sync To MES: Syncs the order to the MES. This is important if changes have been made to the order (ex. certificates), this allows you to update that information in the MES.
• Folder Created: This is a status in the workflow of preparing documents for the order, this just informs that a folder has been created for these documents.
• Edit Attachments: Enables you to Add/Edit and view file attachments on the order.
• Update Scanning: This tells CutLogix not to wait for the automatic job that runs every 5 minutes to update the scanning status of orders, it will update the scanning status of that order immediately.
• Set Not Shipped On Schedule: This flags the order as having left the plant behind schedule.
The order will then be updated accordingly, depending on the choice selected.