Priority Rules Tasks
How to Add a Priority Rule
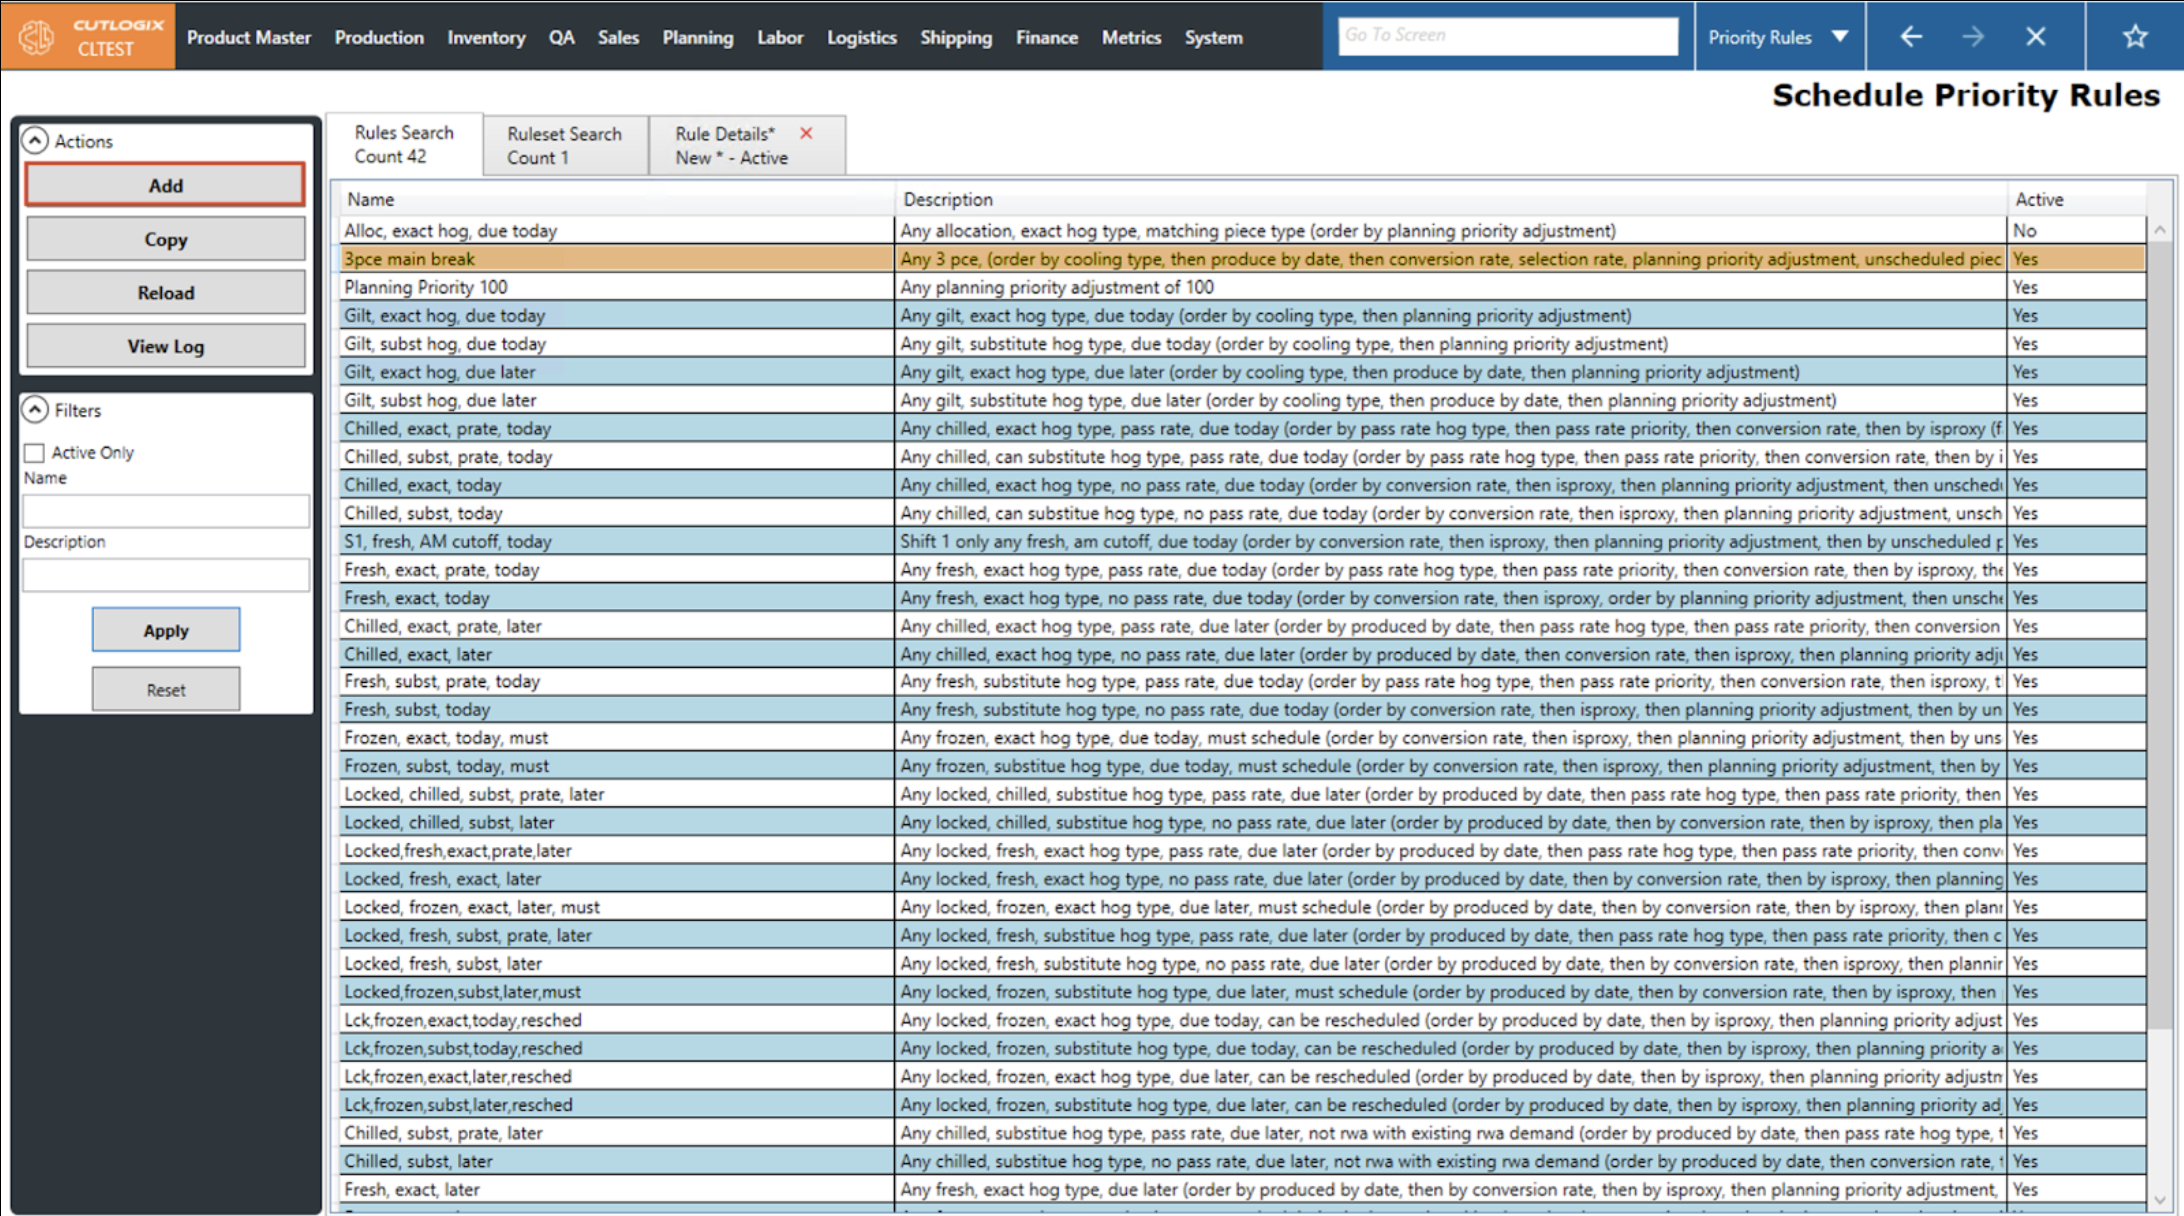
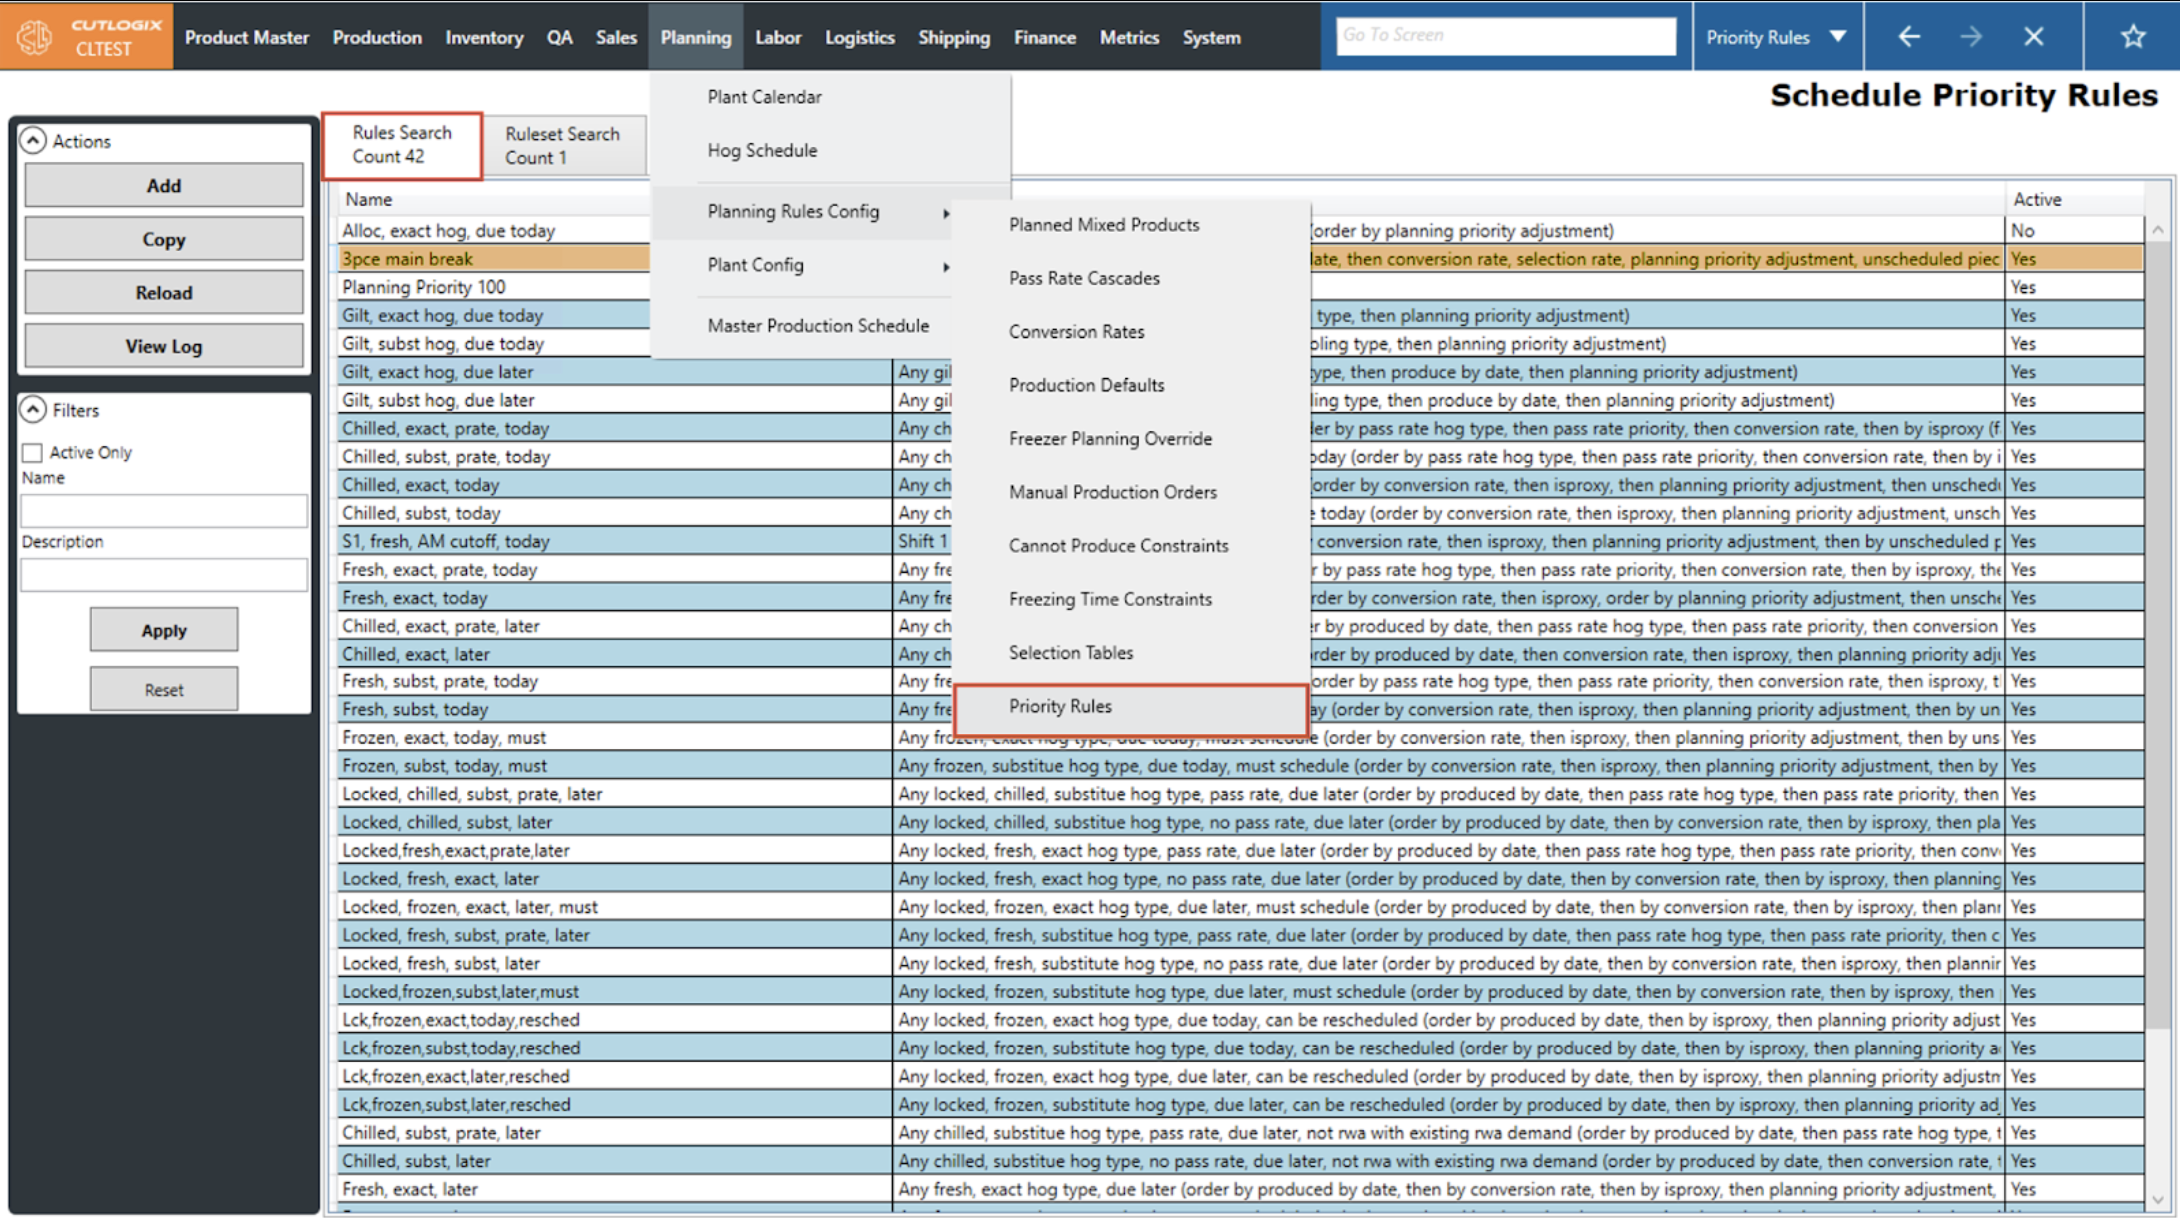
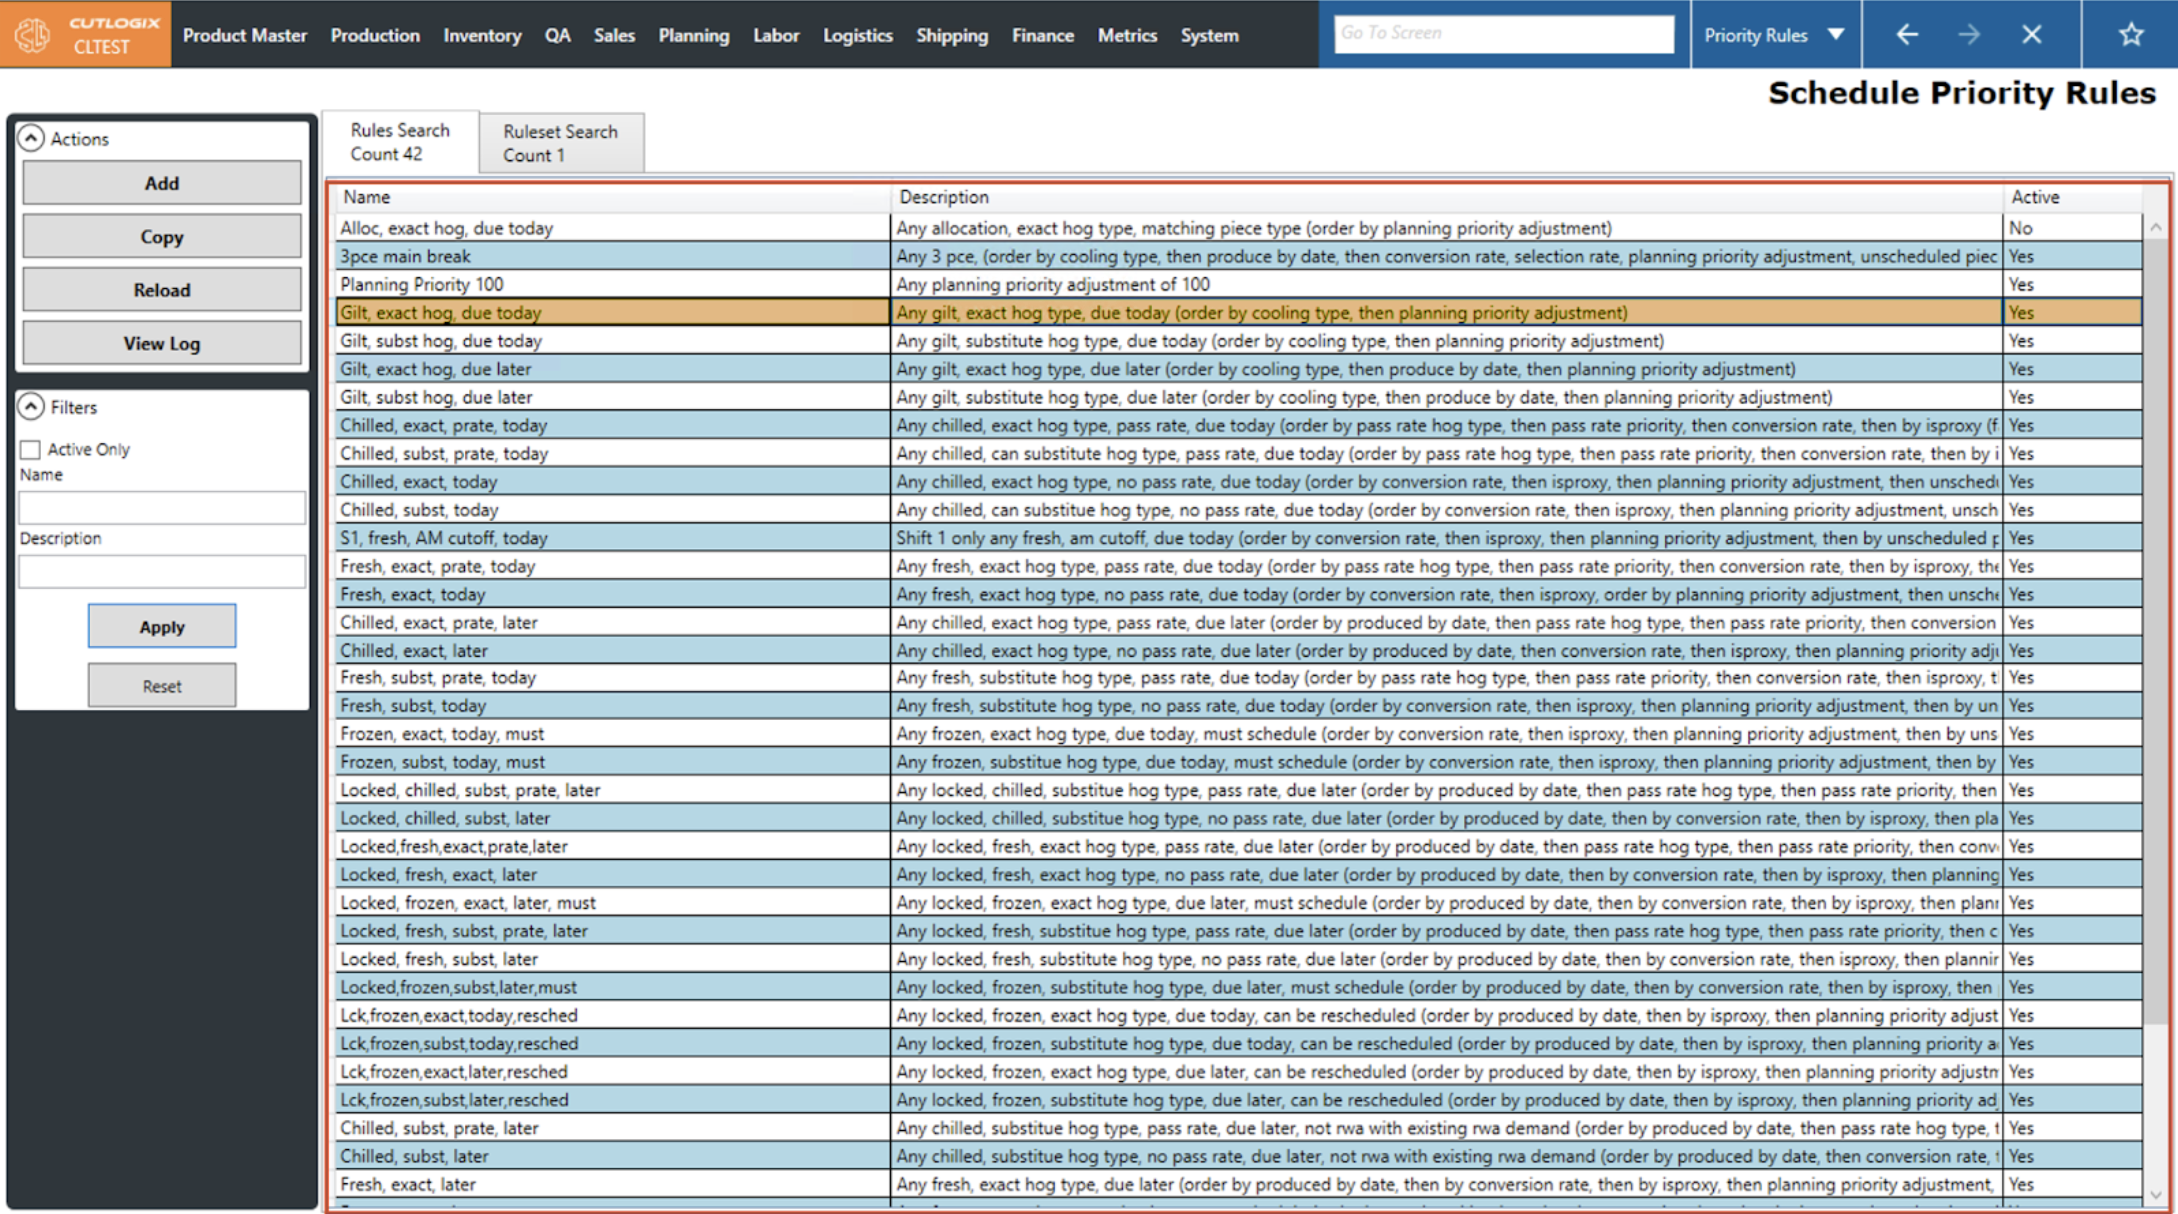
DemoStep 1: Navigate to Planning > Planning Rules Config > Priority Rules screen and select the Rules Search tab.

Step 2: Click the ‘Add’ button in the left Actions sidepod.
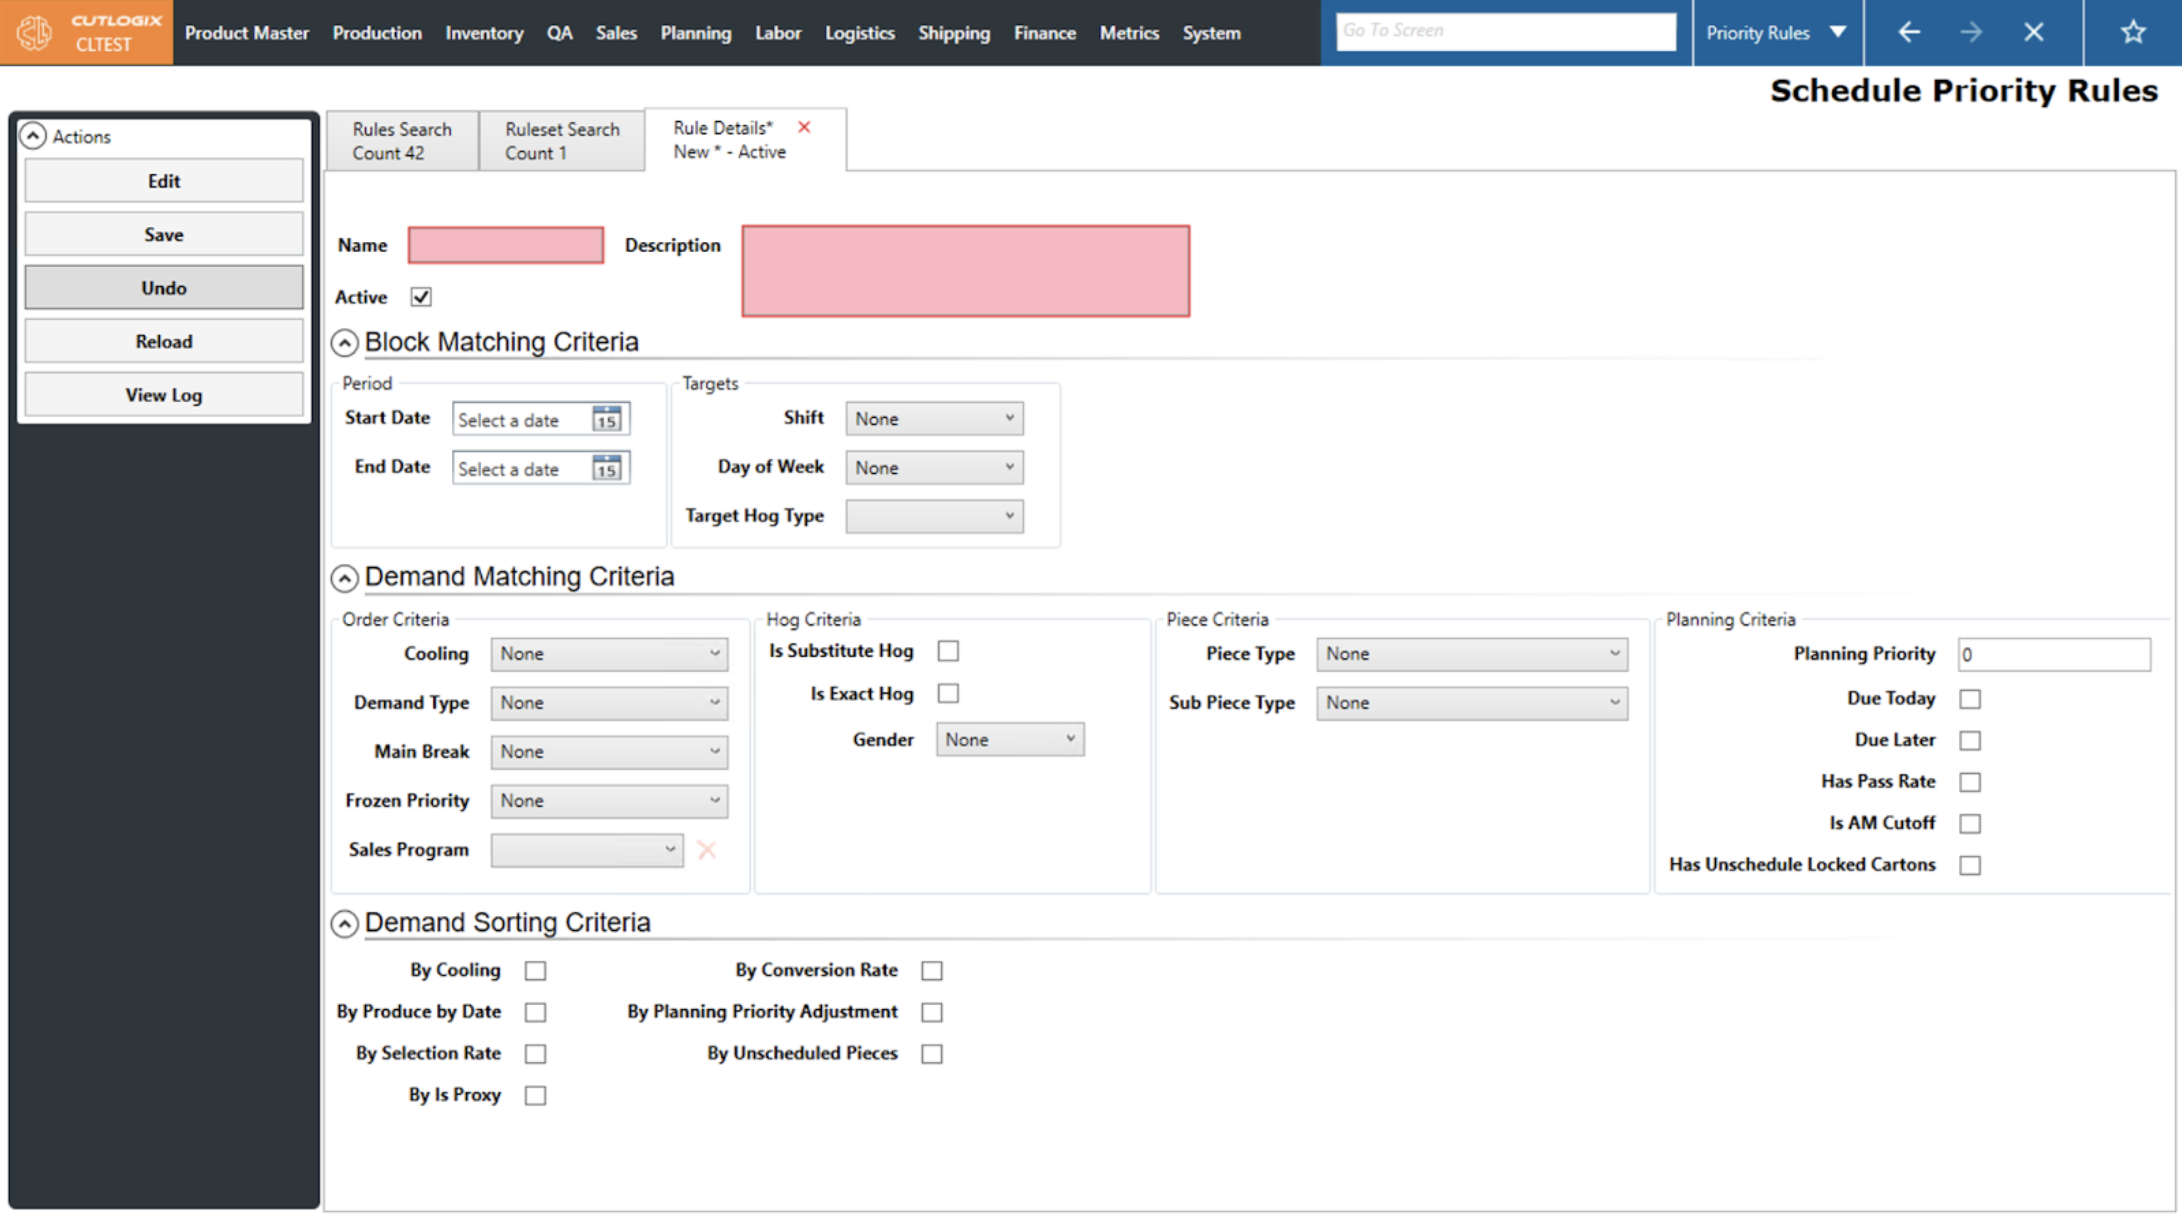
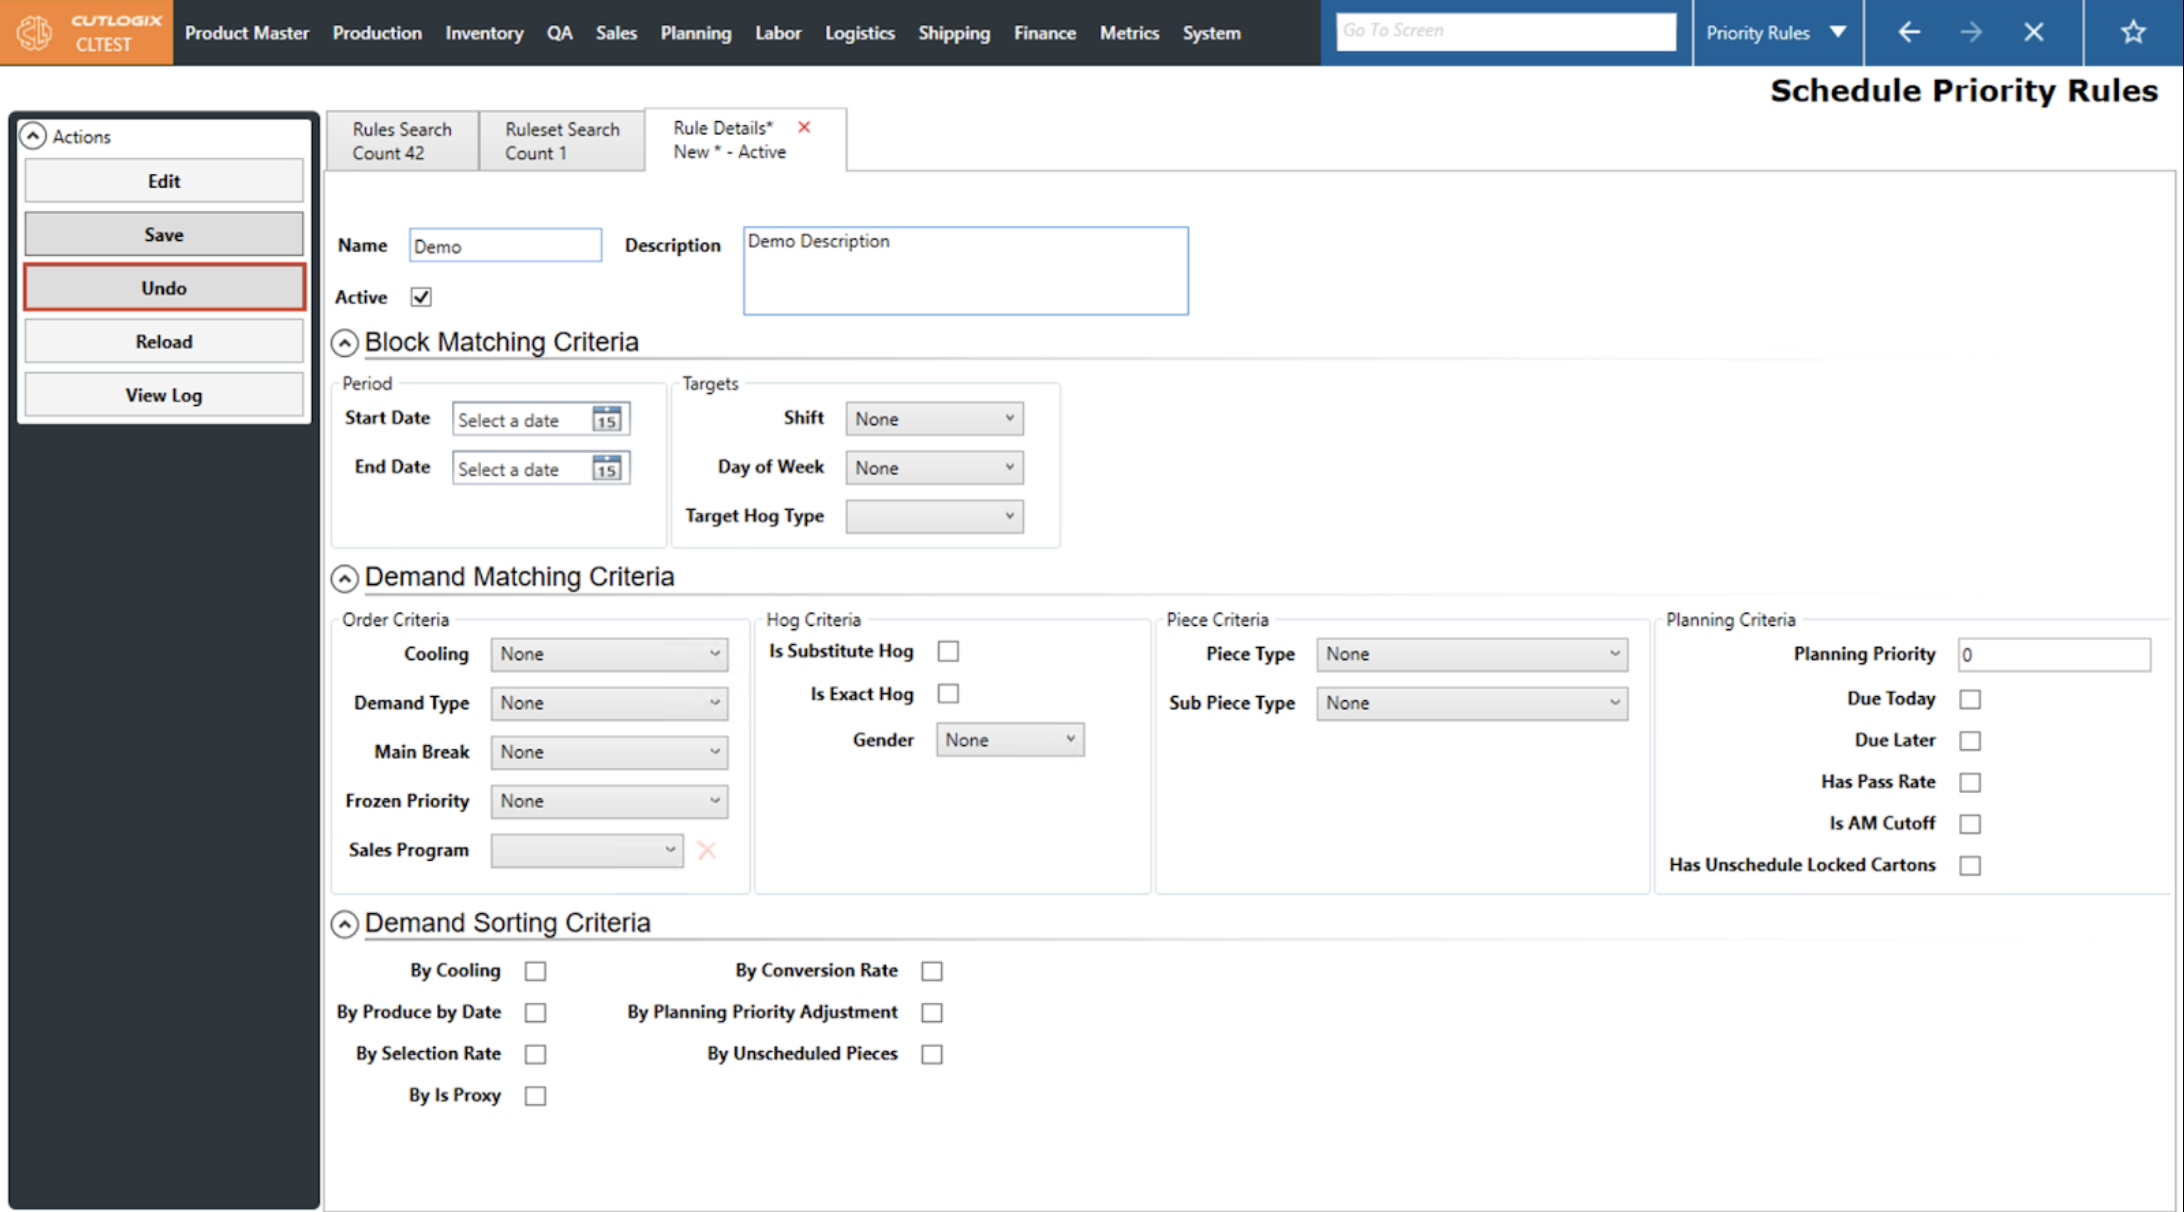
Step 3: Clicking ‘Add’ will open a new details tab for the new priority rule. Choose the criteria for what type of demand you want the rule to match.
Step 4: If you wish to delete the new rule without saving, hit the ‘Undo’ button.

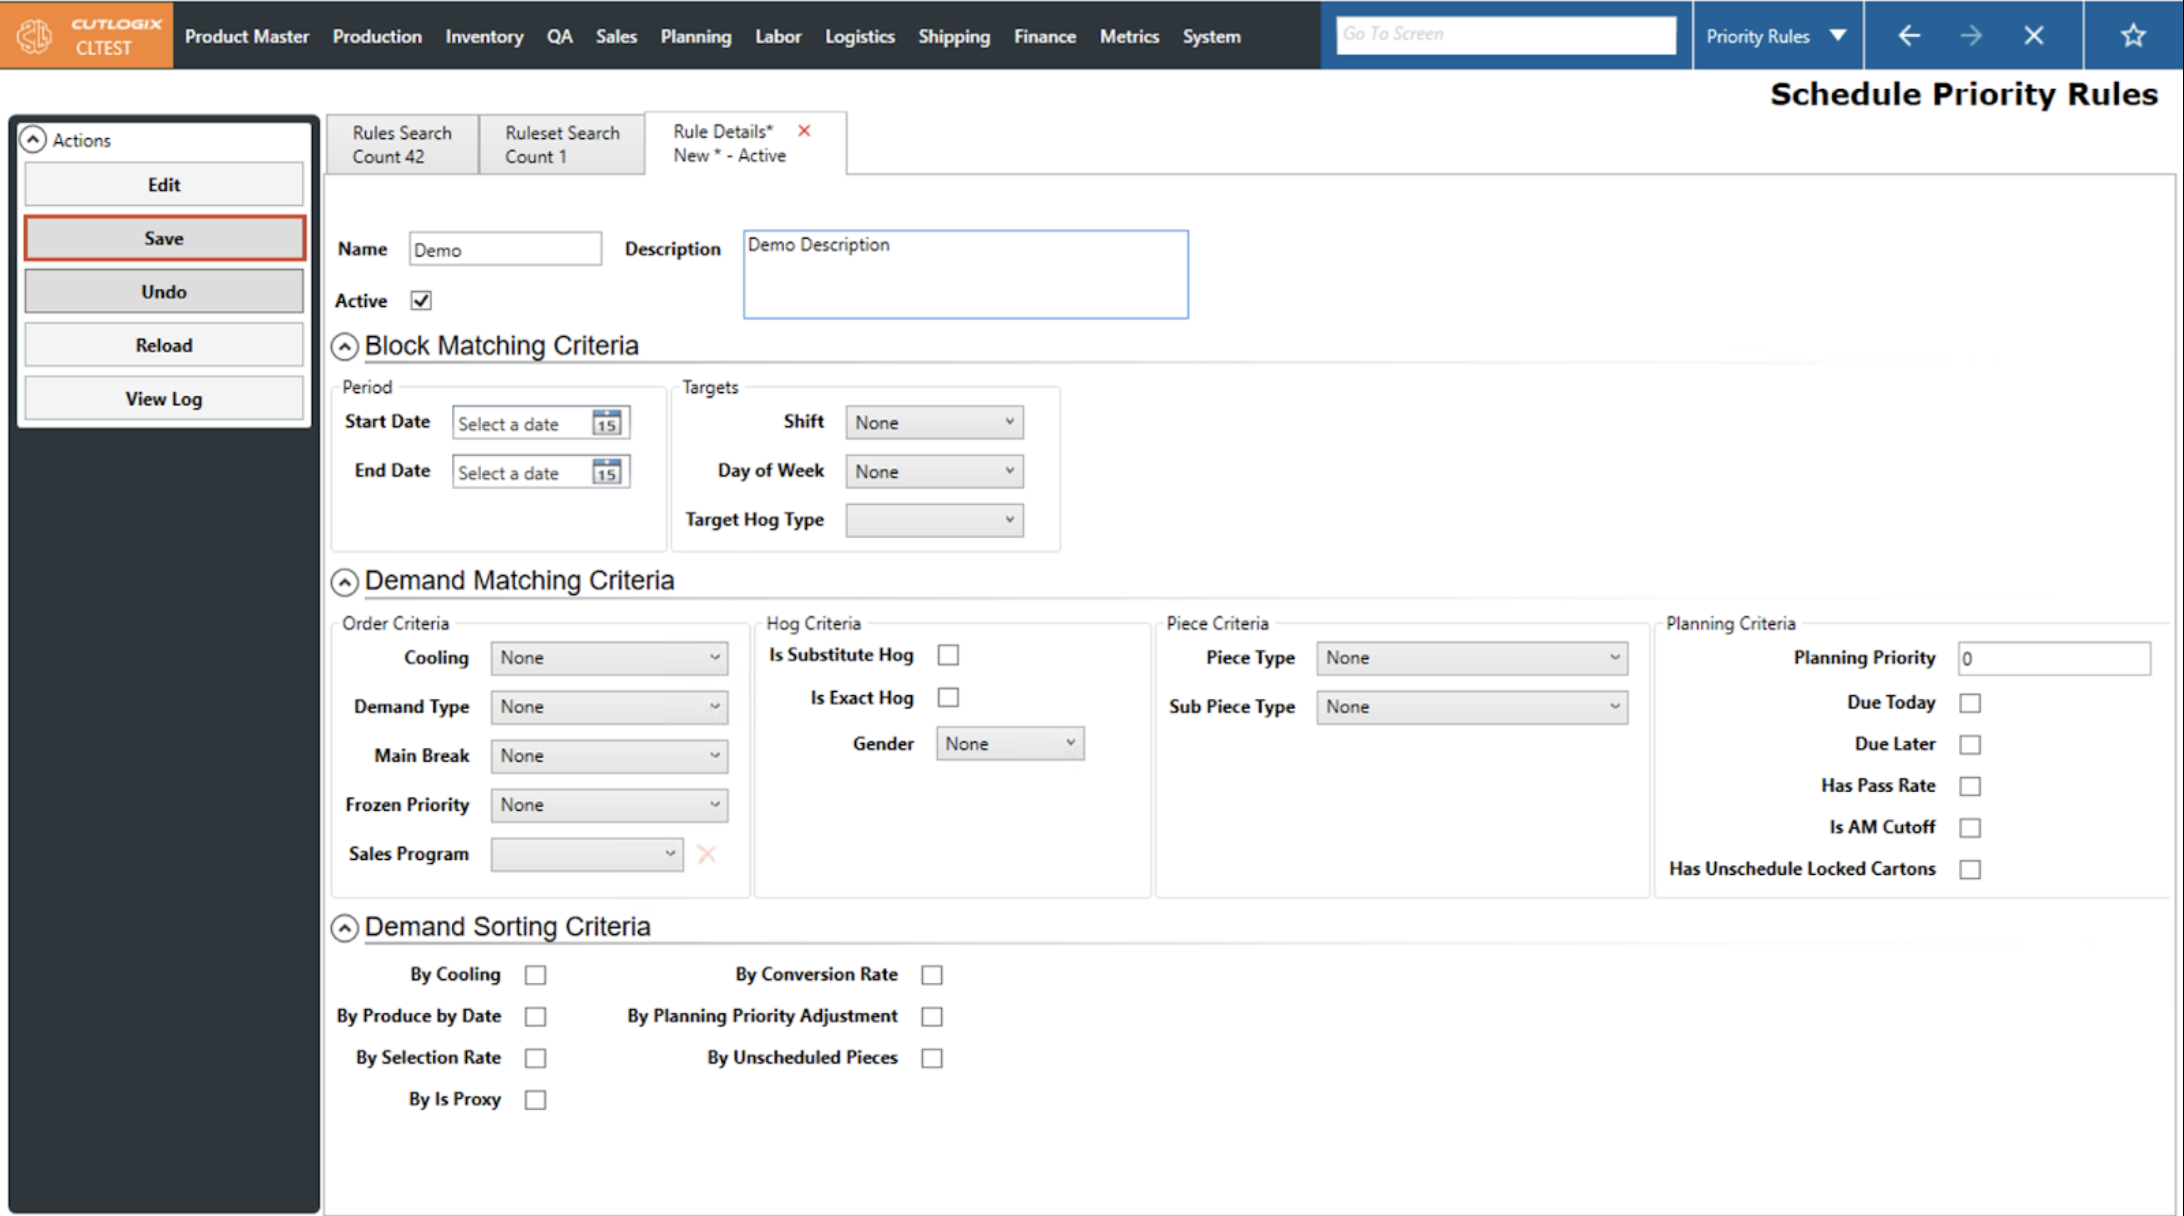
Step 5: If you wish to save your rule and have all required fields filled out then you can do so by clicking the ‘Save’ button. Rules require the Name and the Description field to be filled out.
How to Edit a Priority Rule
DemoStep 1: Navigate to Planning > Planning Rules Config > Priority Rules screen and select the Rules Search tab.
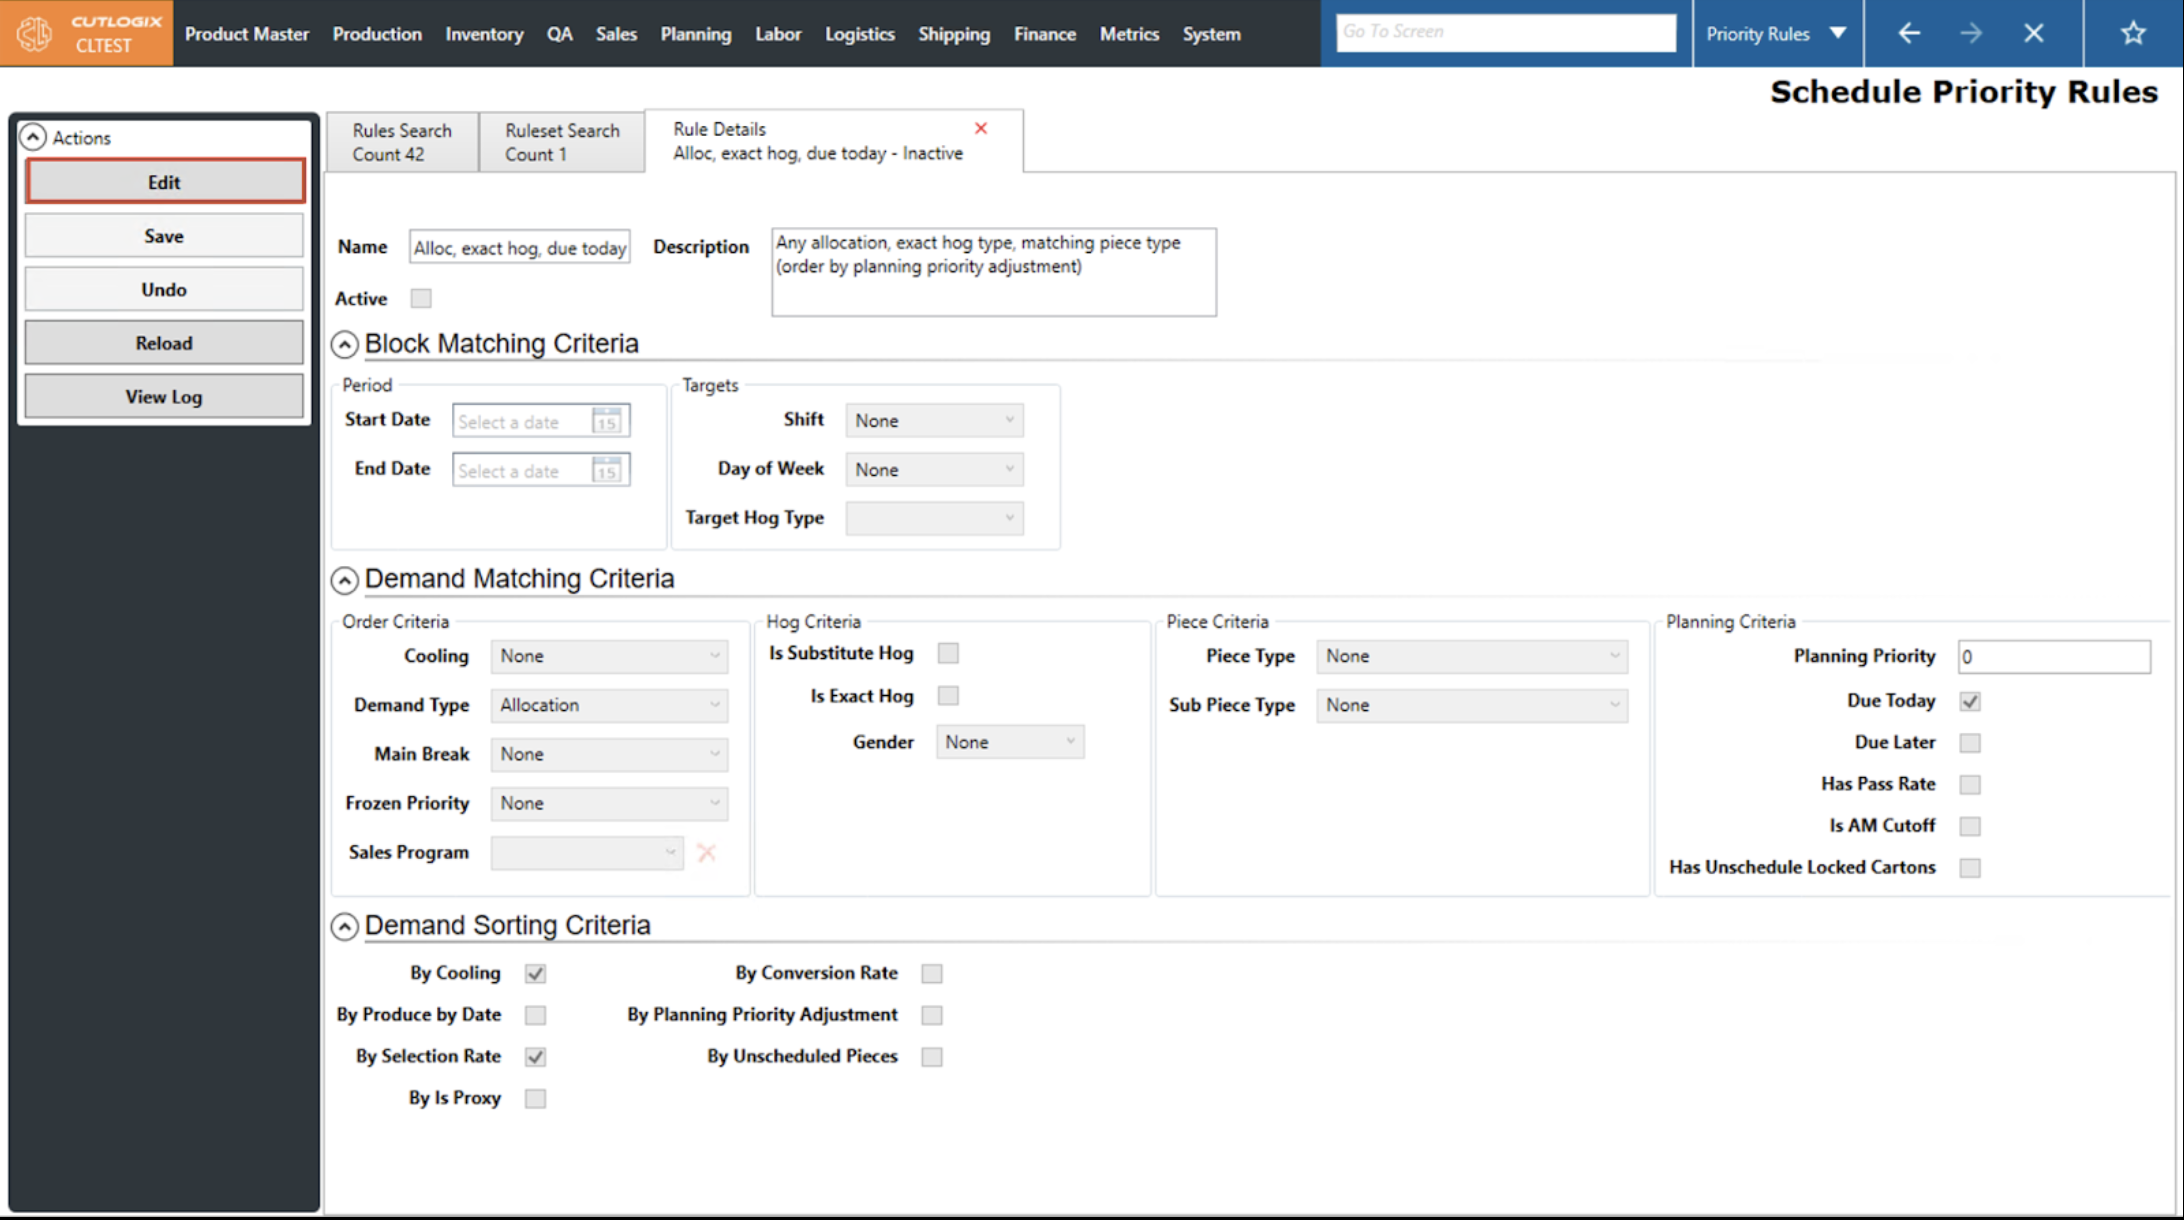
Step 2: Double-click a rule in the data grid to open its details tab.
Step 3: Once on the rule’s details tab, click the ‘Edit’ button in the left sidepod to enable data entry. You can then make the desired changes to the rule.
Step 4: If you wish to roll back the changes you have made and restore the rule to how it was before you hit ‘Edit’, click the ‘Undo’ button.
Step 5: If you wish to save the changes to the rule and have all required fields filled out then you can do so by clicking the ‘Save’ button. Rules require the Name and the Description field to be filled out.

How to Add a Ruleset
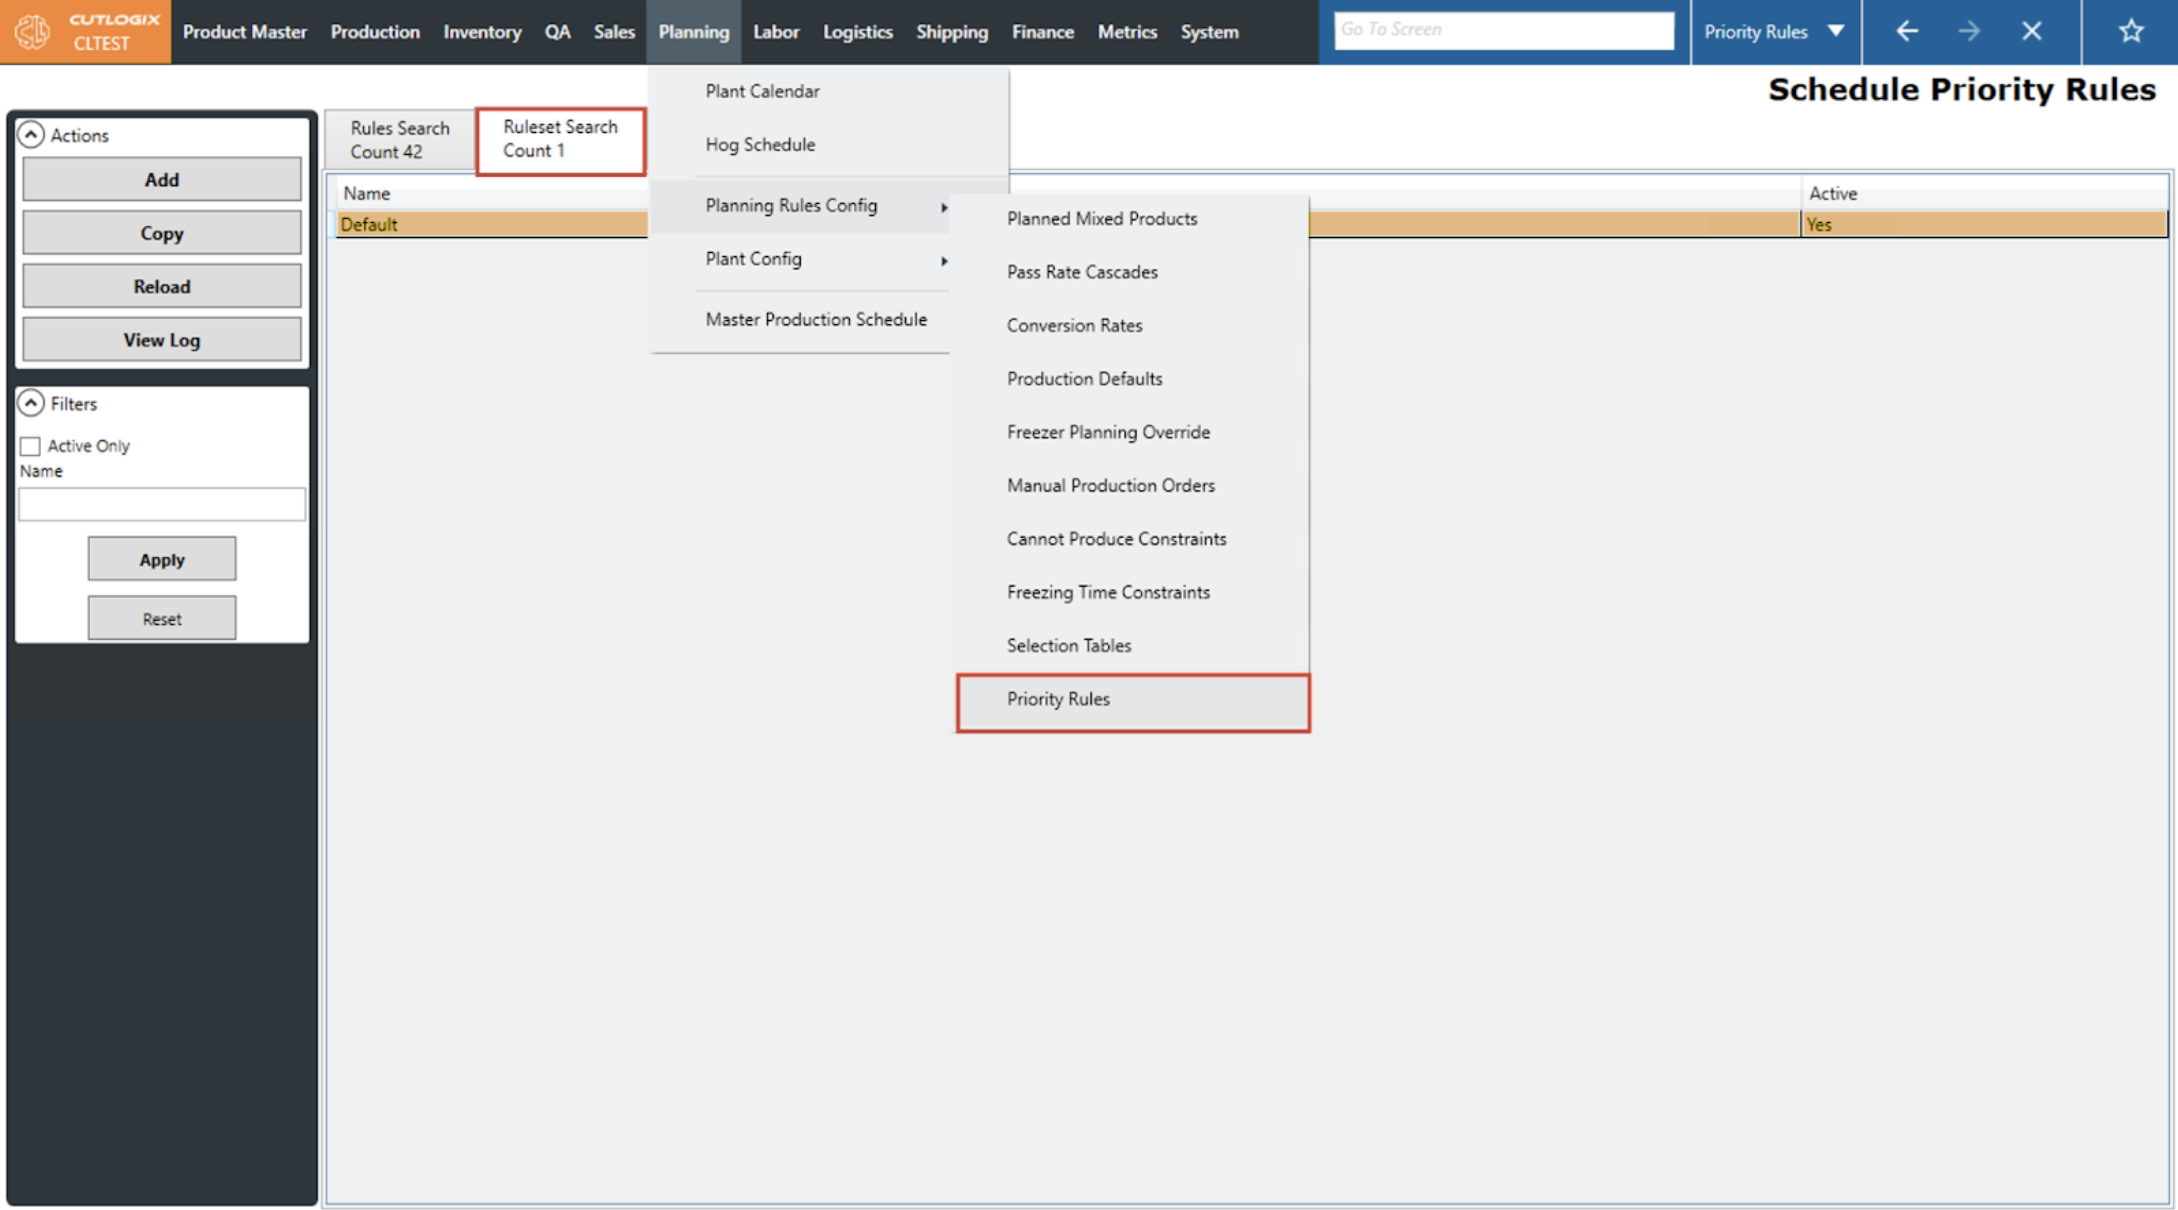
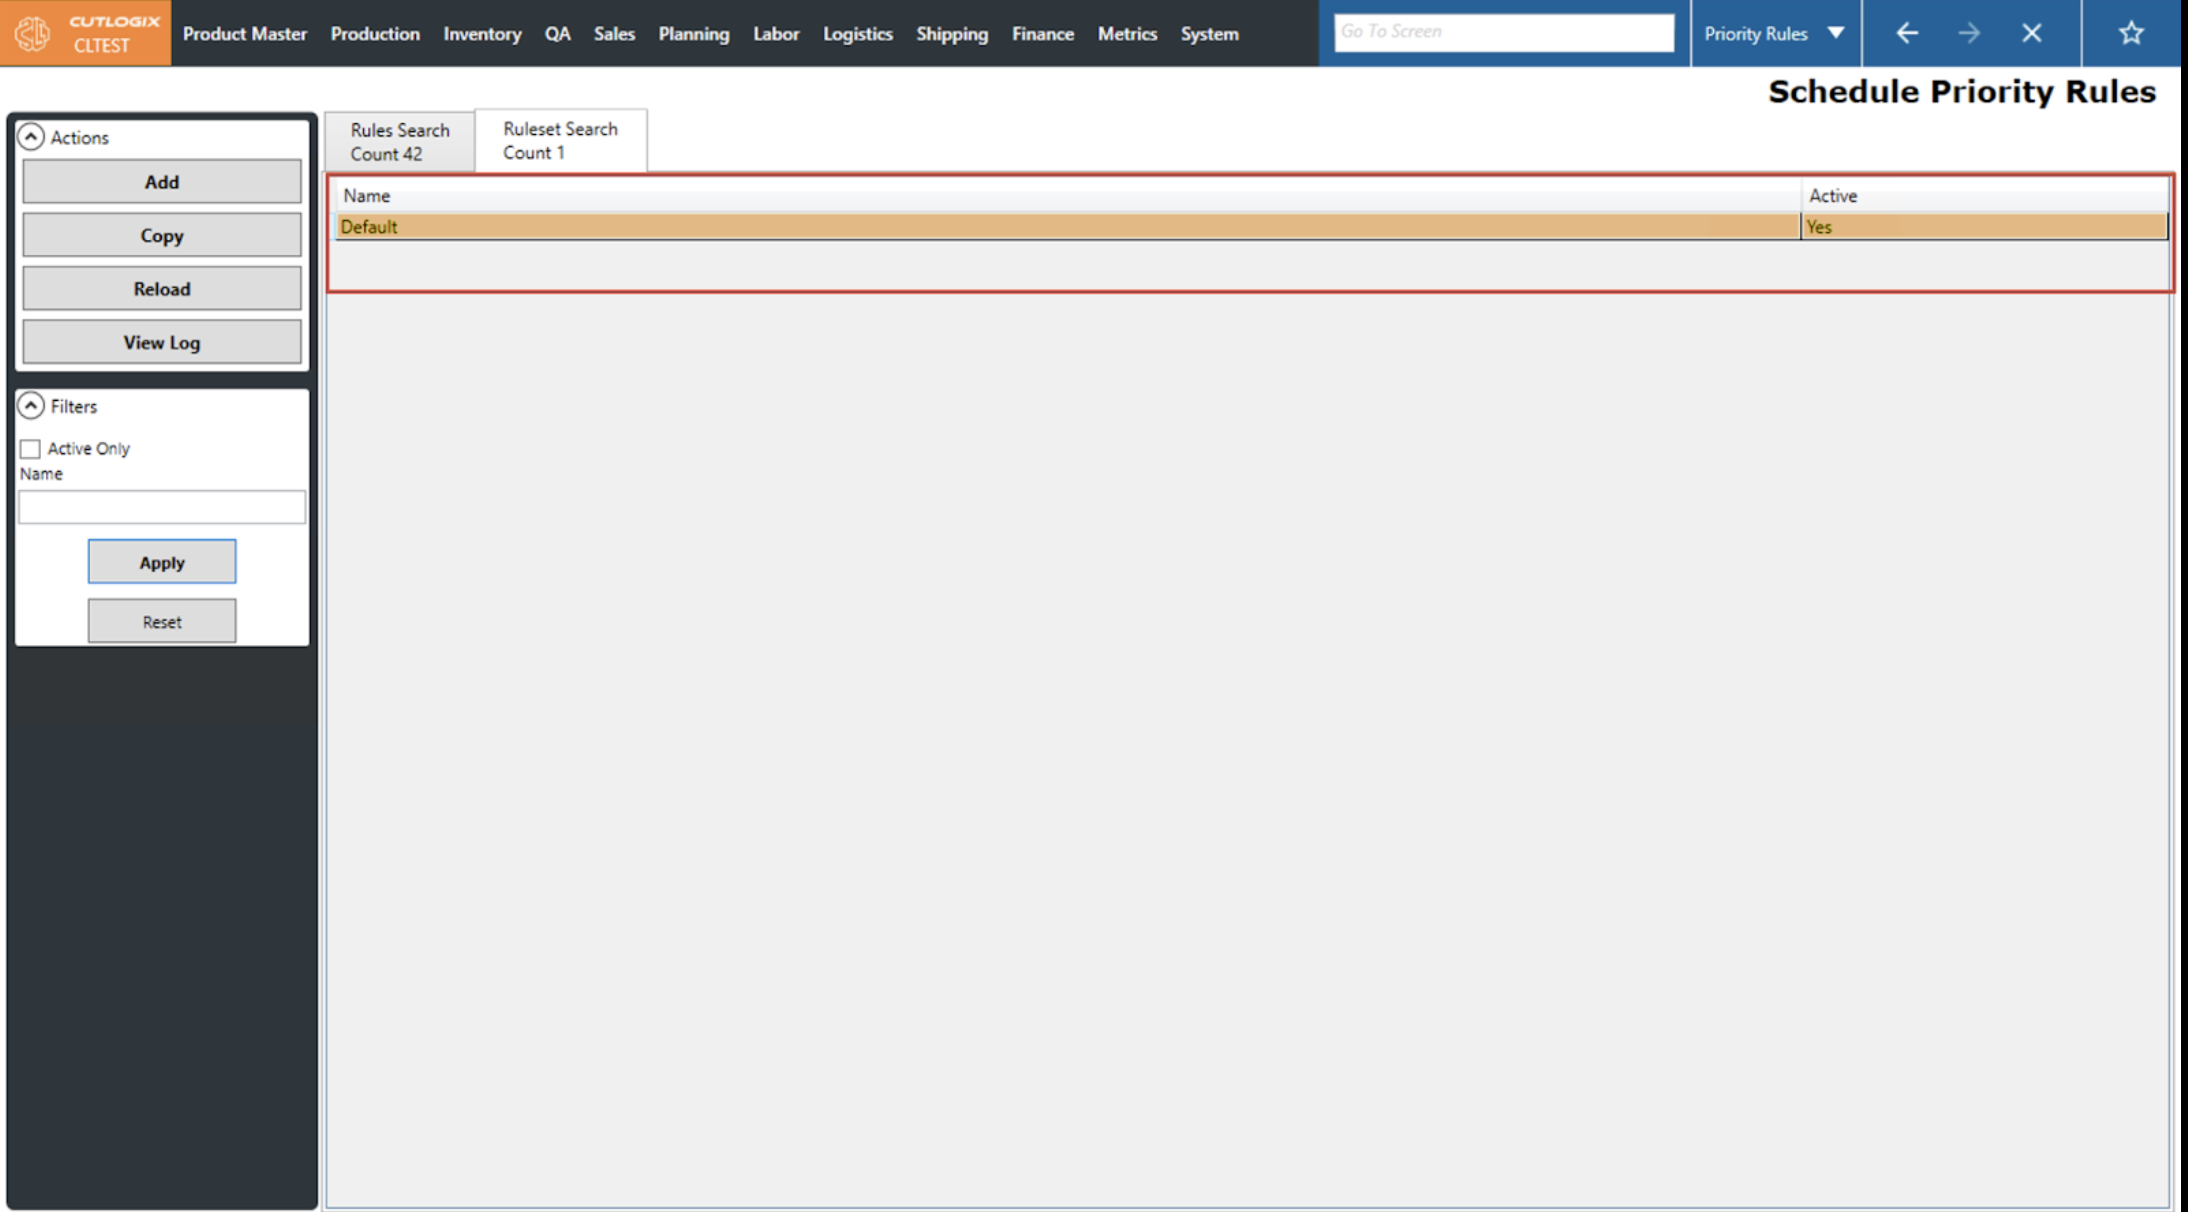
DemoStep 1: Navigate to Planning > Planning Rules Config > Priority Rules screen and select the Ruleset Search tab.
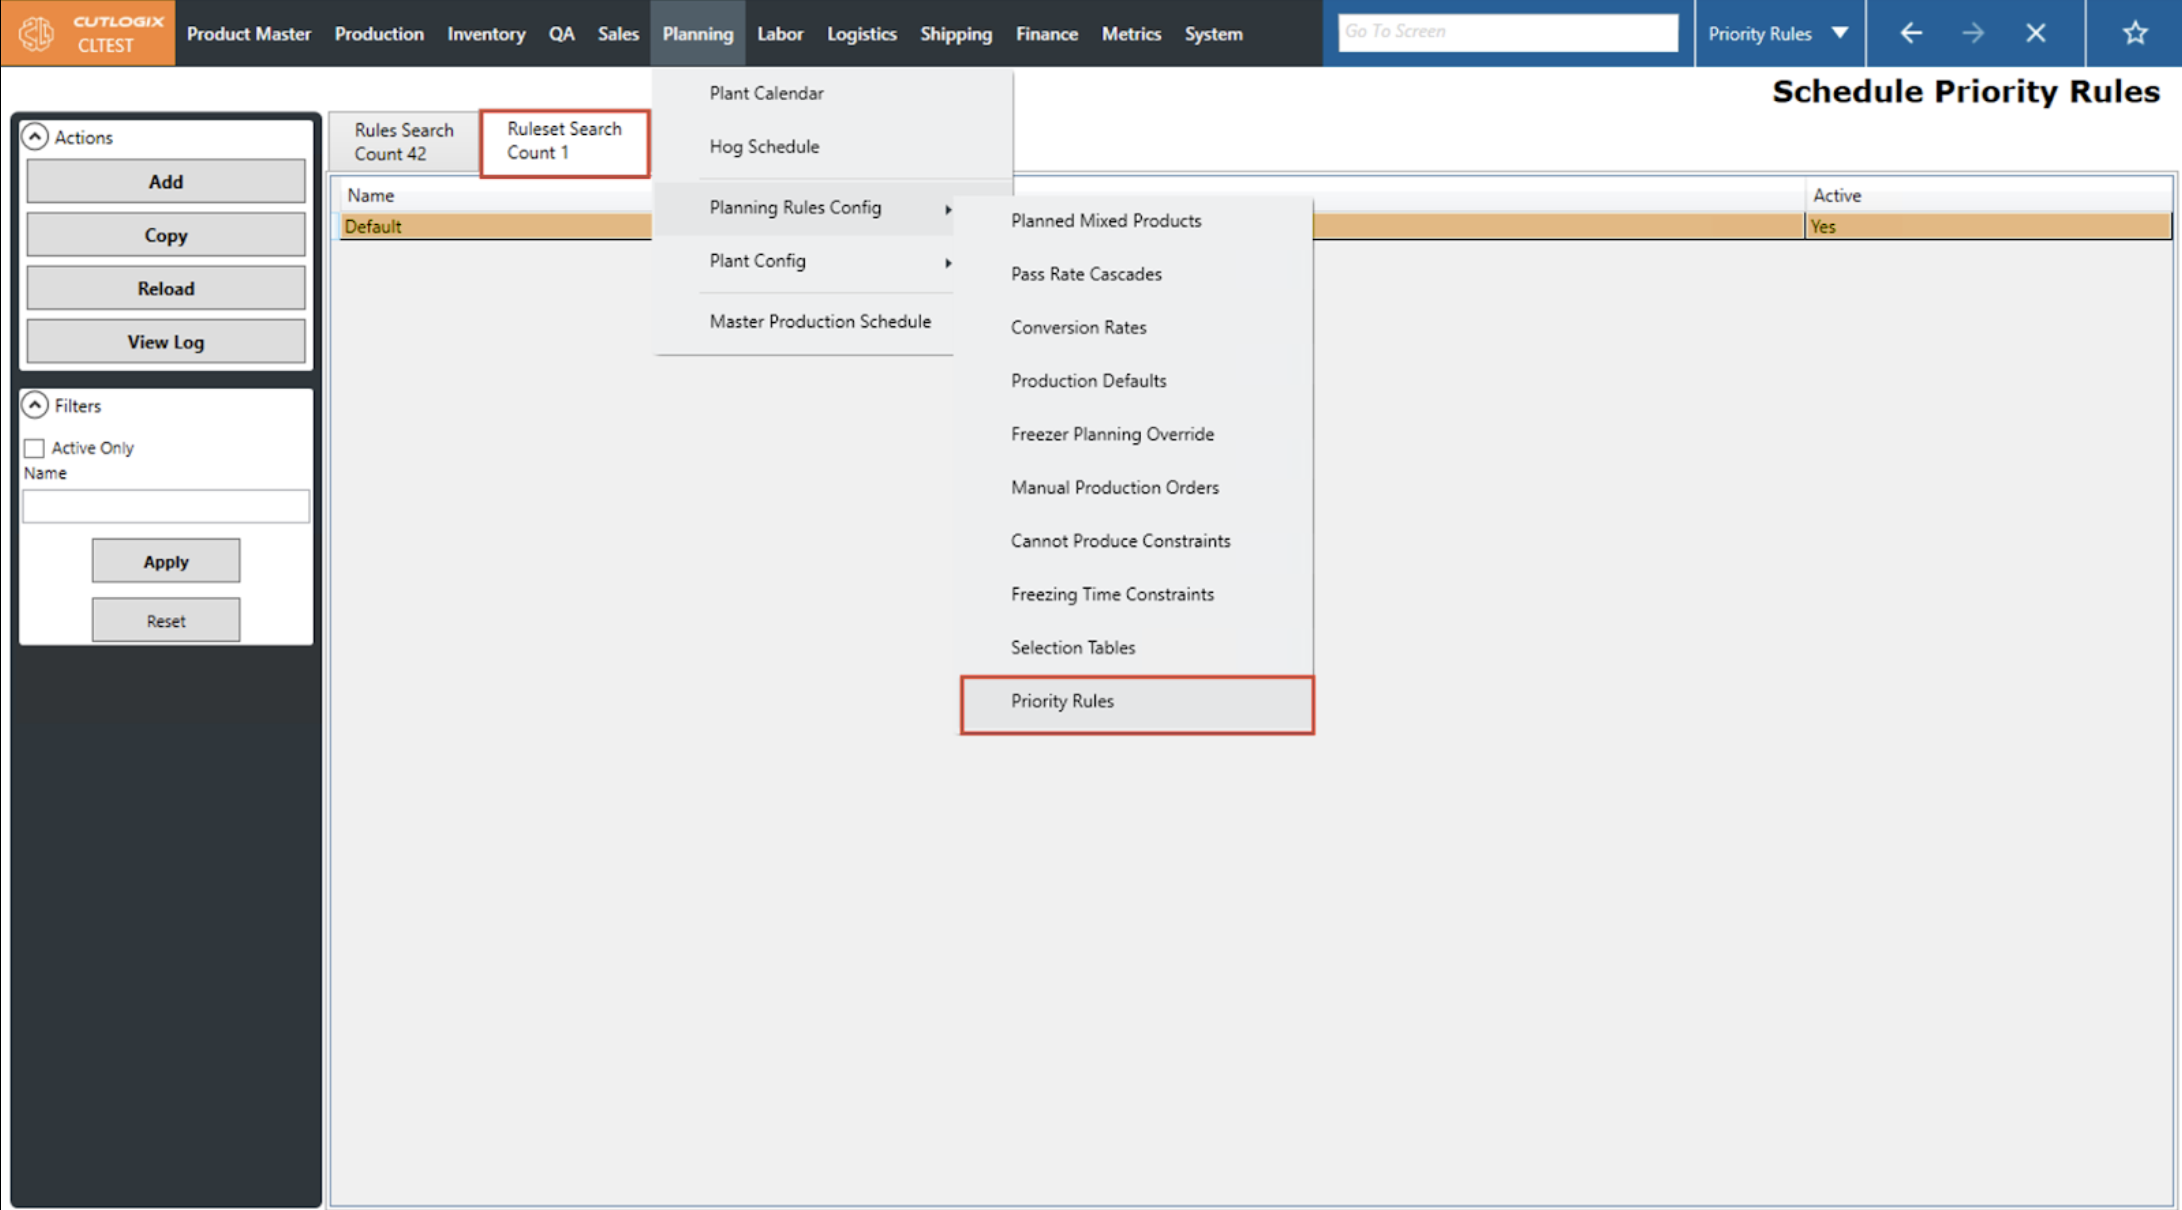
Step 2: Click the ‘Add’ button in the left Actions sidepod.

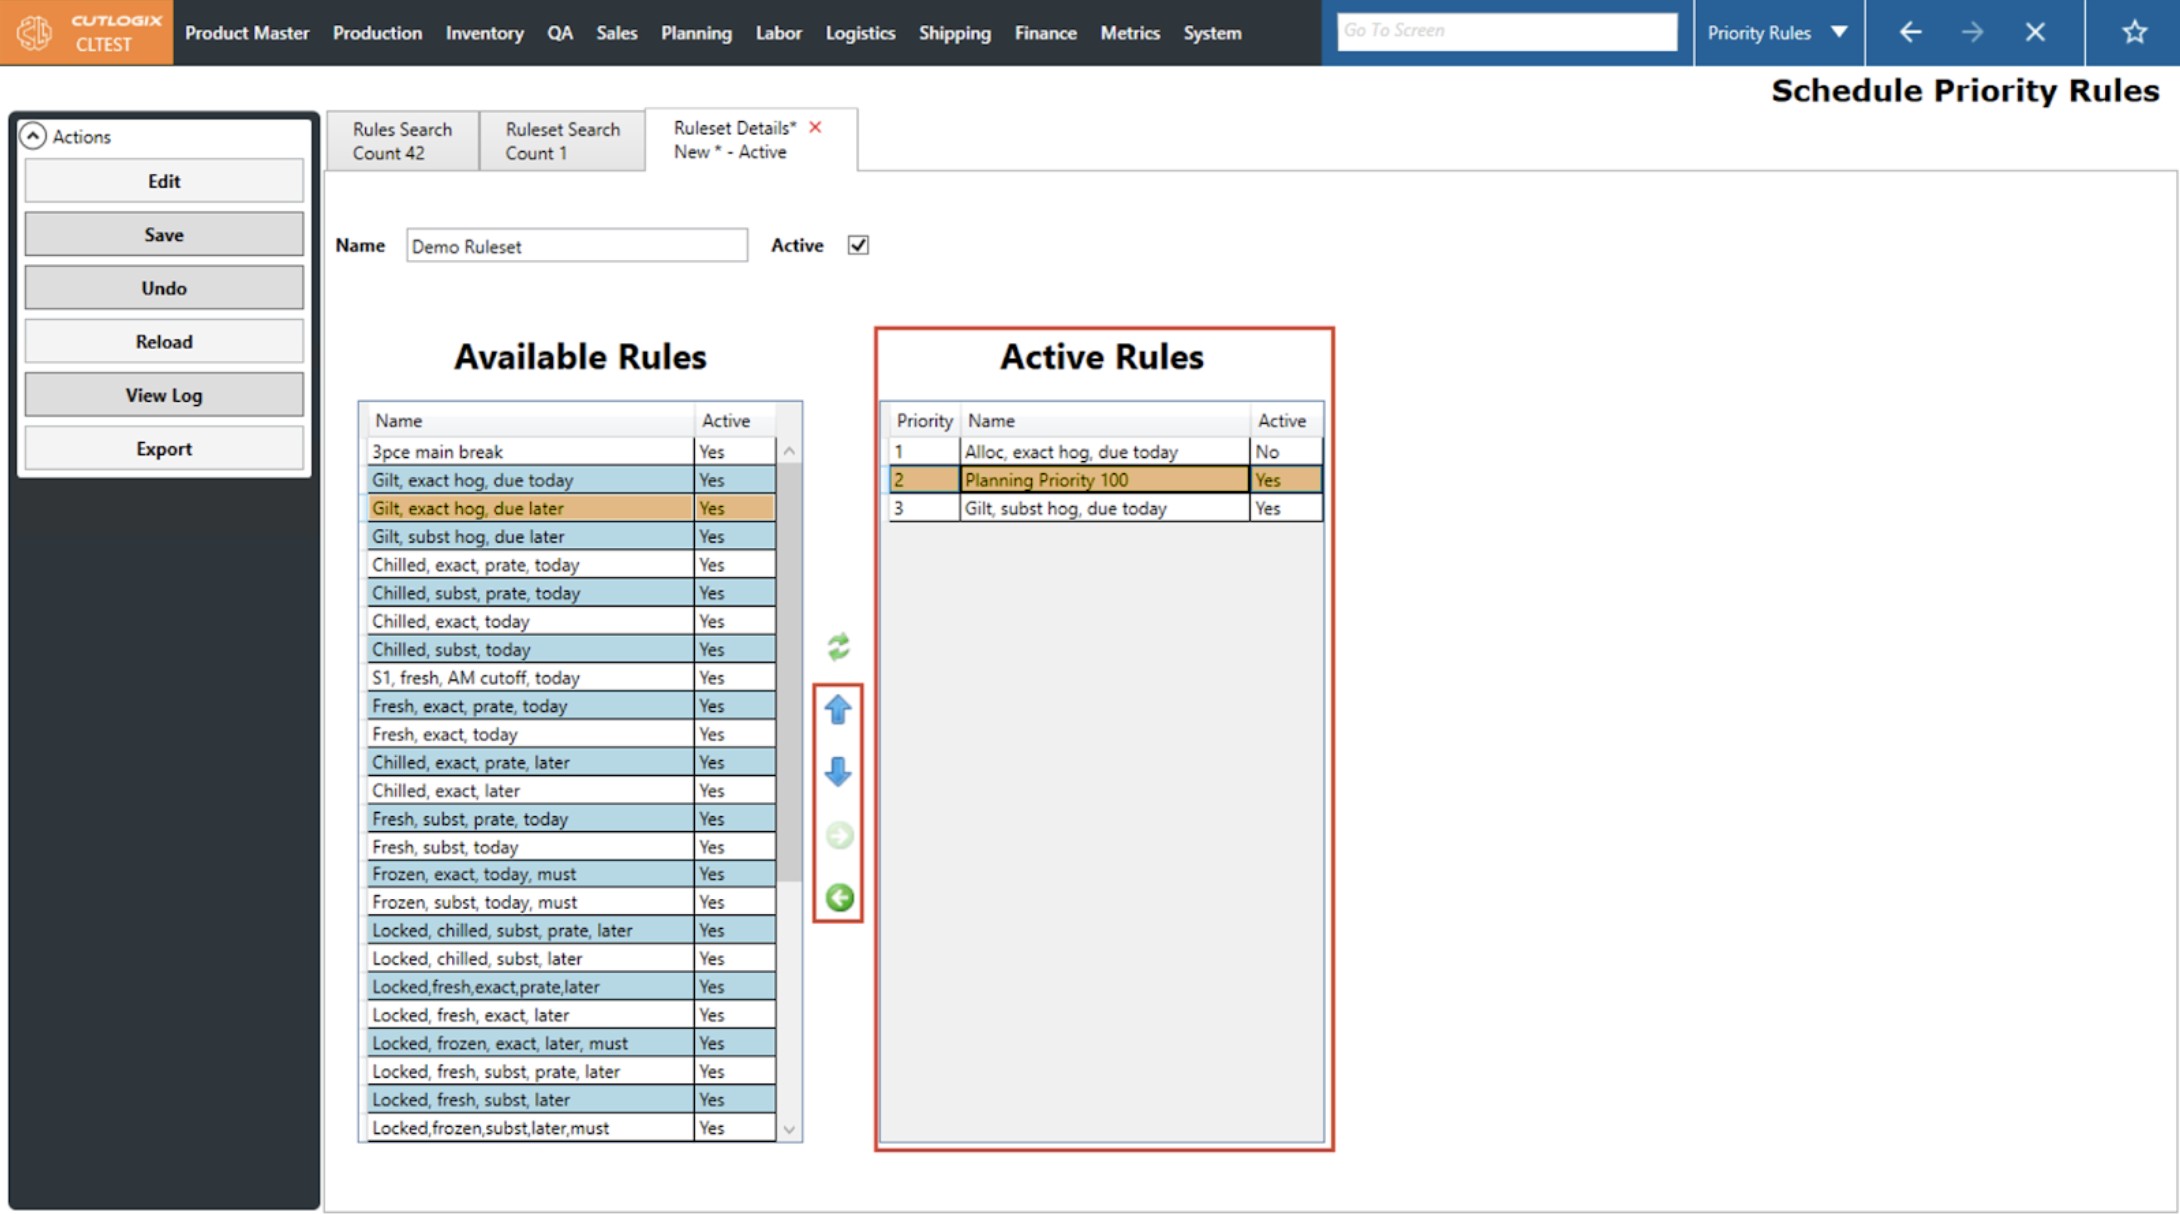
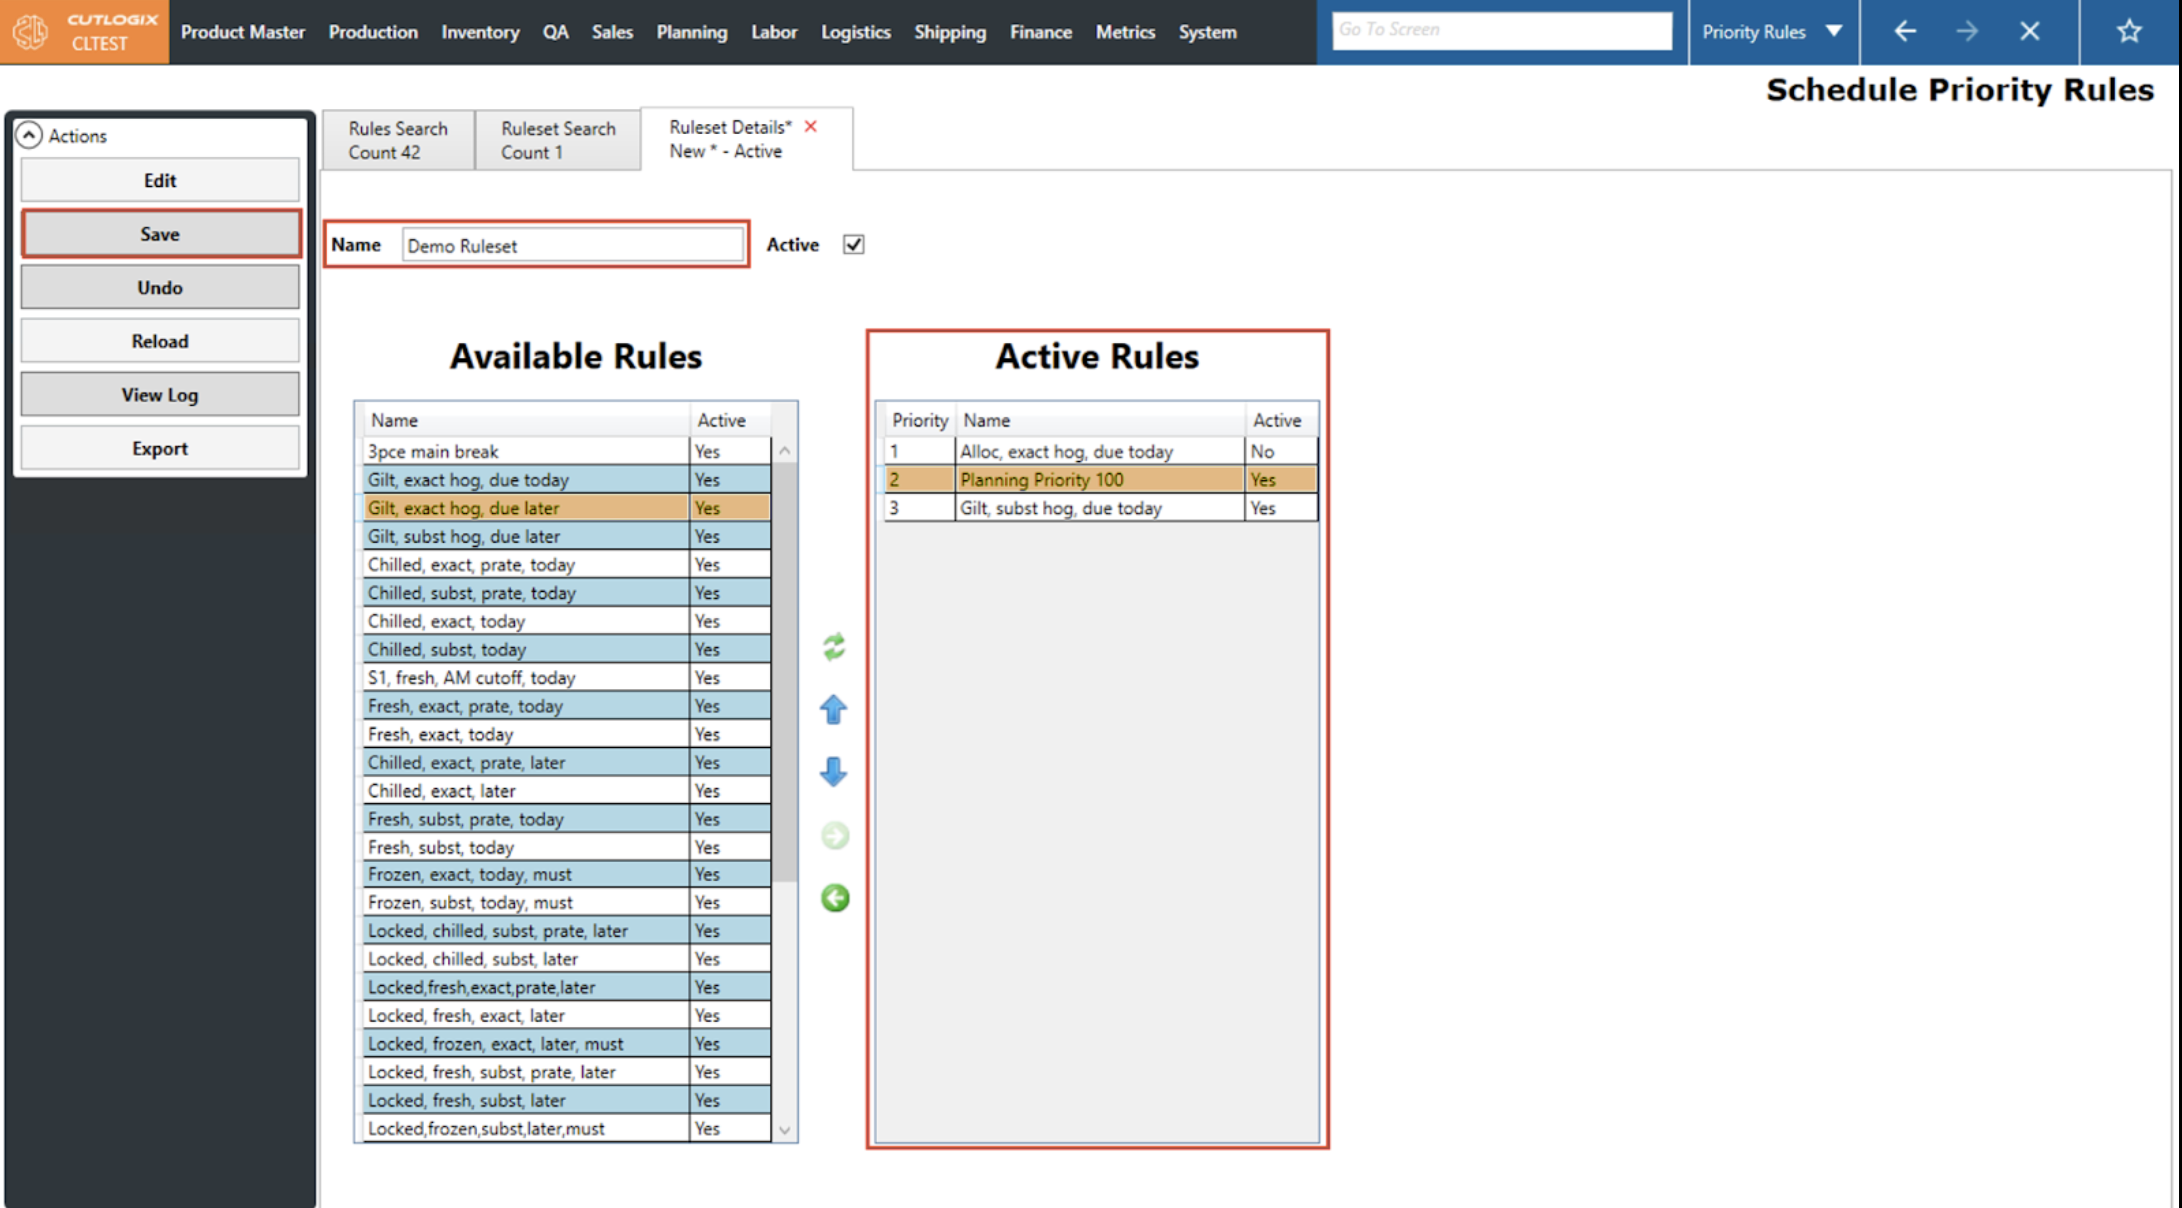
Step 3: Clicking add will open a new details tab for the new Ruleset. Users can add rules to the ruleset by using the green arrows to move them over to the Active Rules section. Users can also choose the order in which the planning system will apply these rules by moving rules up or down with the blue arrows. The planning system will apply the rules at the top of the list first before moving to those lower down.

Step 4: If you wish to delete the new rule set without saving then click the ‘Undo’ button.
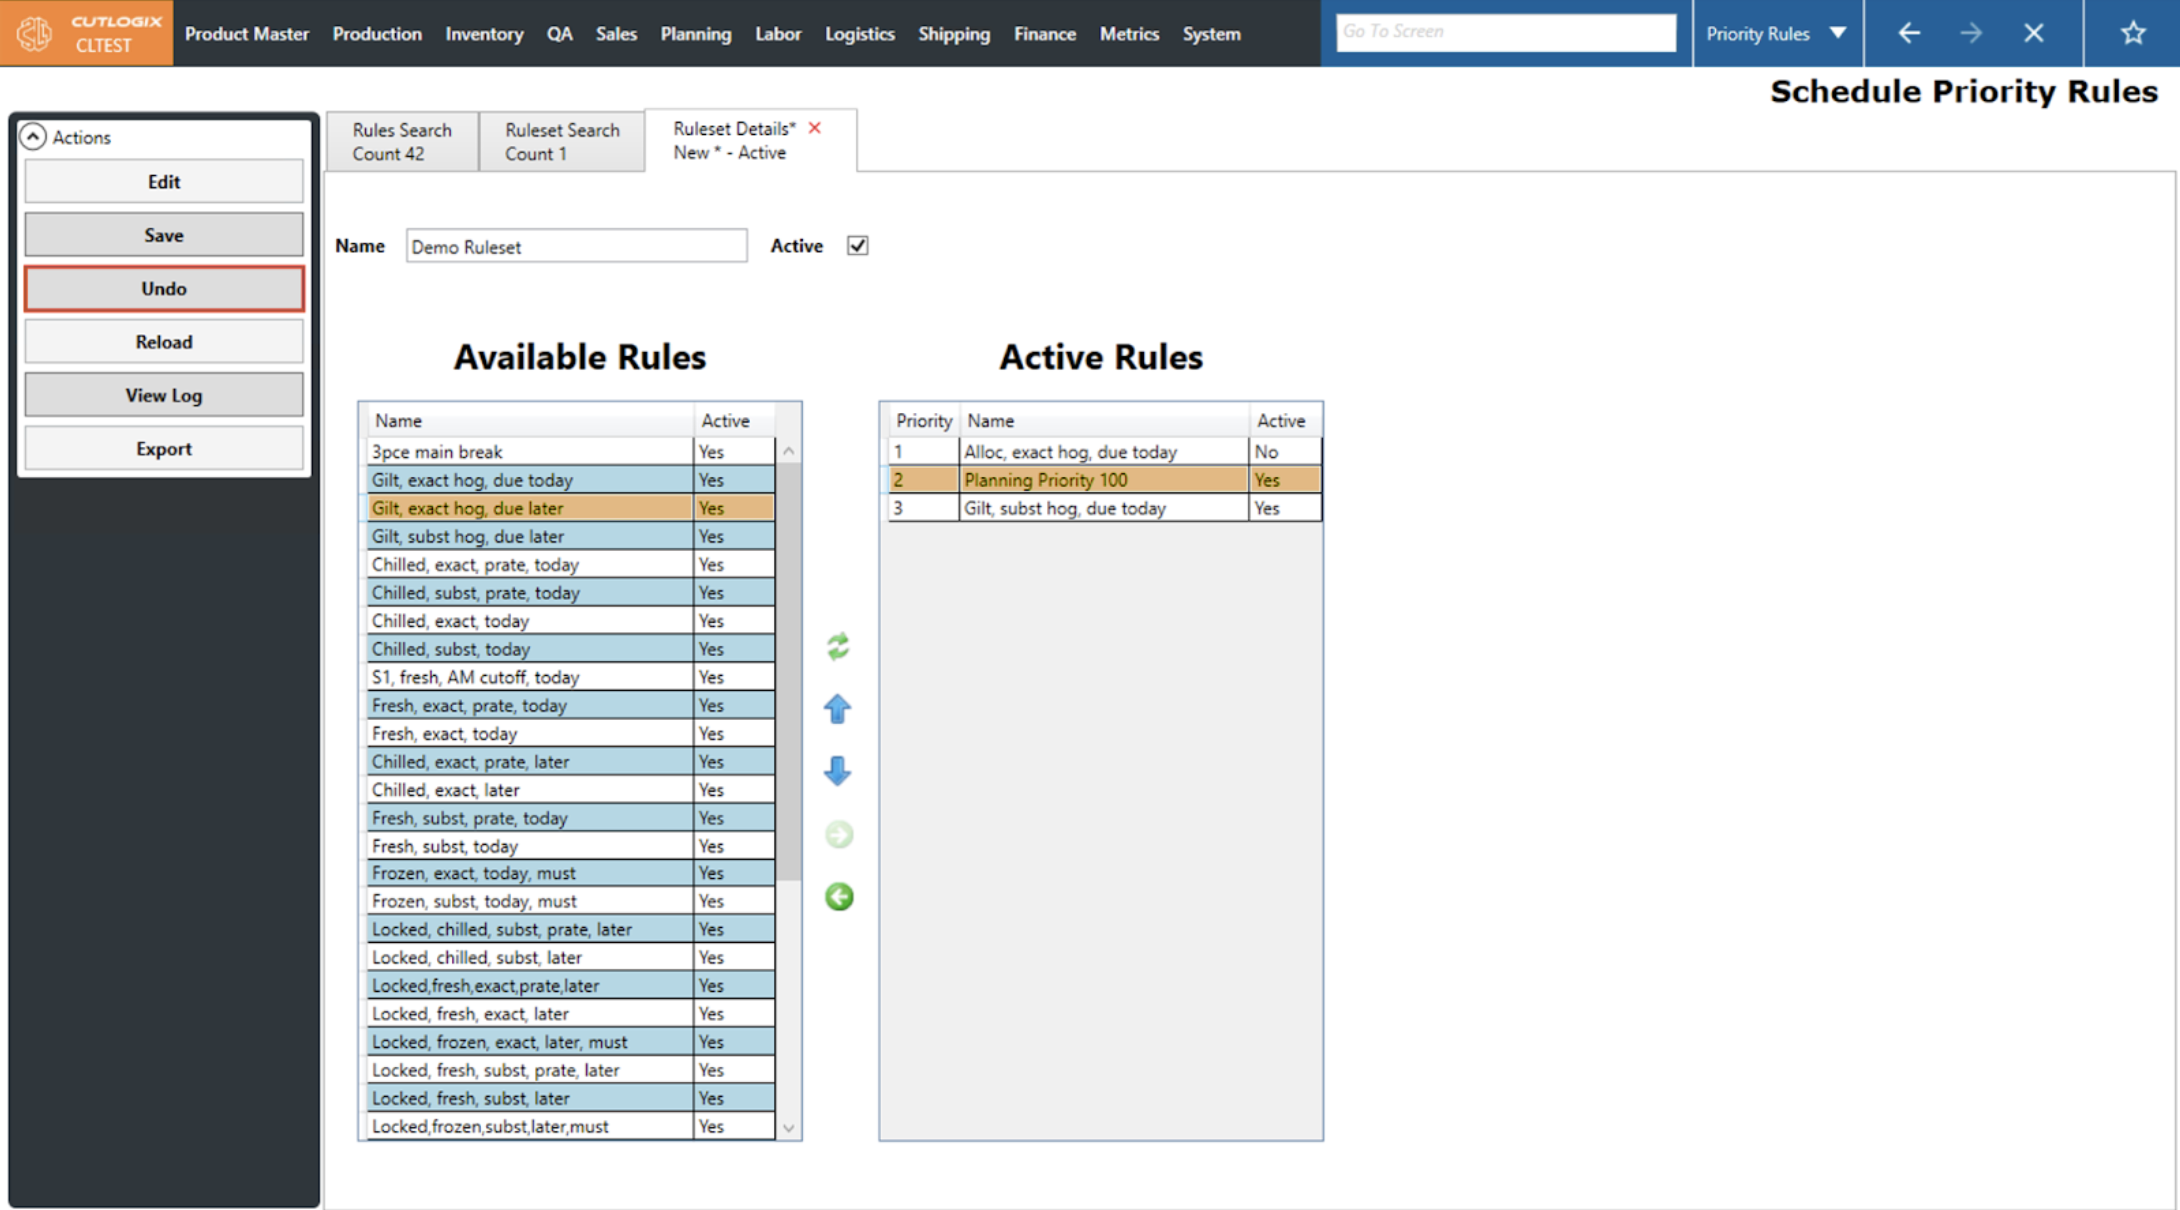
Step 5: To save the ruleset users can click the ‘Save’ button. The ‘Save’ button is enabled when the Name field is filled out and there is at least one priority rule moved into the Active Rules section.
How to Edit a Ruleset
DemoStep 1: Navigate to Planning > Planning Rules Config > Priority Rules screen and select the Ruleset Search tab.
Step 2: Double-click on a ruleset in the data grid to open its details tab.
Step 3: Once on the rulesets details tab, click the ‘Edit’ button to enable data modification.
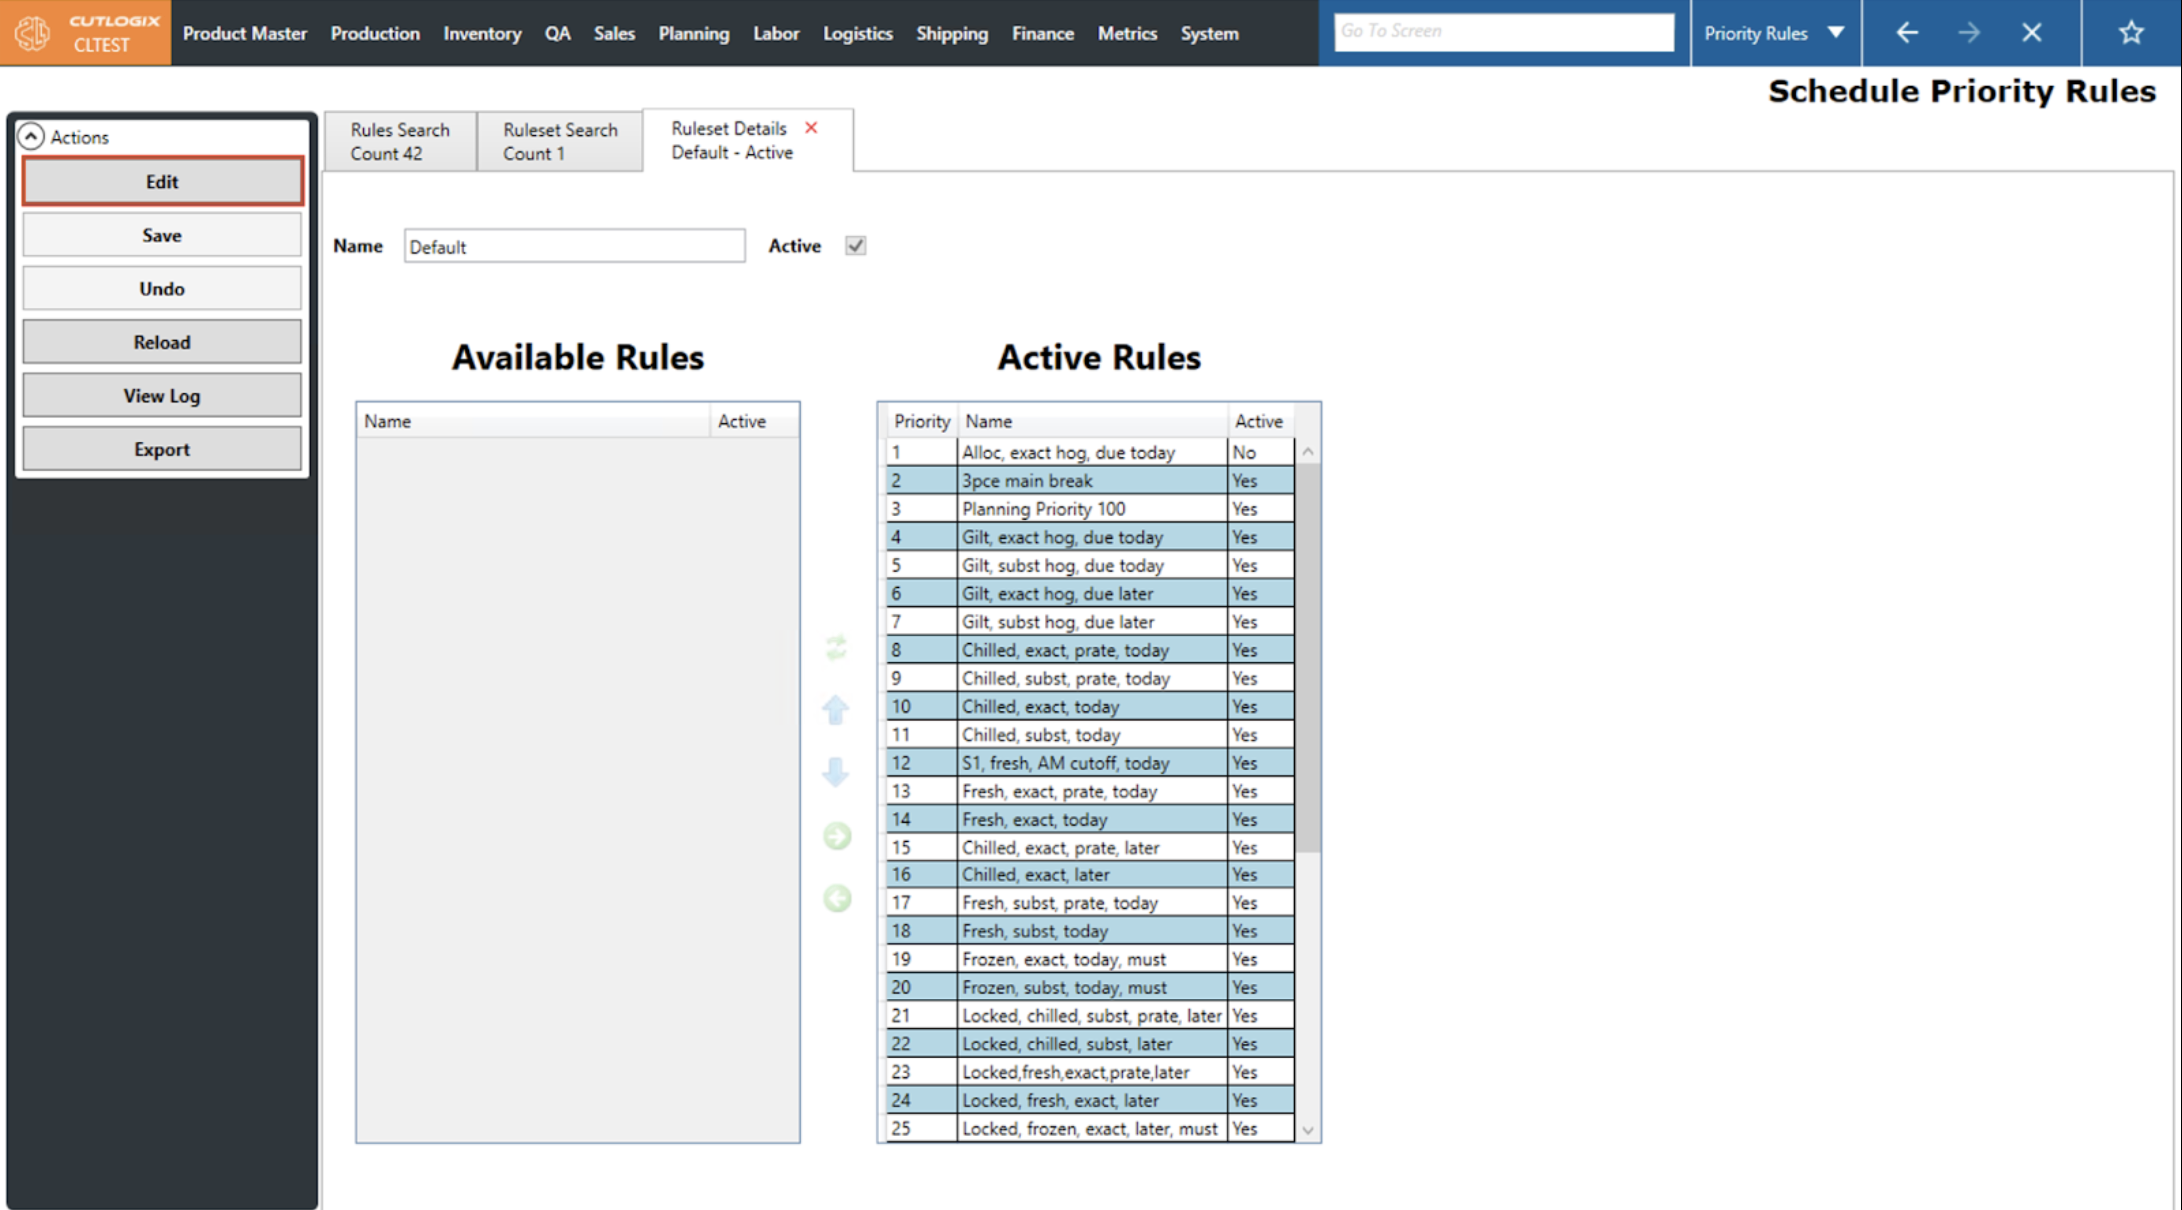
Step 4: Users can make their desired changes to the rules priority by moving them up or down with the blue arrows. They can also move rules in or out of the set by selecting them and using the green arrows. Shifting them into the Active Rules section makes them part of the rule set while shifting them out removes them from it. Lastly, users can edit the ruleset’s name and choose whether it is active. If it is active then when it is applied to schedules the planning system will use its rules. If it is inactive, the planning system will use the default hardcoded rules.