Product Master List Tasks
How to Add Products
Demo Products are a combination of a Cut Spec and a Packaging BOM, they are what you sell to your customers, including the packaging. In order for cut specs to be sold/added to orders or reservations they must be used on a product. The steps below will explain how to create, edit and copy products.
Step 1: Navigate to the "Product Master List" page. (Located under the "Product Master" menu option)
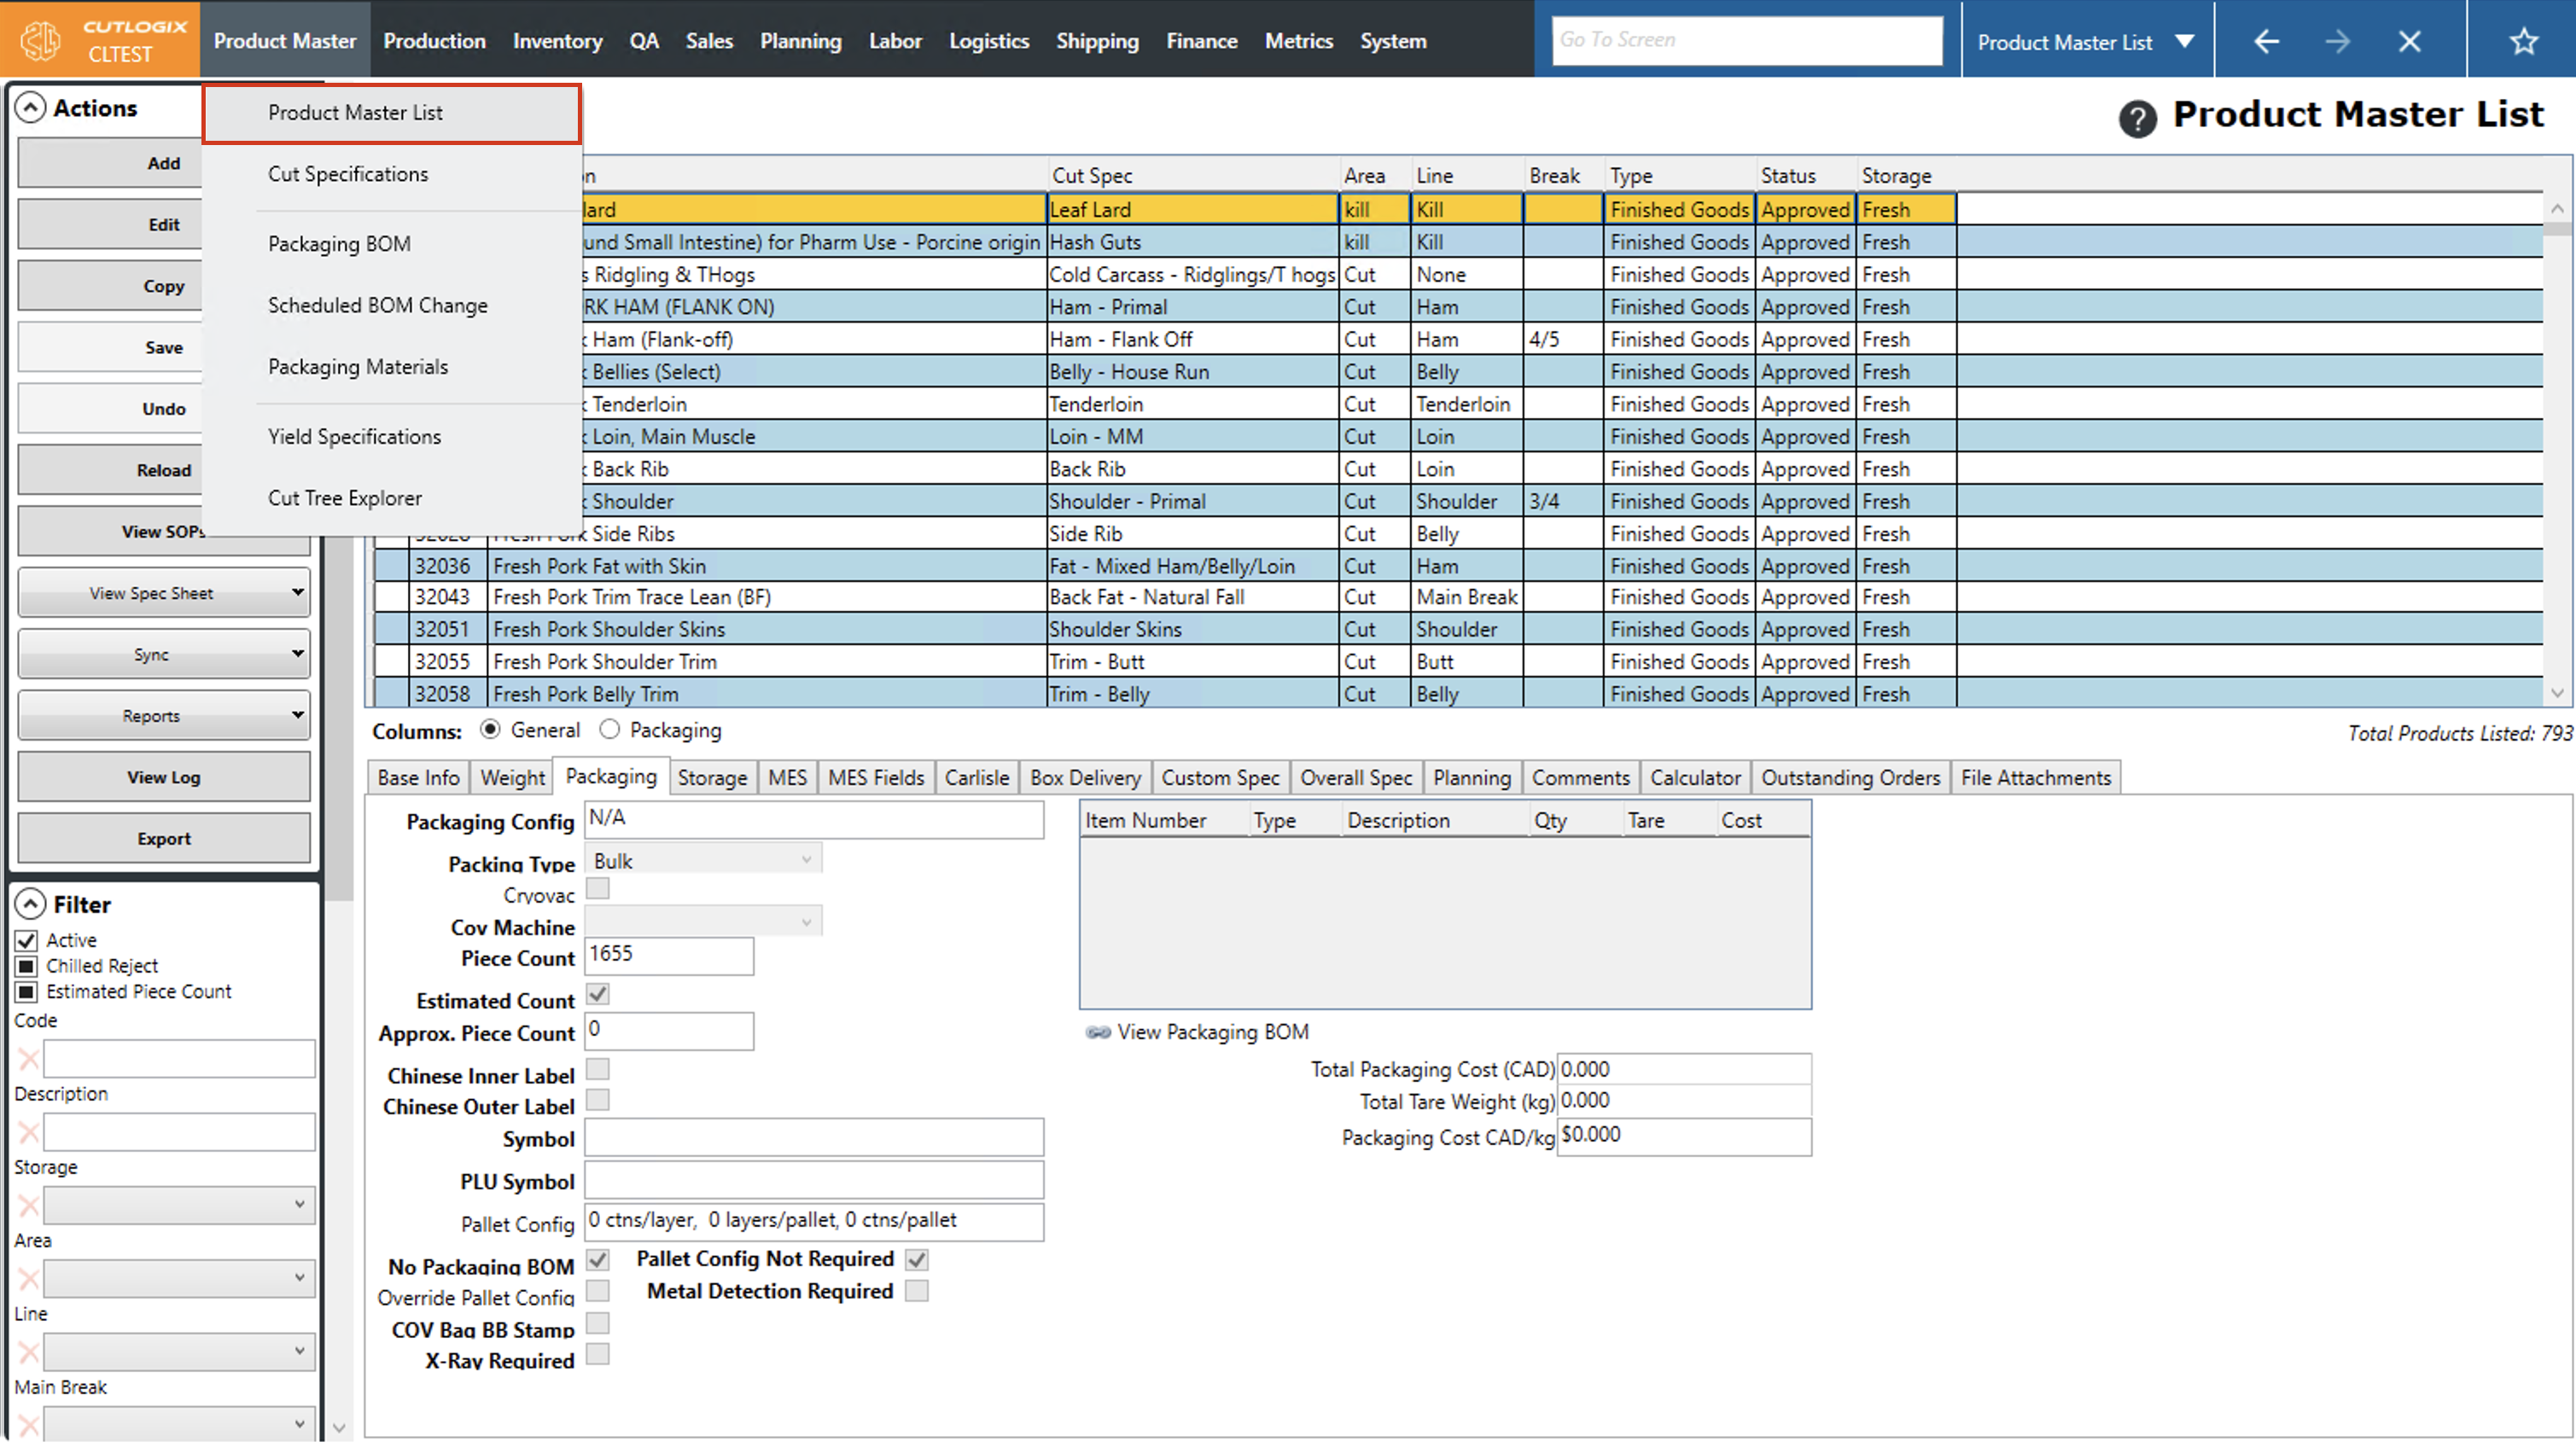
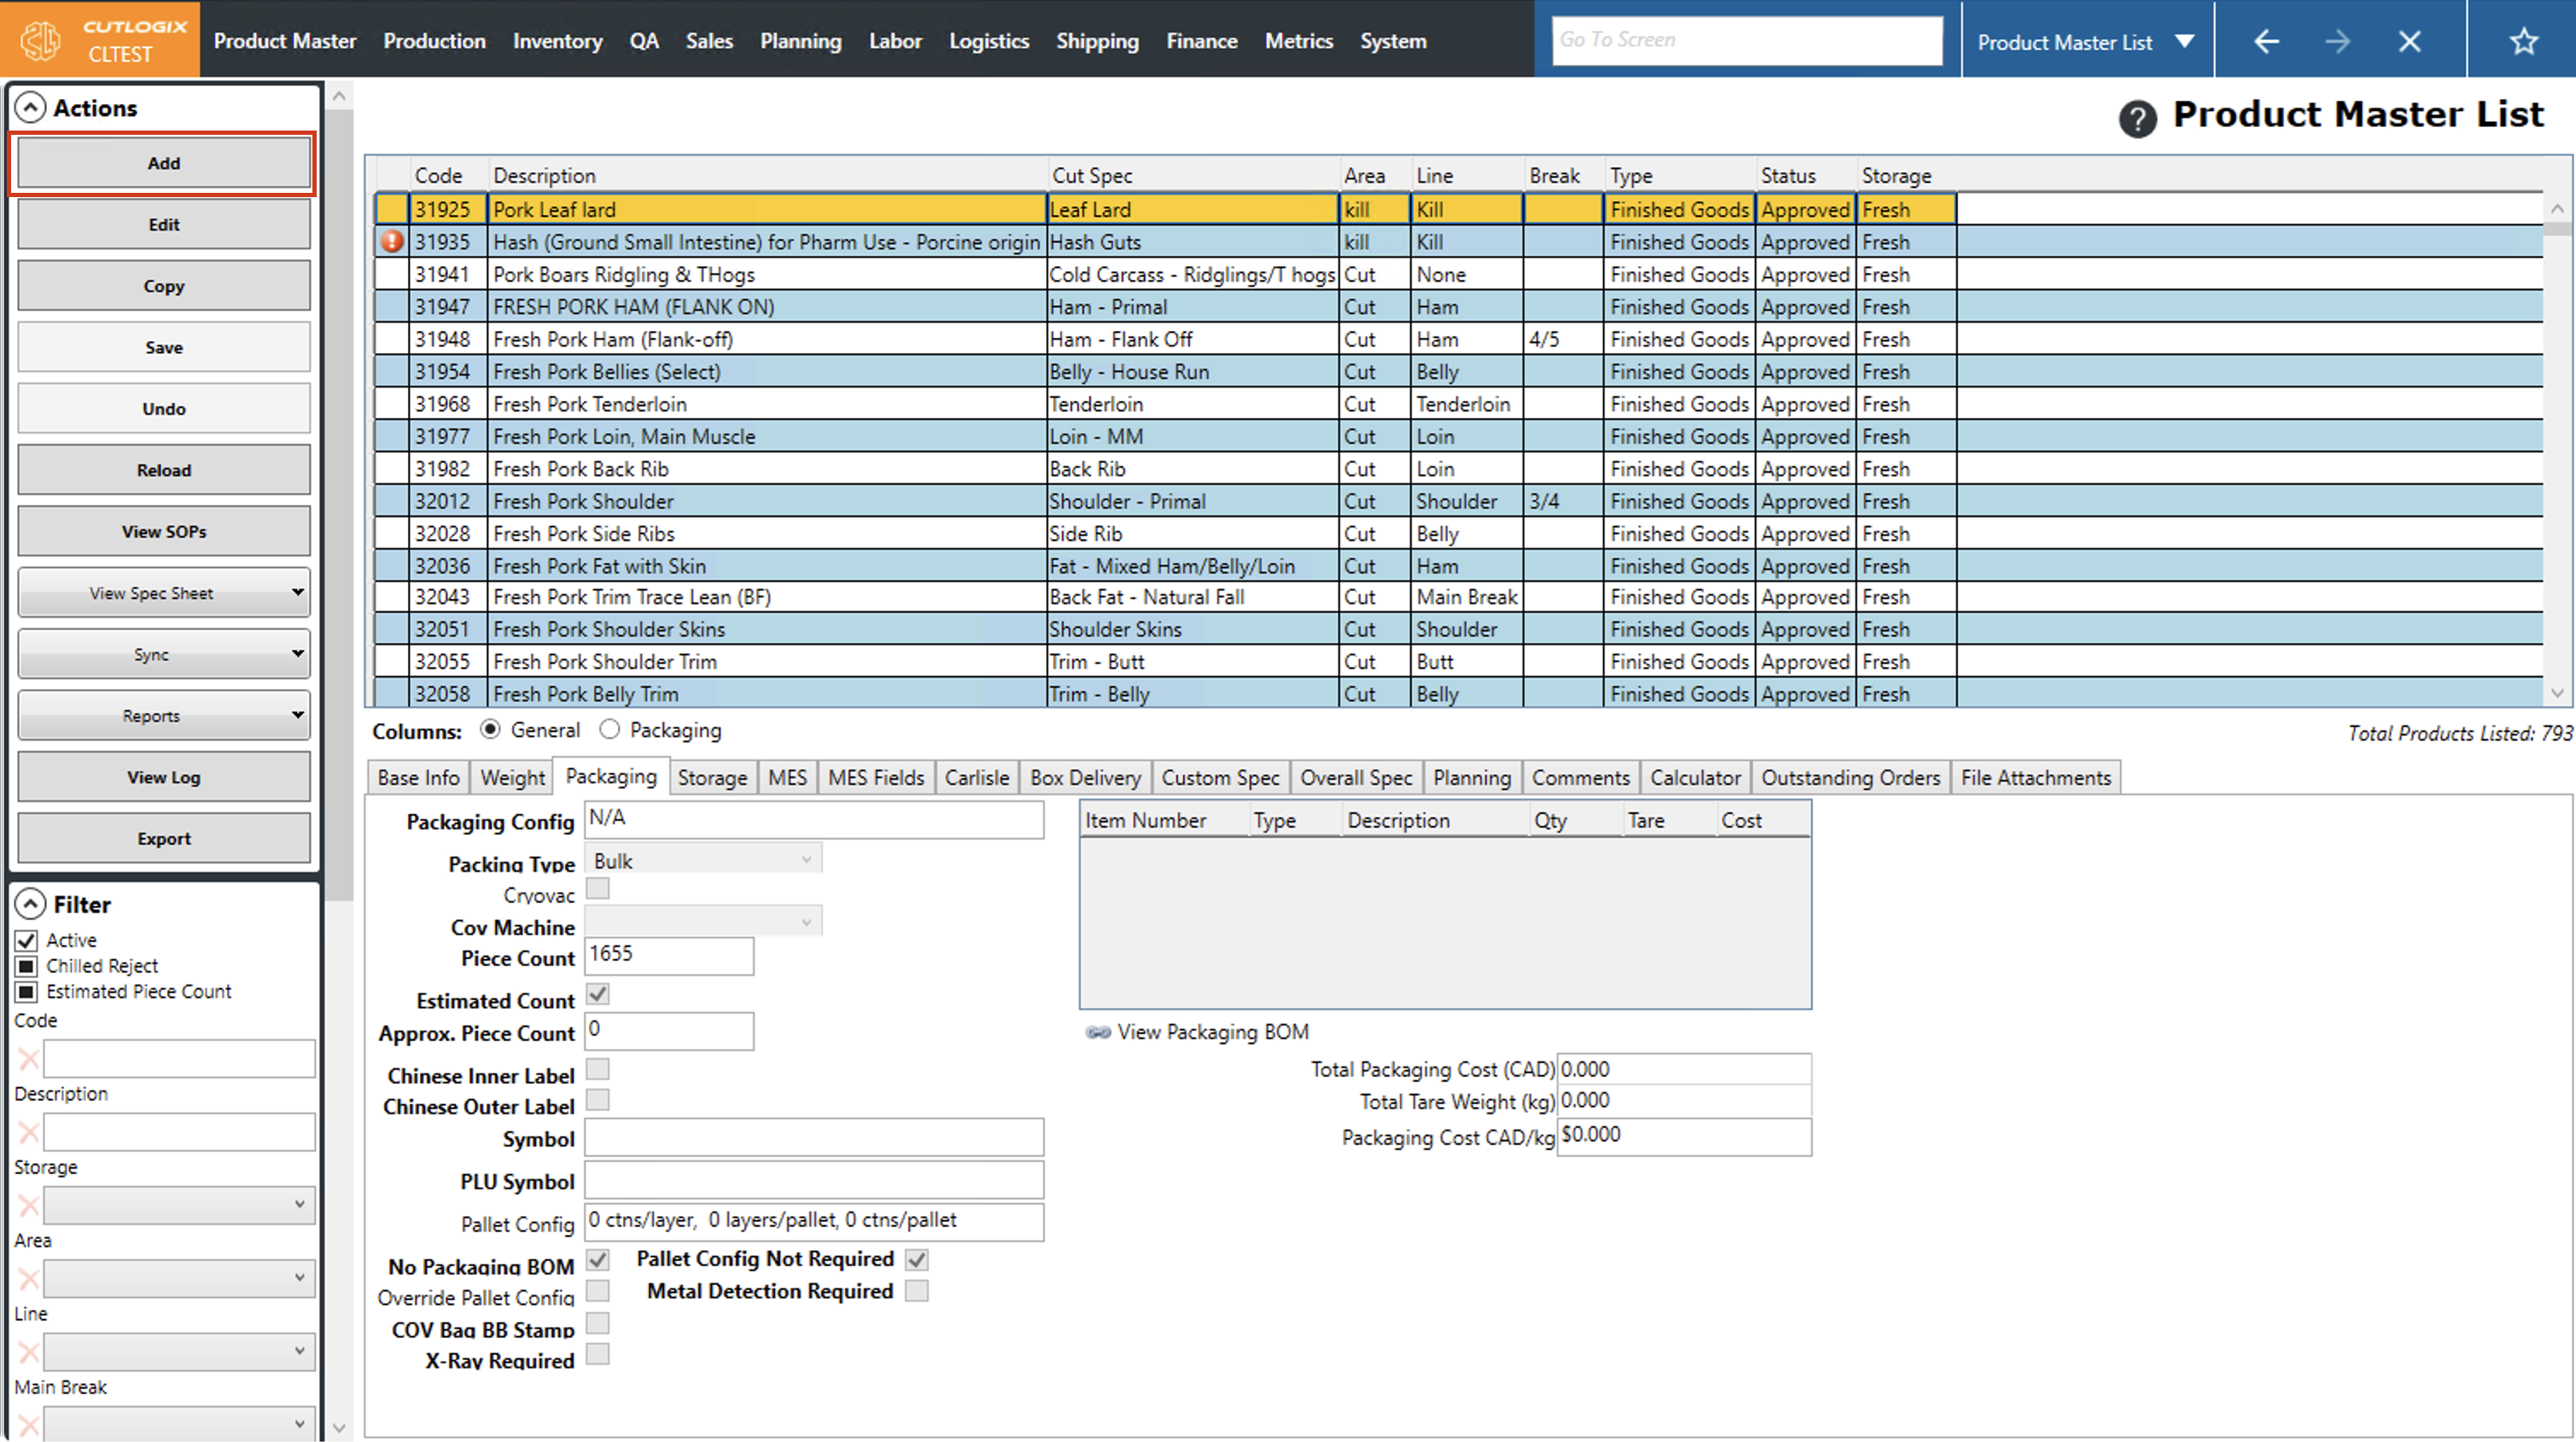
Step 2: Click on the "Add" option in the actions panel, located on the left side of the page.
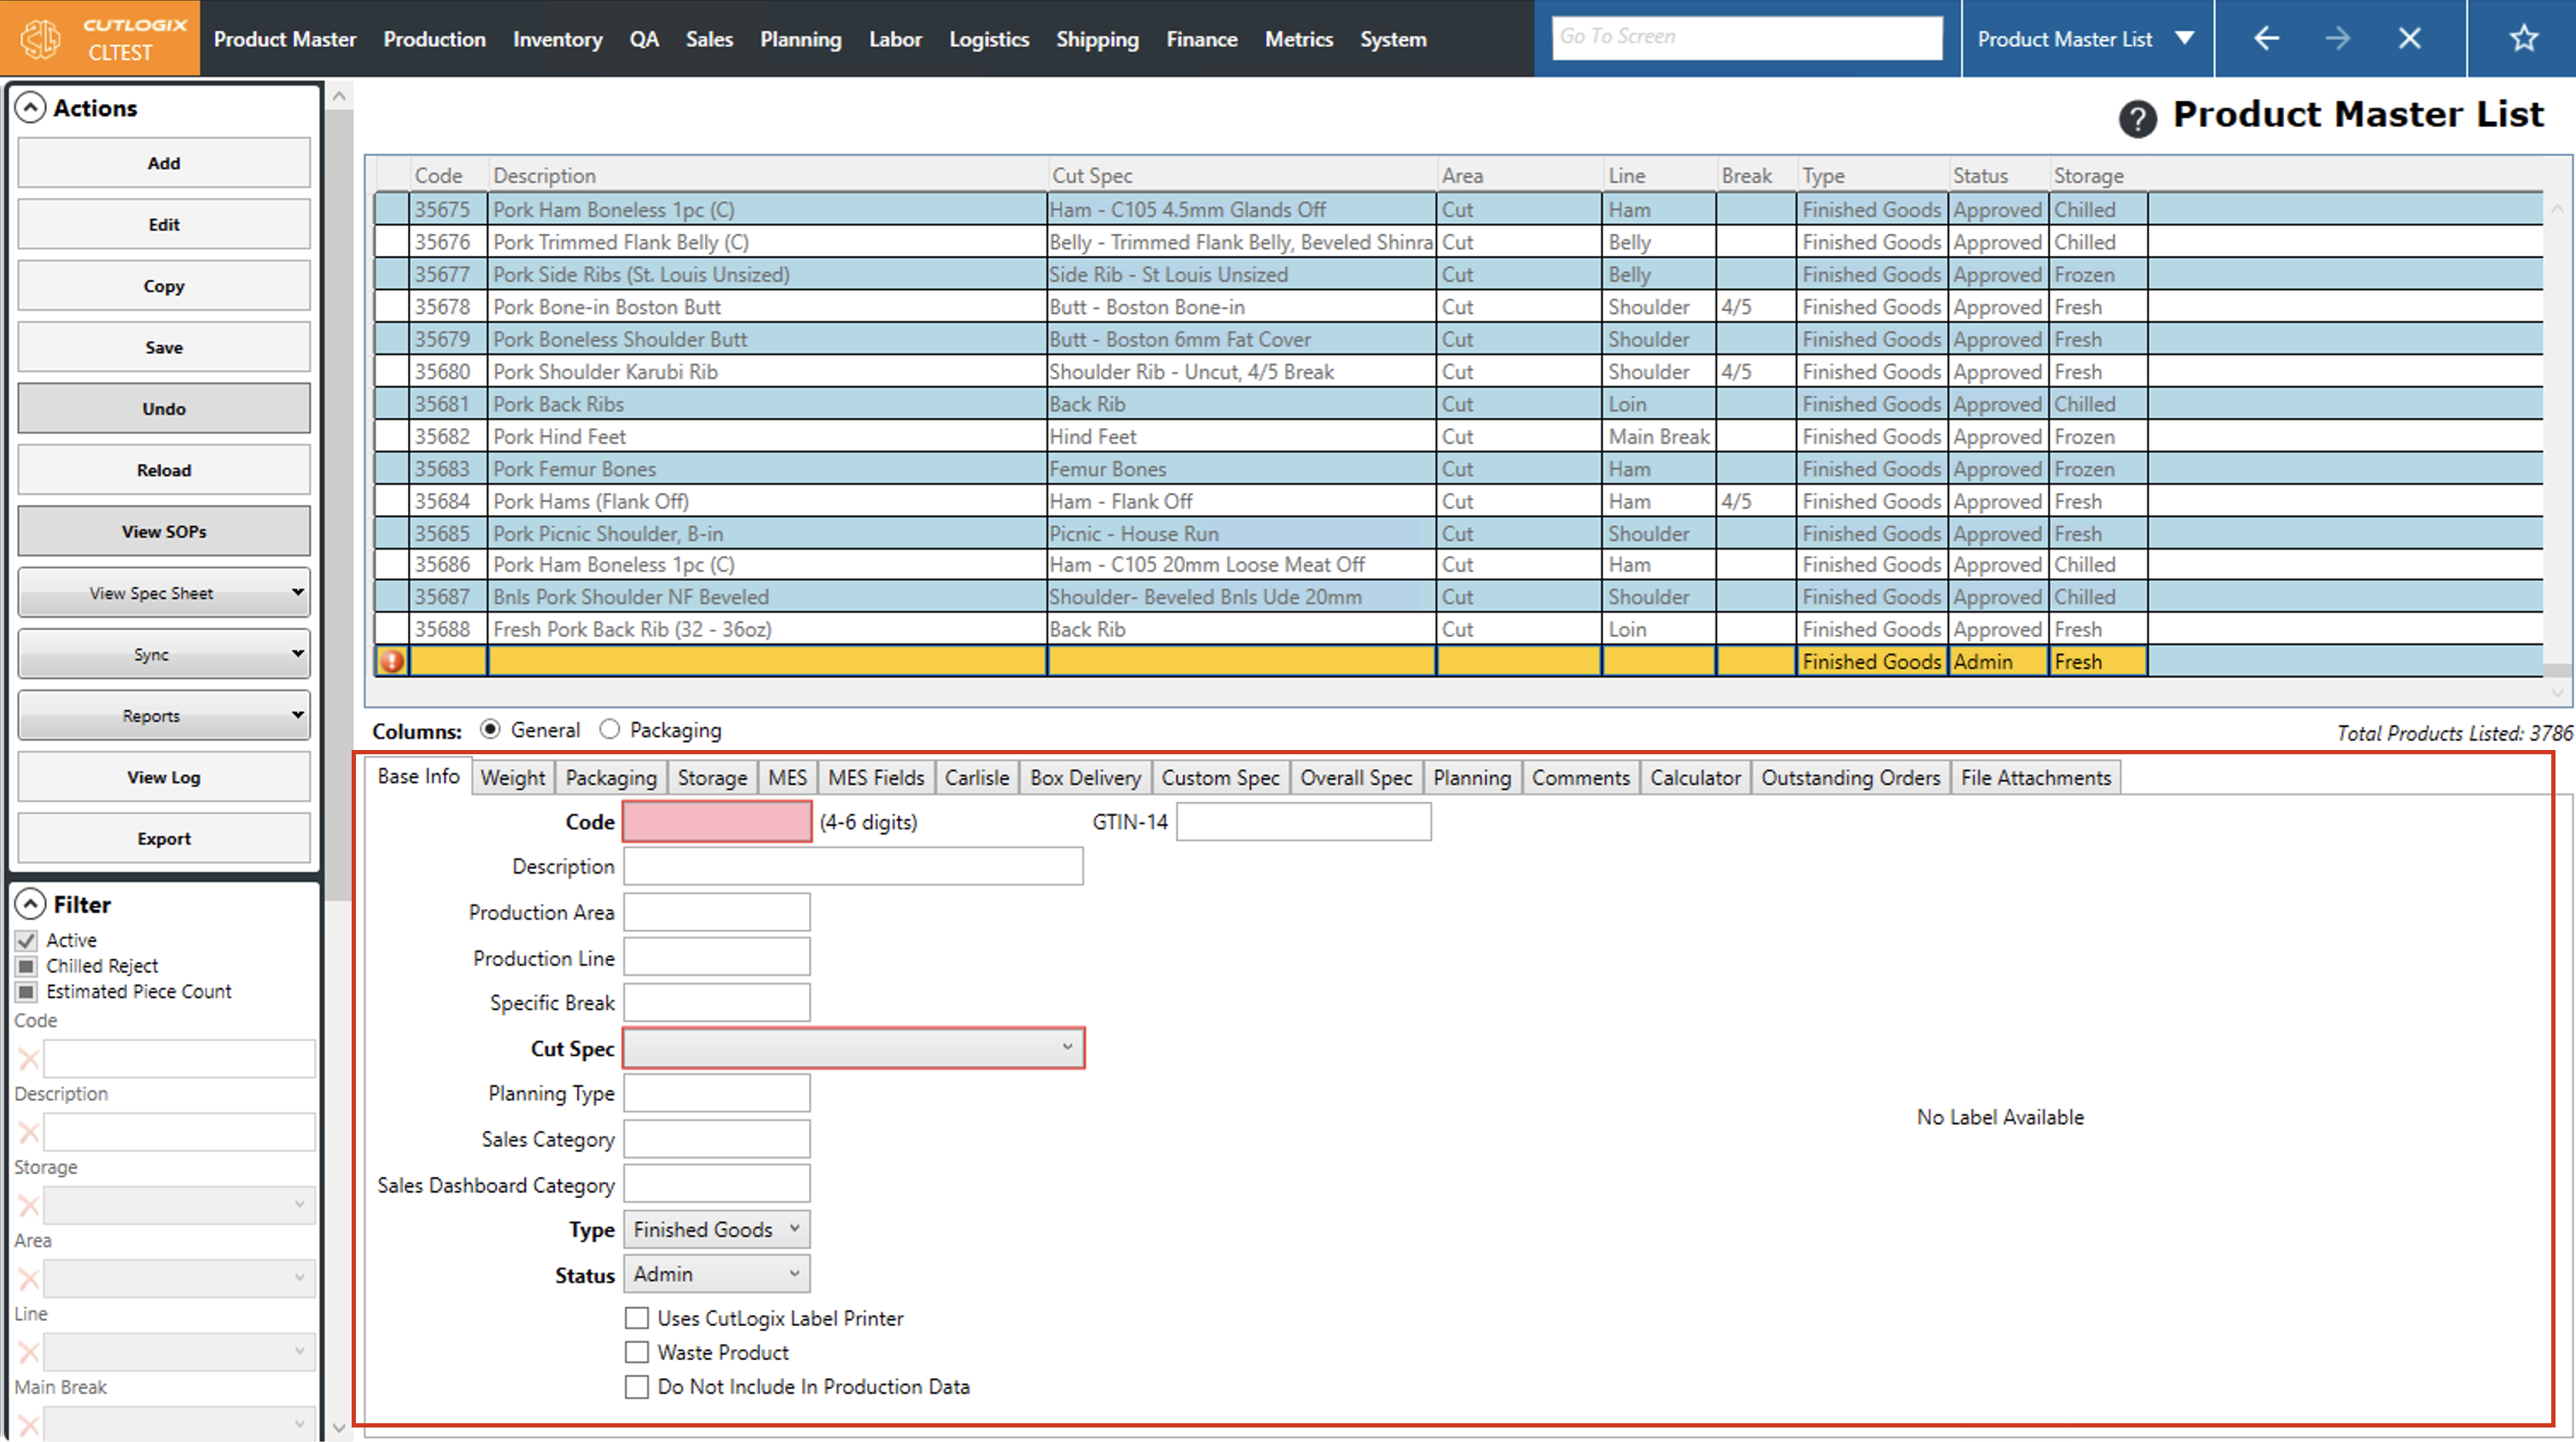
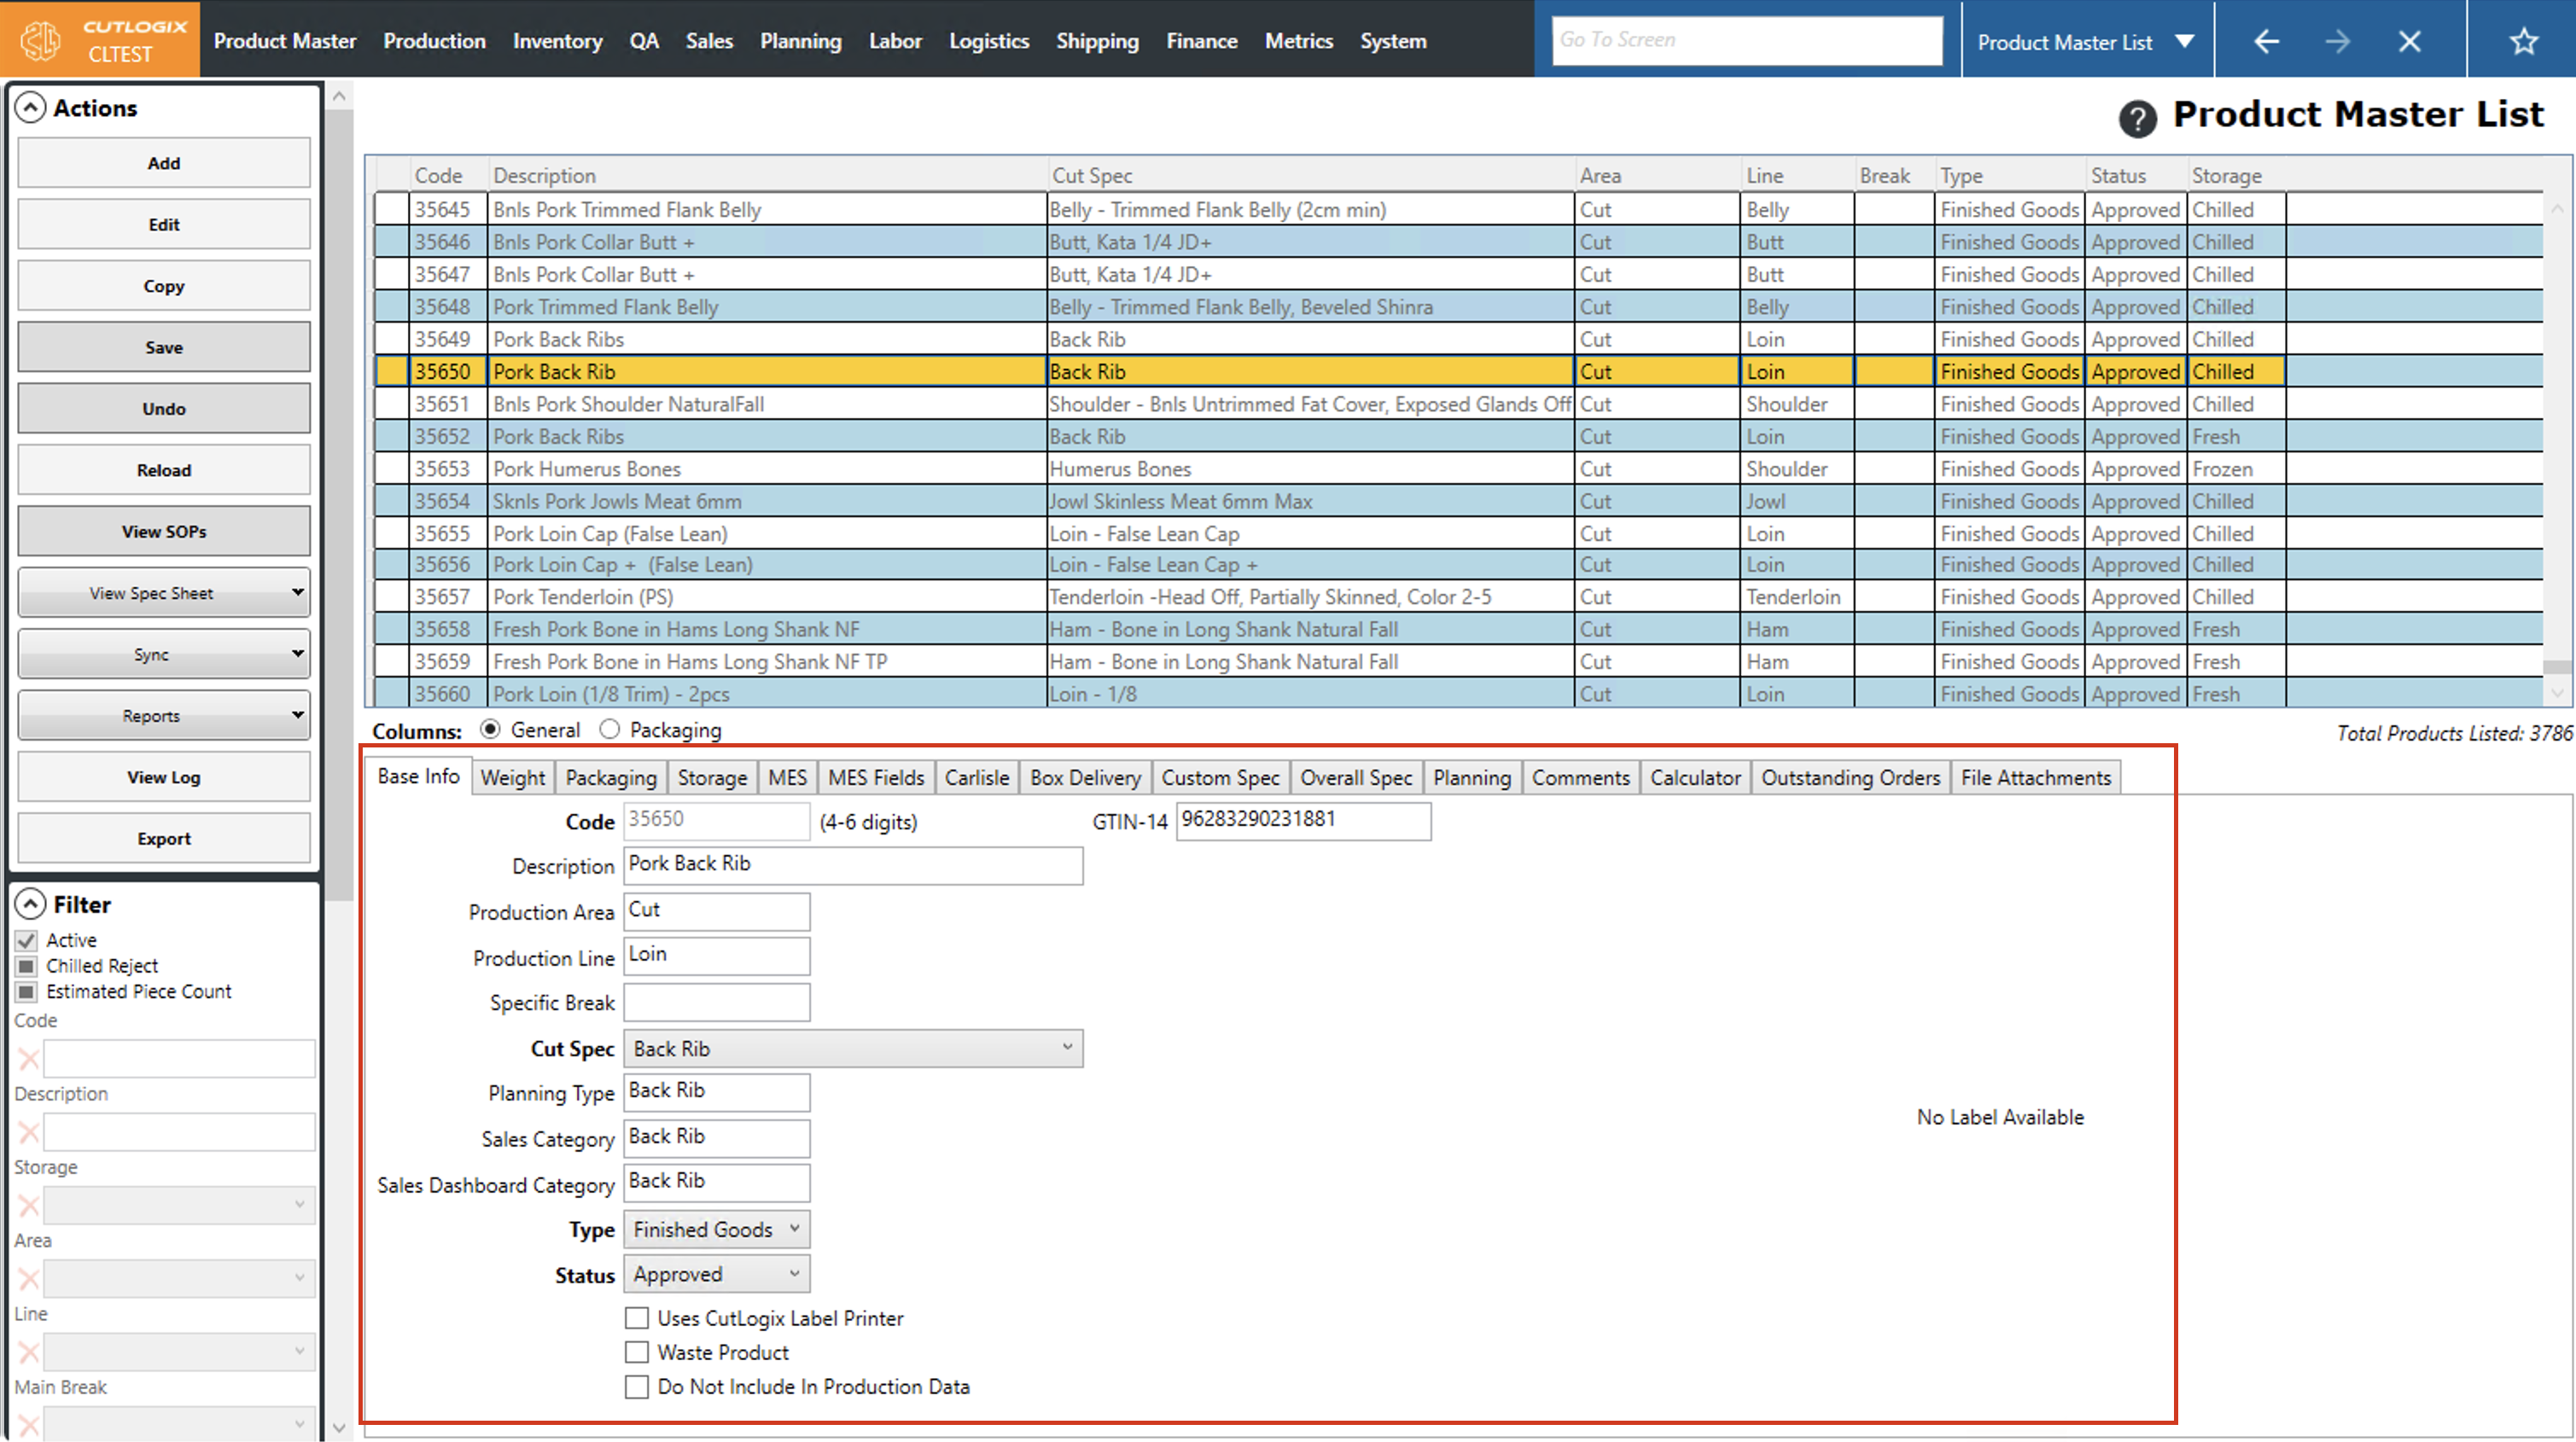
Step 3: This will open several tabs at the bottom of the page where you can specify information about the new product. Fields that are highlighted in red are required, and must be entered before the product can be saved and created in Cutlogix. The following required fields and which tabs they are located in are listed below:
Base Info:
• Code: The product code assigned to the product.
• Cut Spec: The cut spec of meat that the product uses.
Weight:
• Std. Weight: The standard weight of the product, without packaging.
Packaging:
• Packaging Config: A detailed summary of how the product should be packaged.
• Piece Count: The number of pieces of meat per packaging BOM.
MES:
• Description 1: This description, along with "description 2" (optional) form the "description" field in the base info tab and will be used as the product description. Note that this field must contain the word "Pork."
Overall Spec:
• Minimum Hog Type: The minimum hog type that this product can be made from.
How to Copy Products
Demo Copying Products enables you to choose an existing product and use it as a template to create a new product. When you copy a product, all the required product attributes are copied to the new product where you can easily modify them as needed. The only required information that must be different than the product that you originally copied is the Code in the "Base Info" tab.
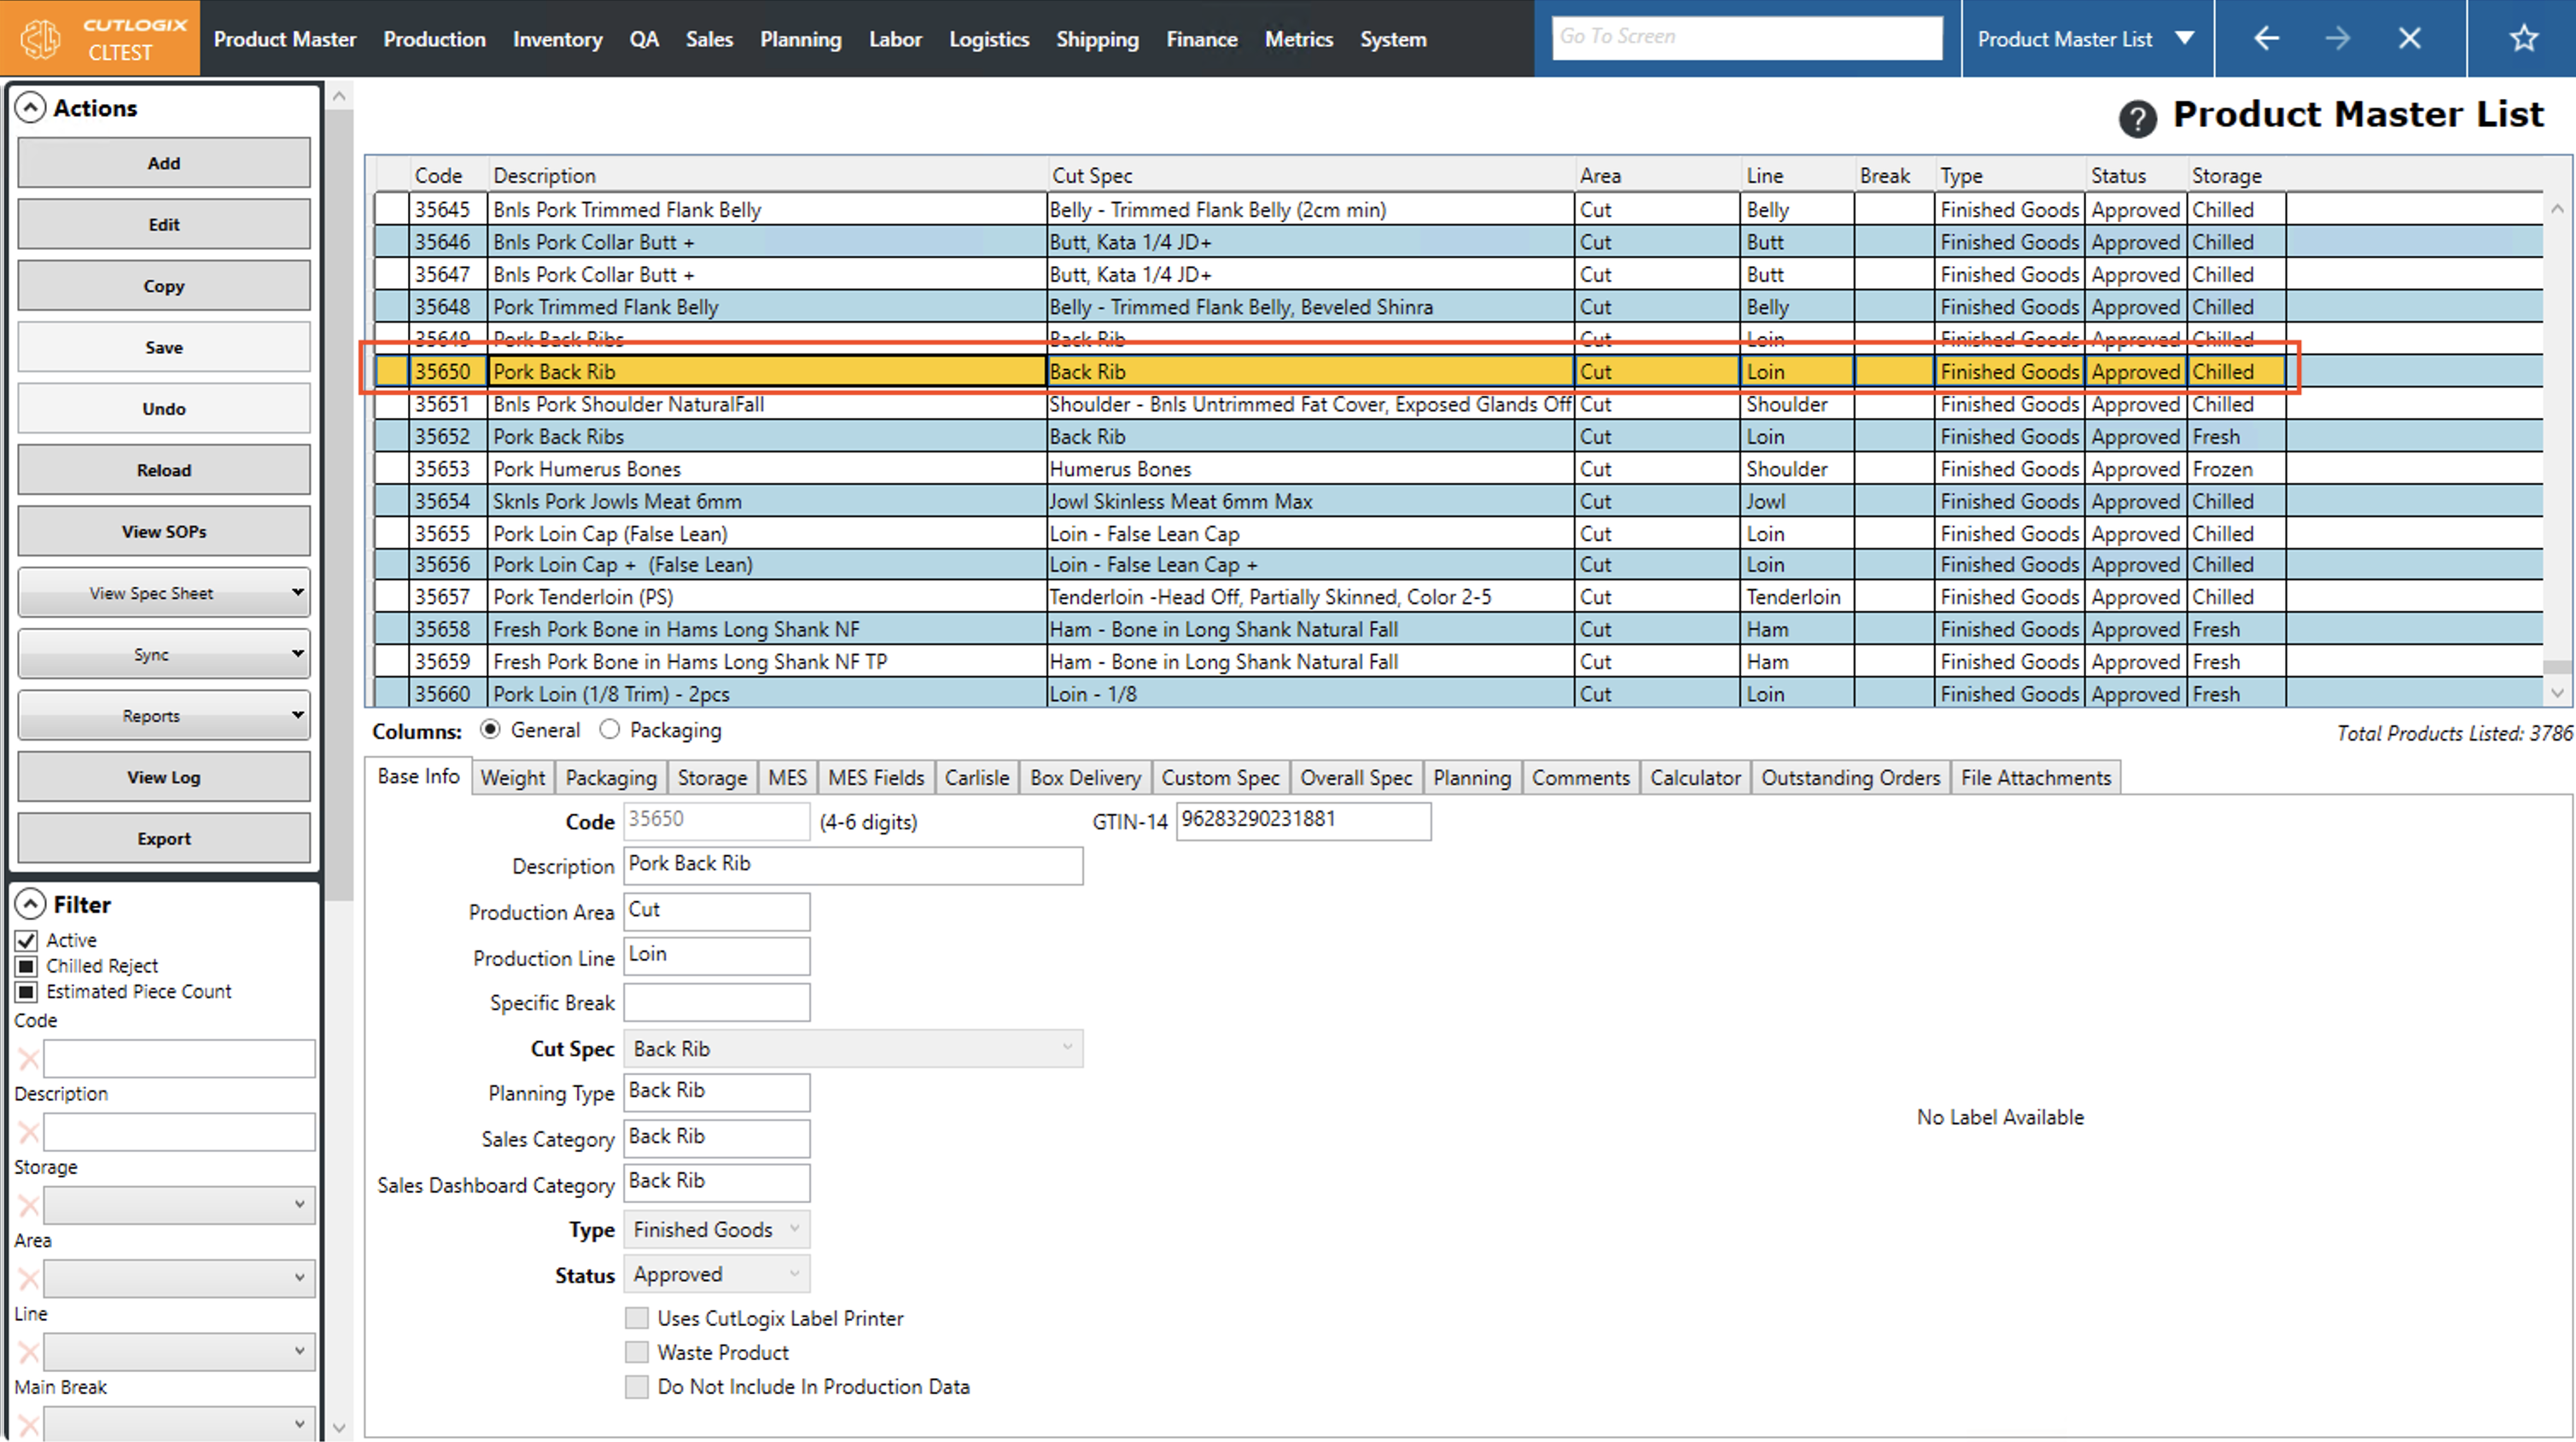
Step 1: Navigate to the "Product Master List" page. (Located under the "Product Master" menu option)
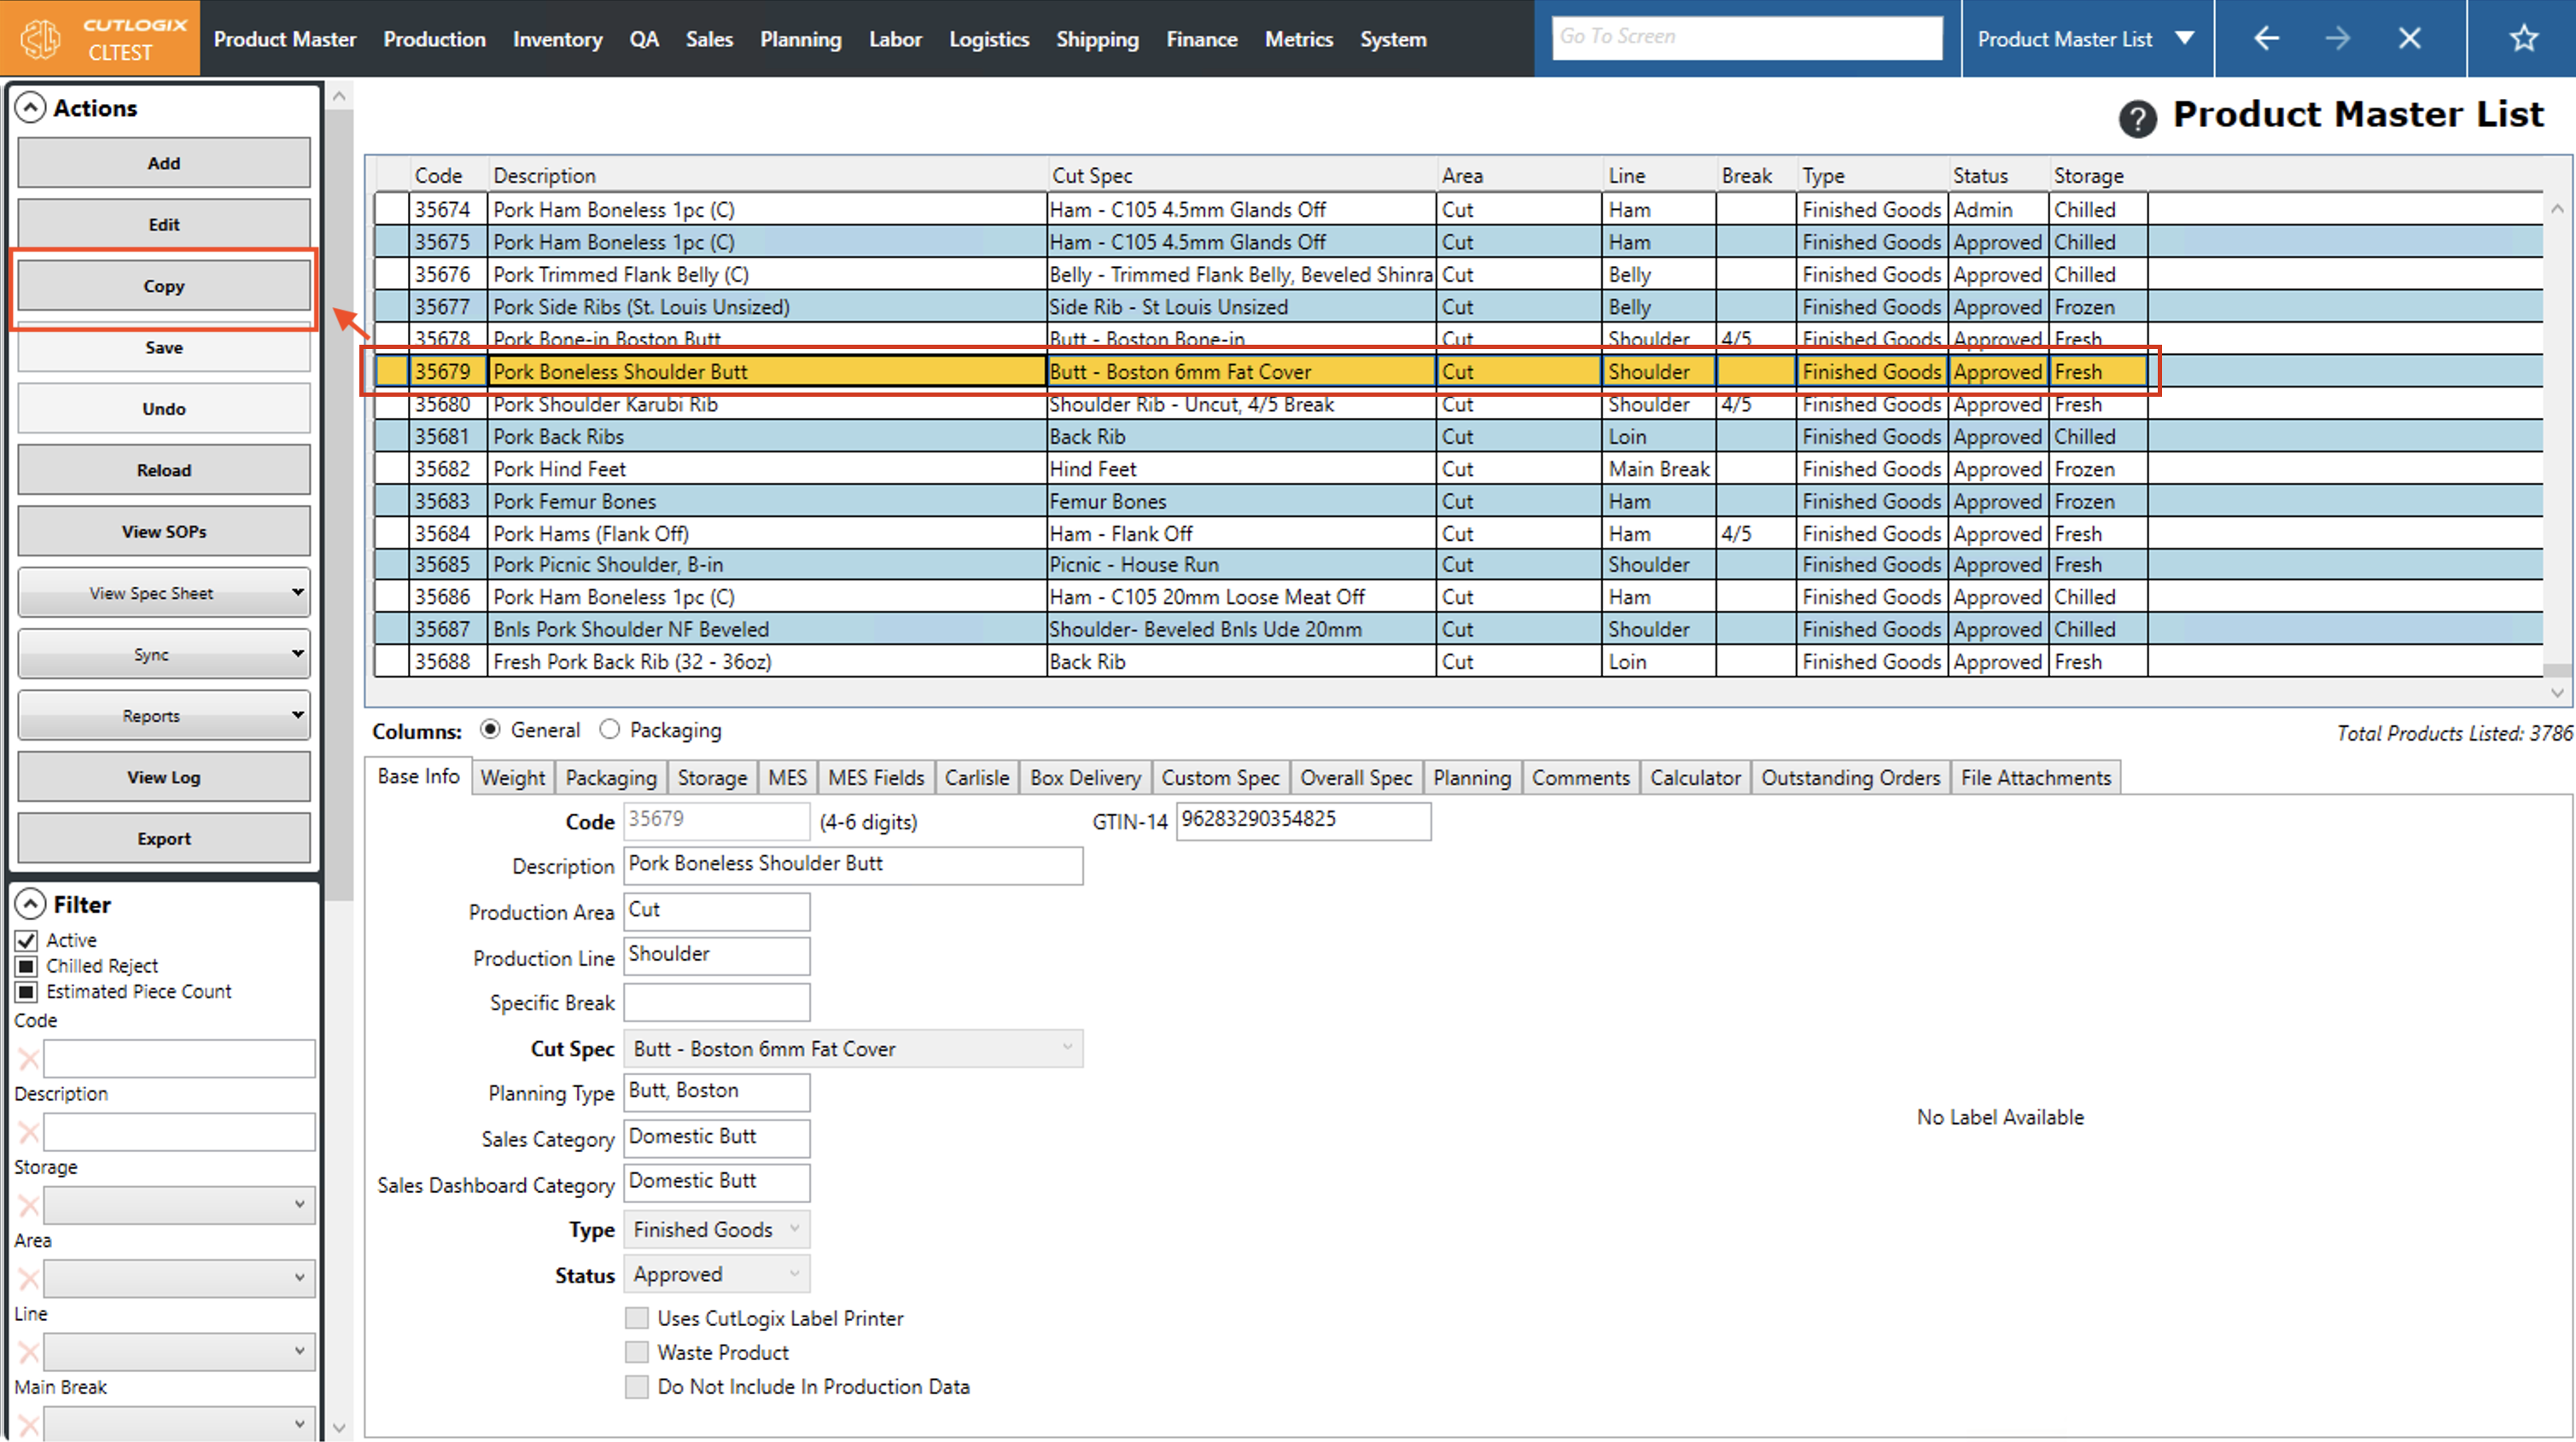
Step 2: Click on the product in the list that you want to copy (Once selected, it will be highlighted in orange), then click the "Copy" button in the Actions panel.
Step 3: The product will be copied and all the information from the product will be visible in the tabs at the bottom of the screen for the new product.
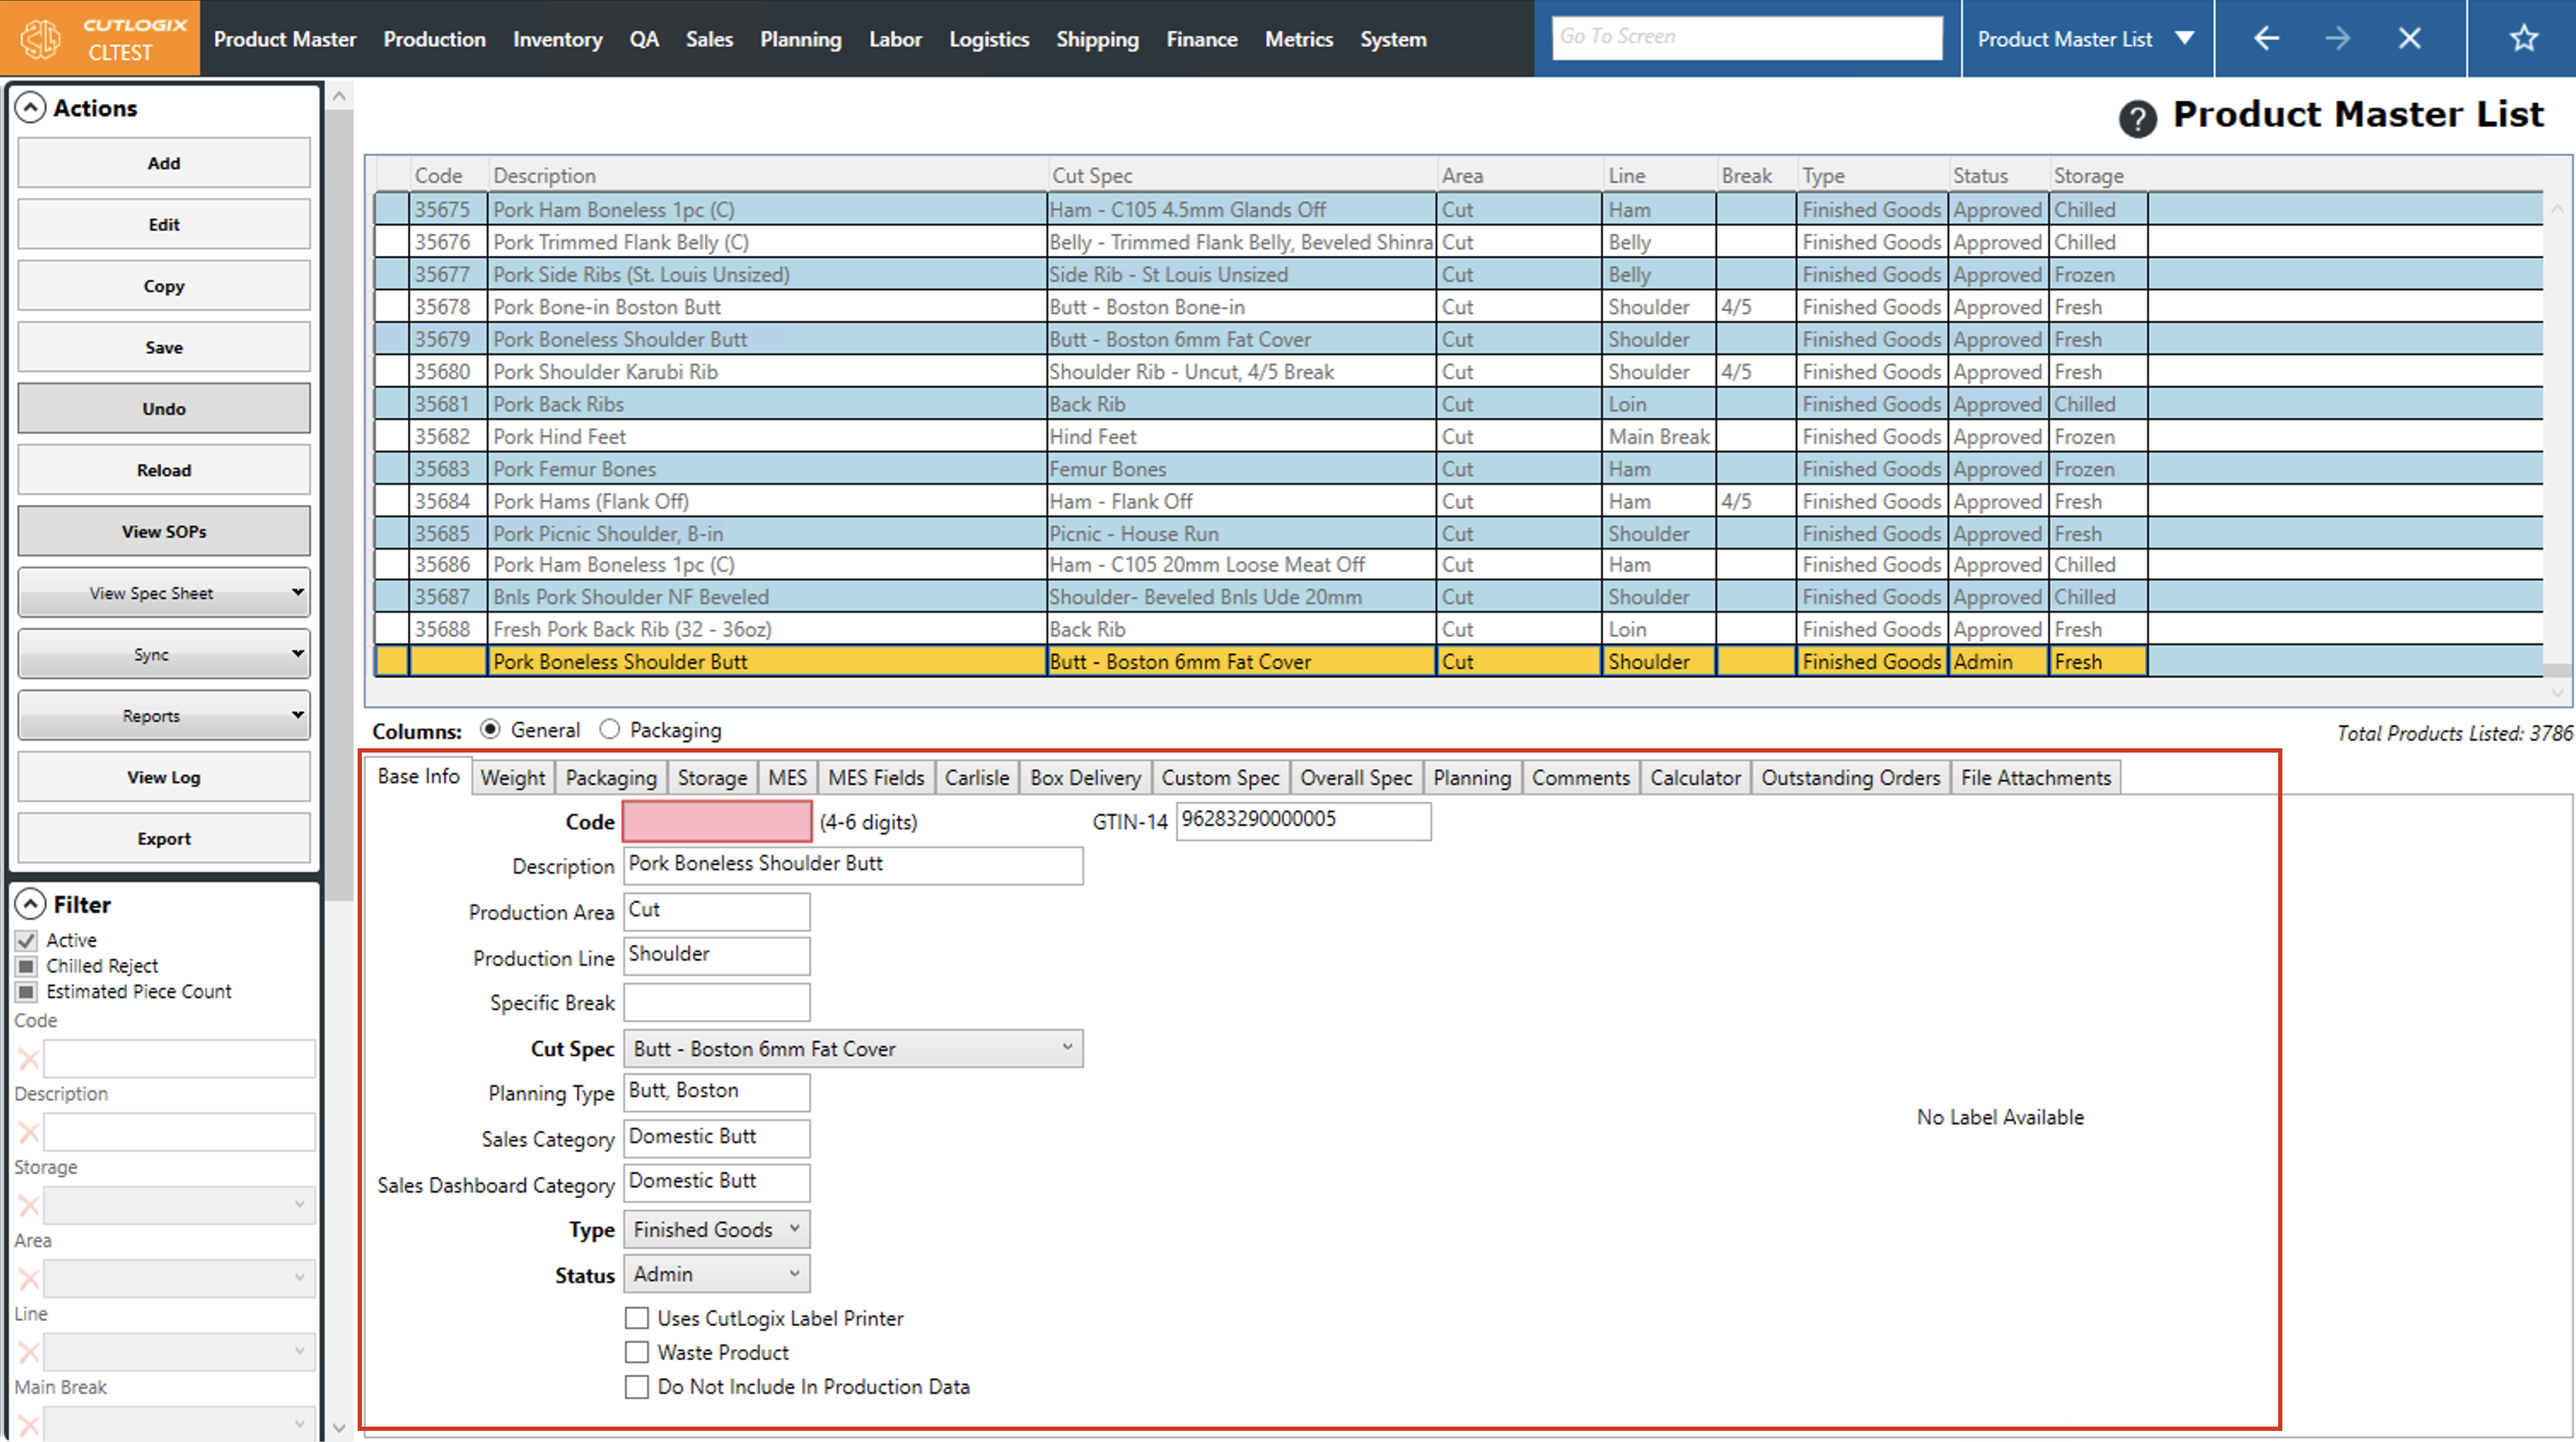
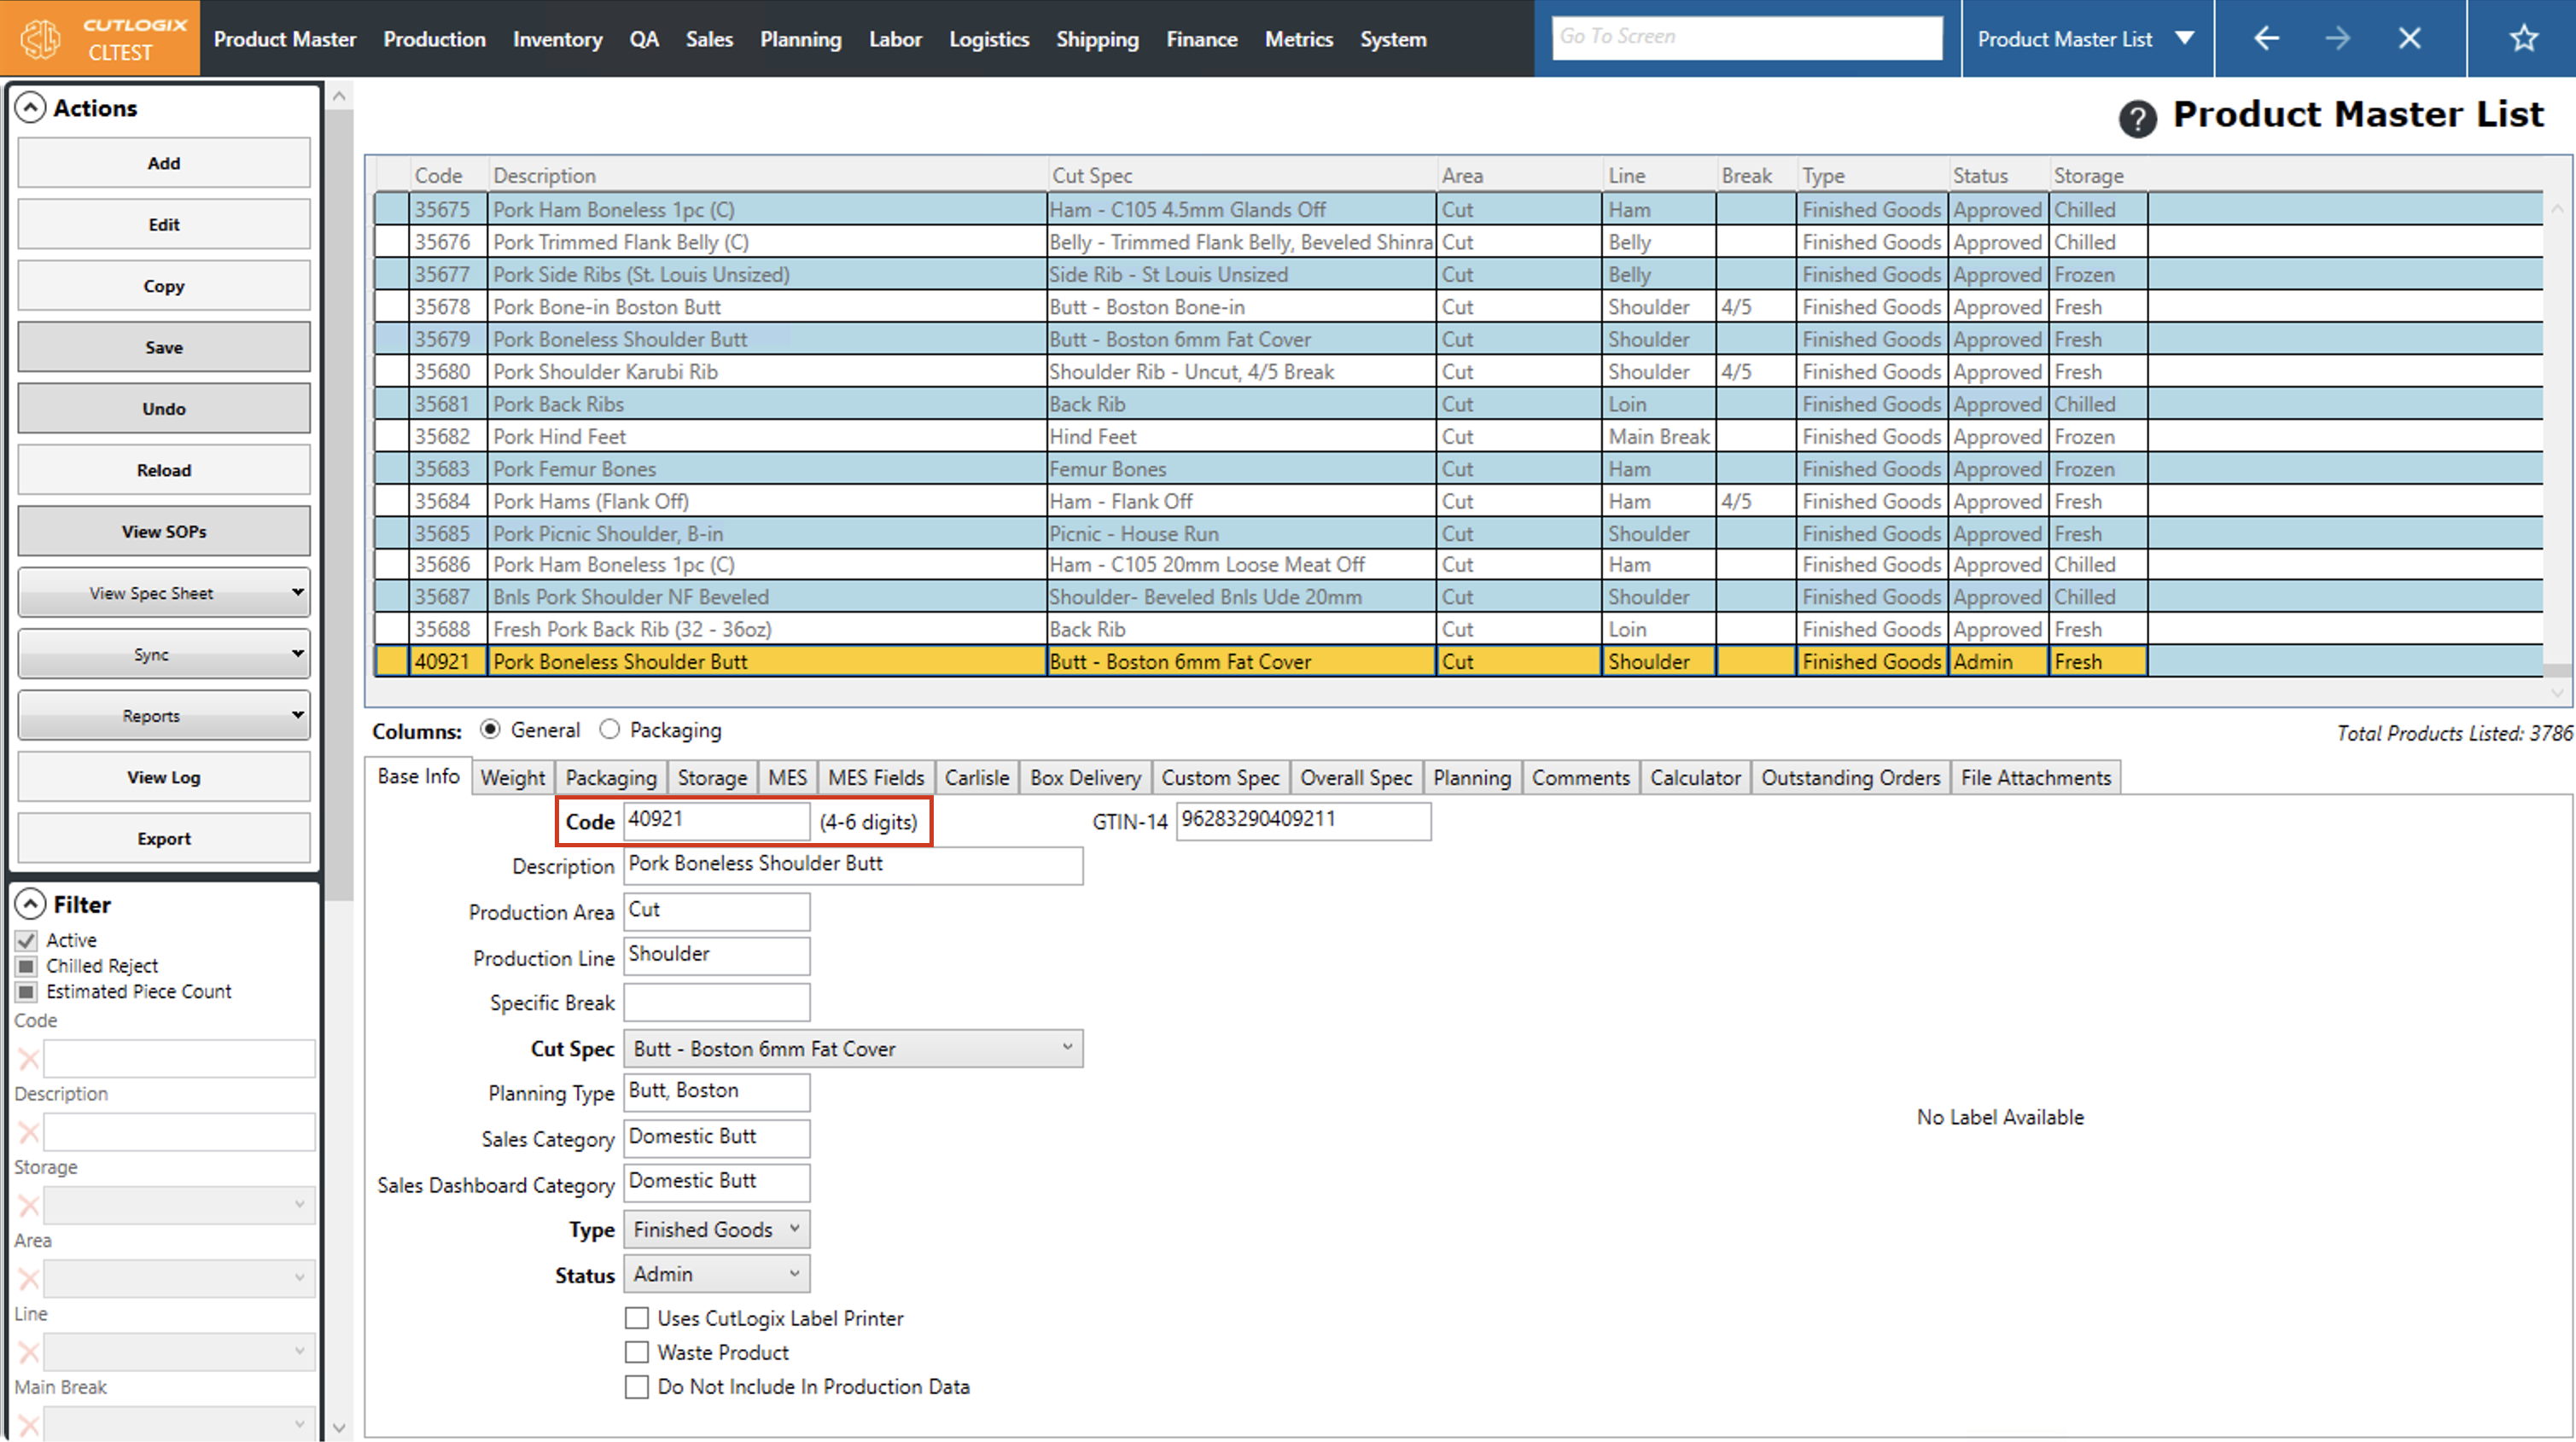
Step 4: Make any necessary changes to the product information so that it's correct for the new product and assign a new product code to the product.
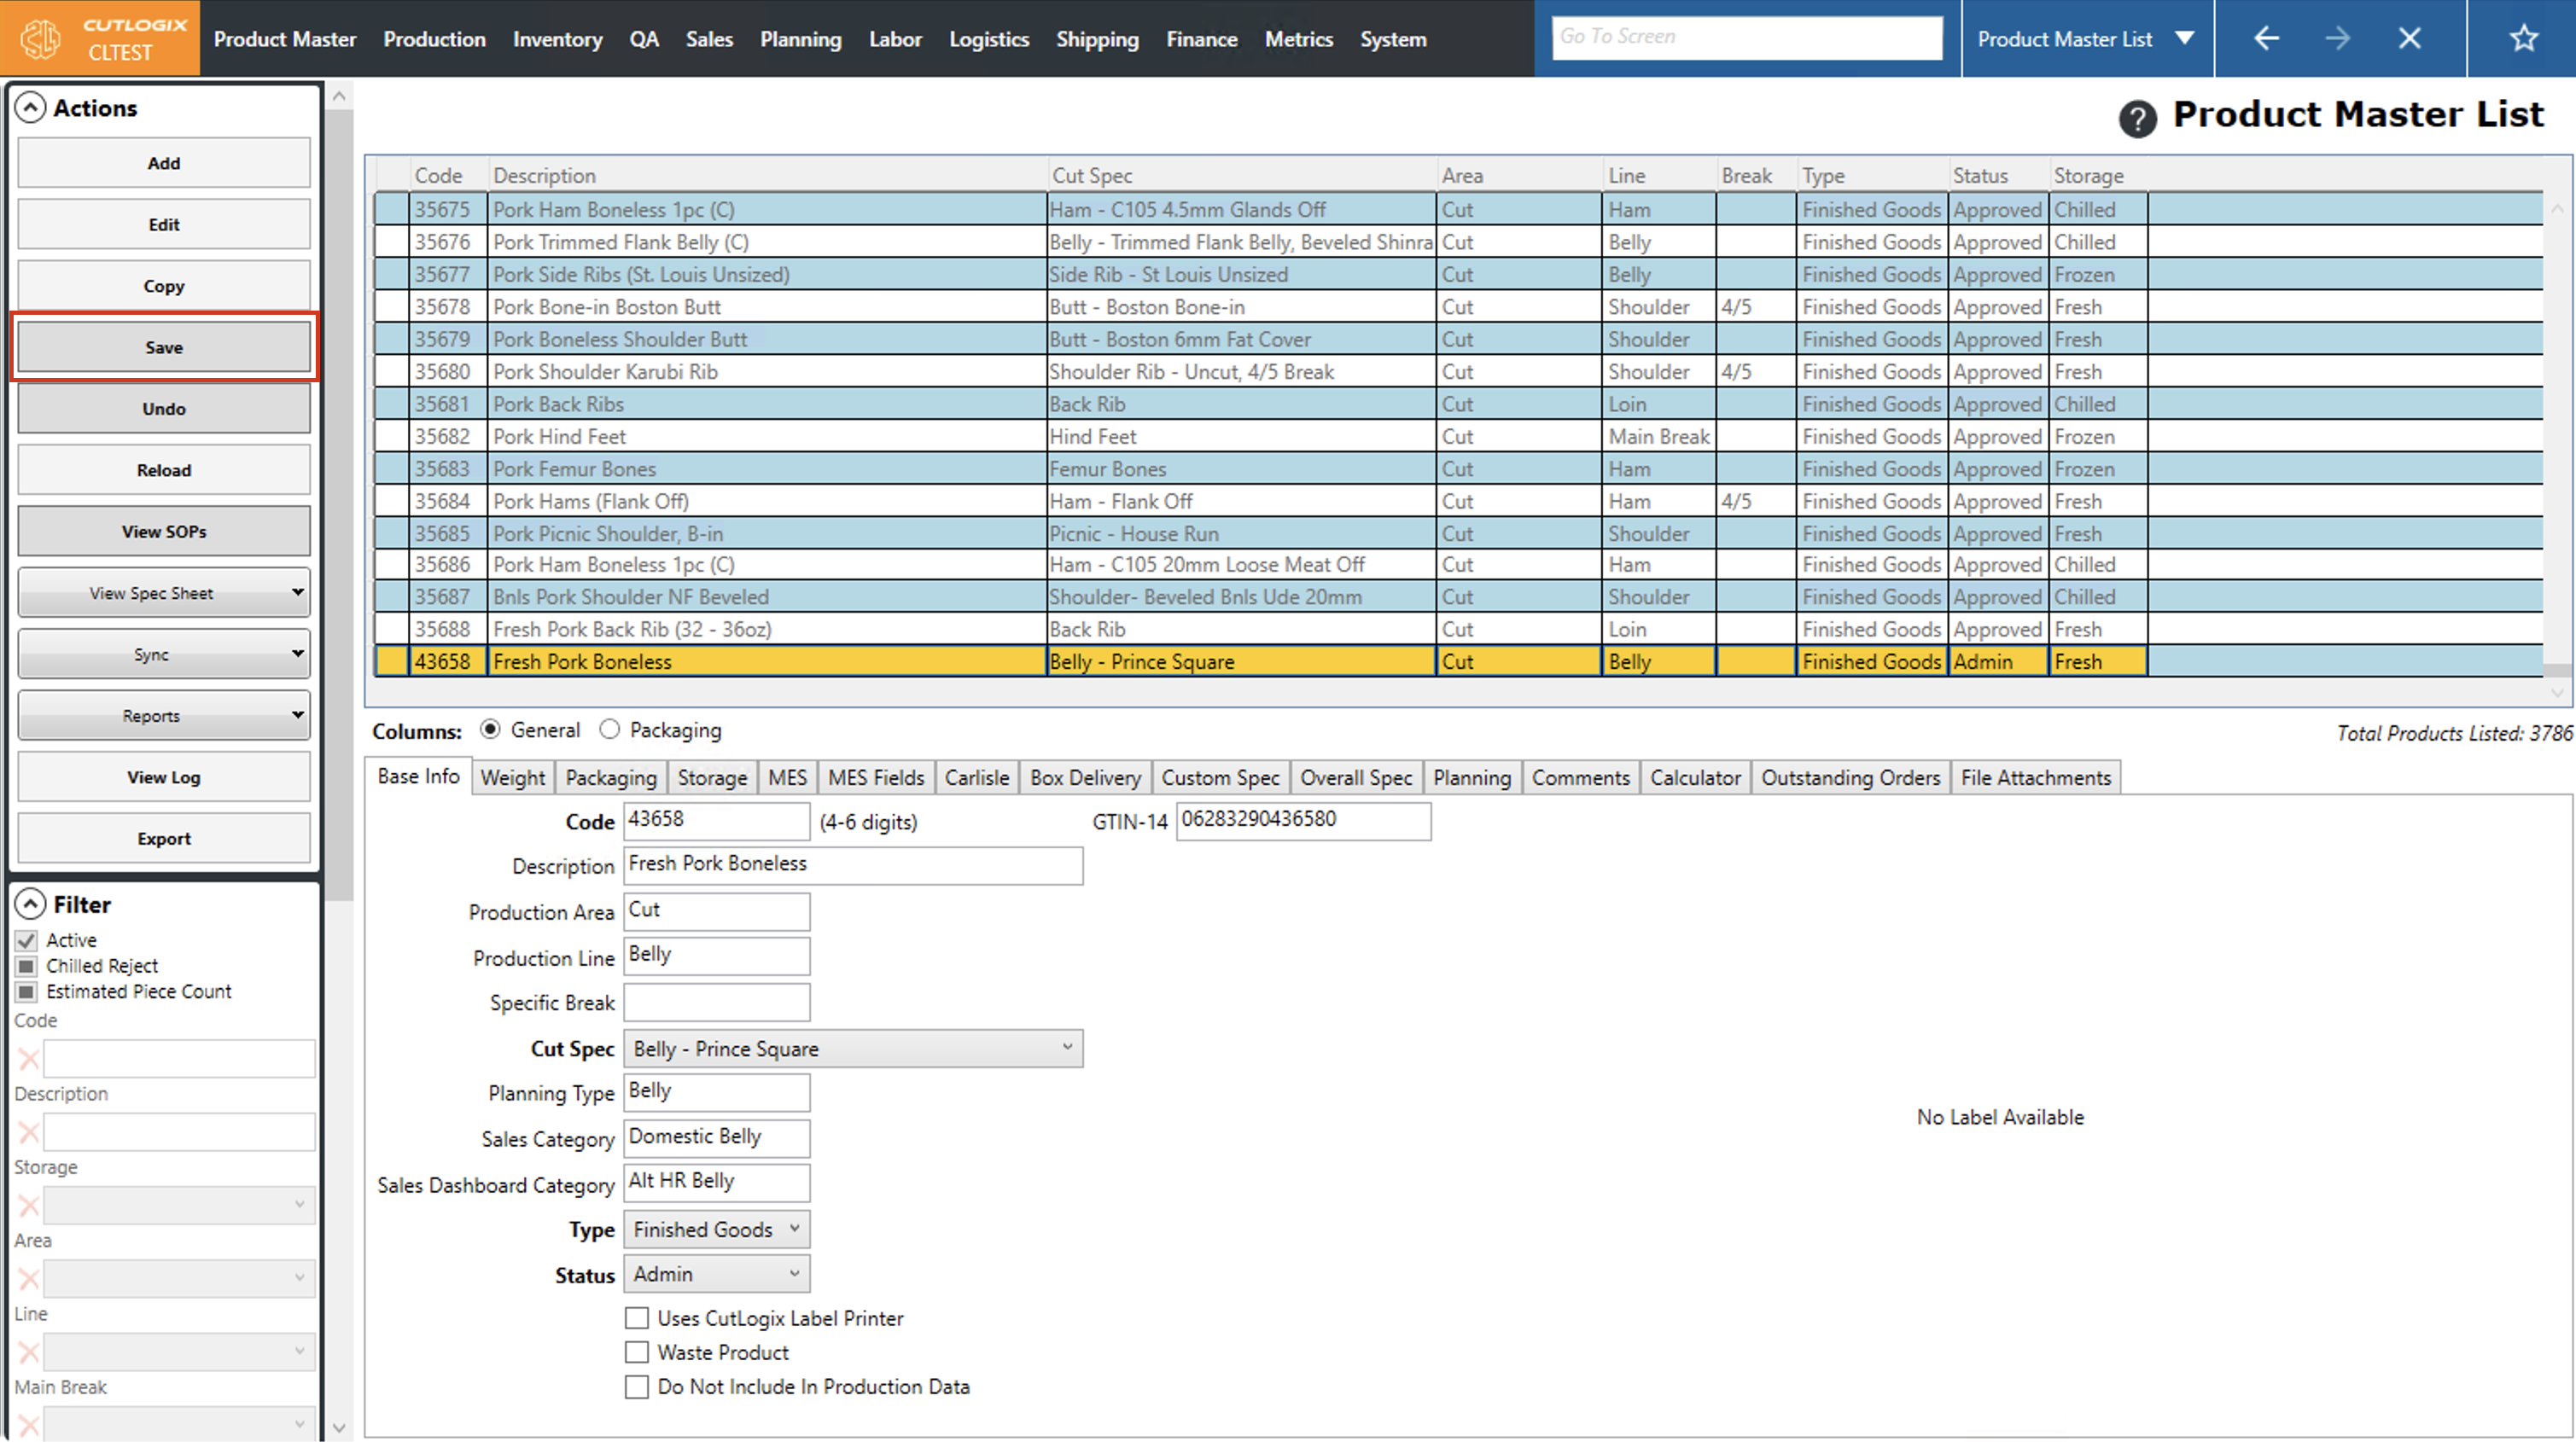
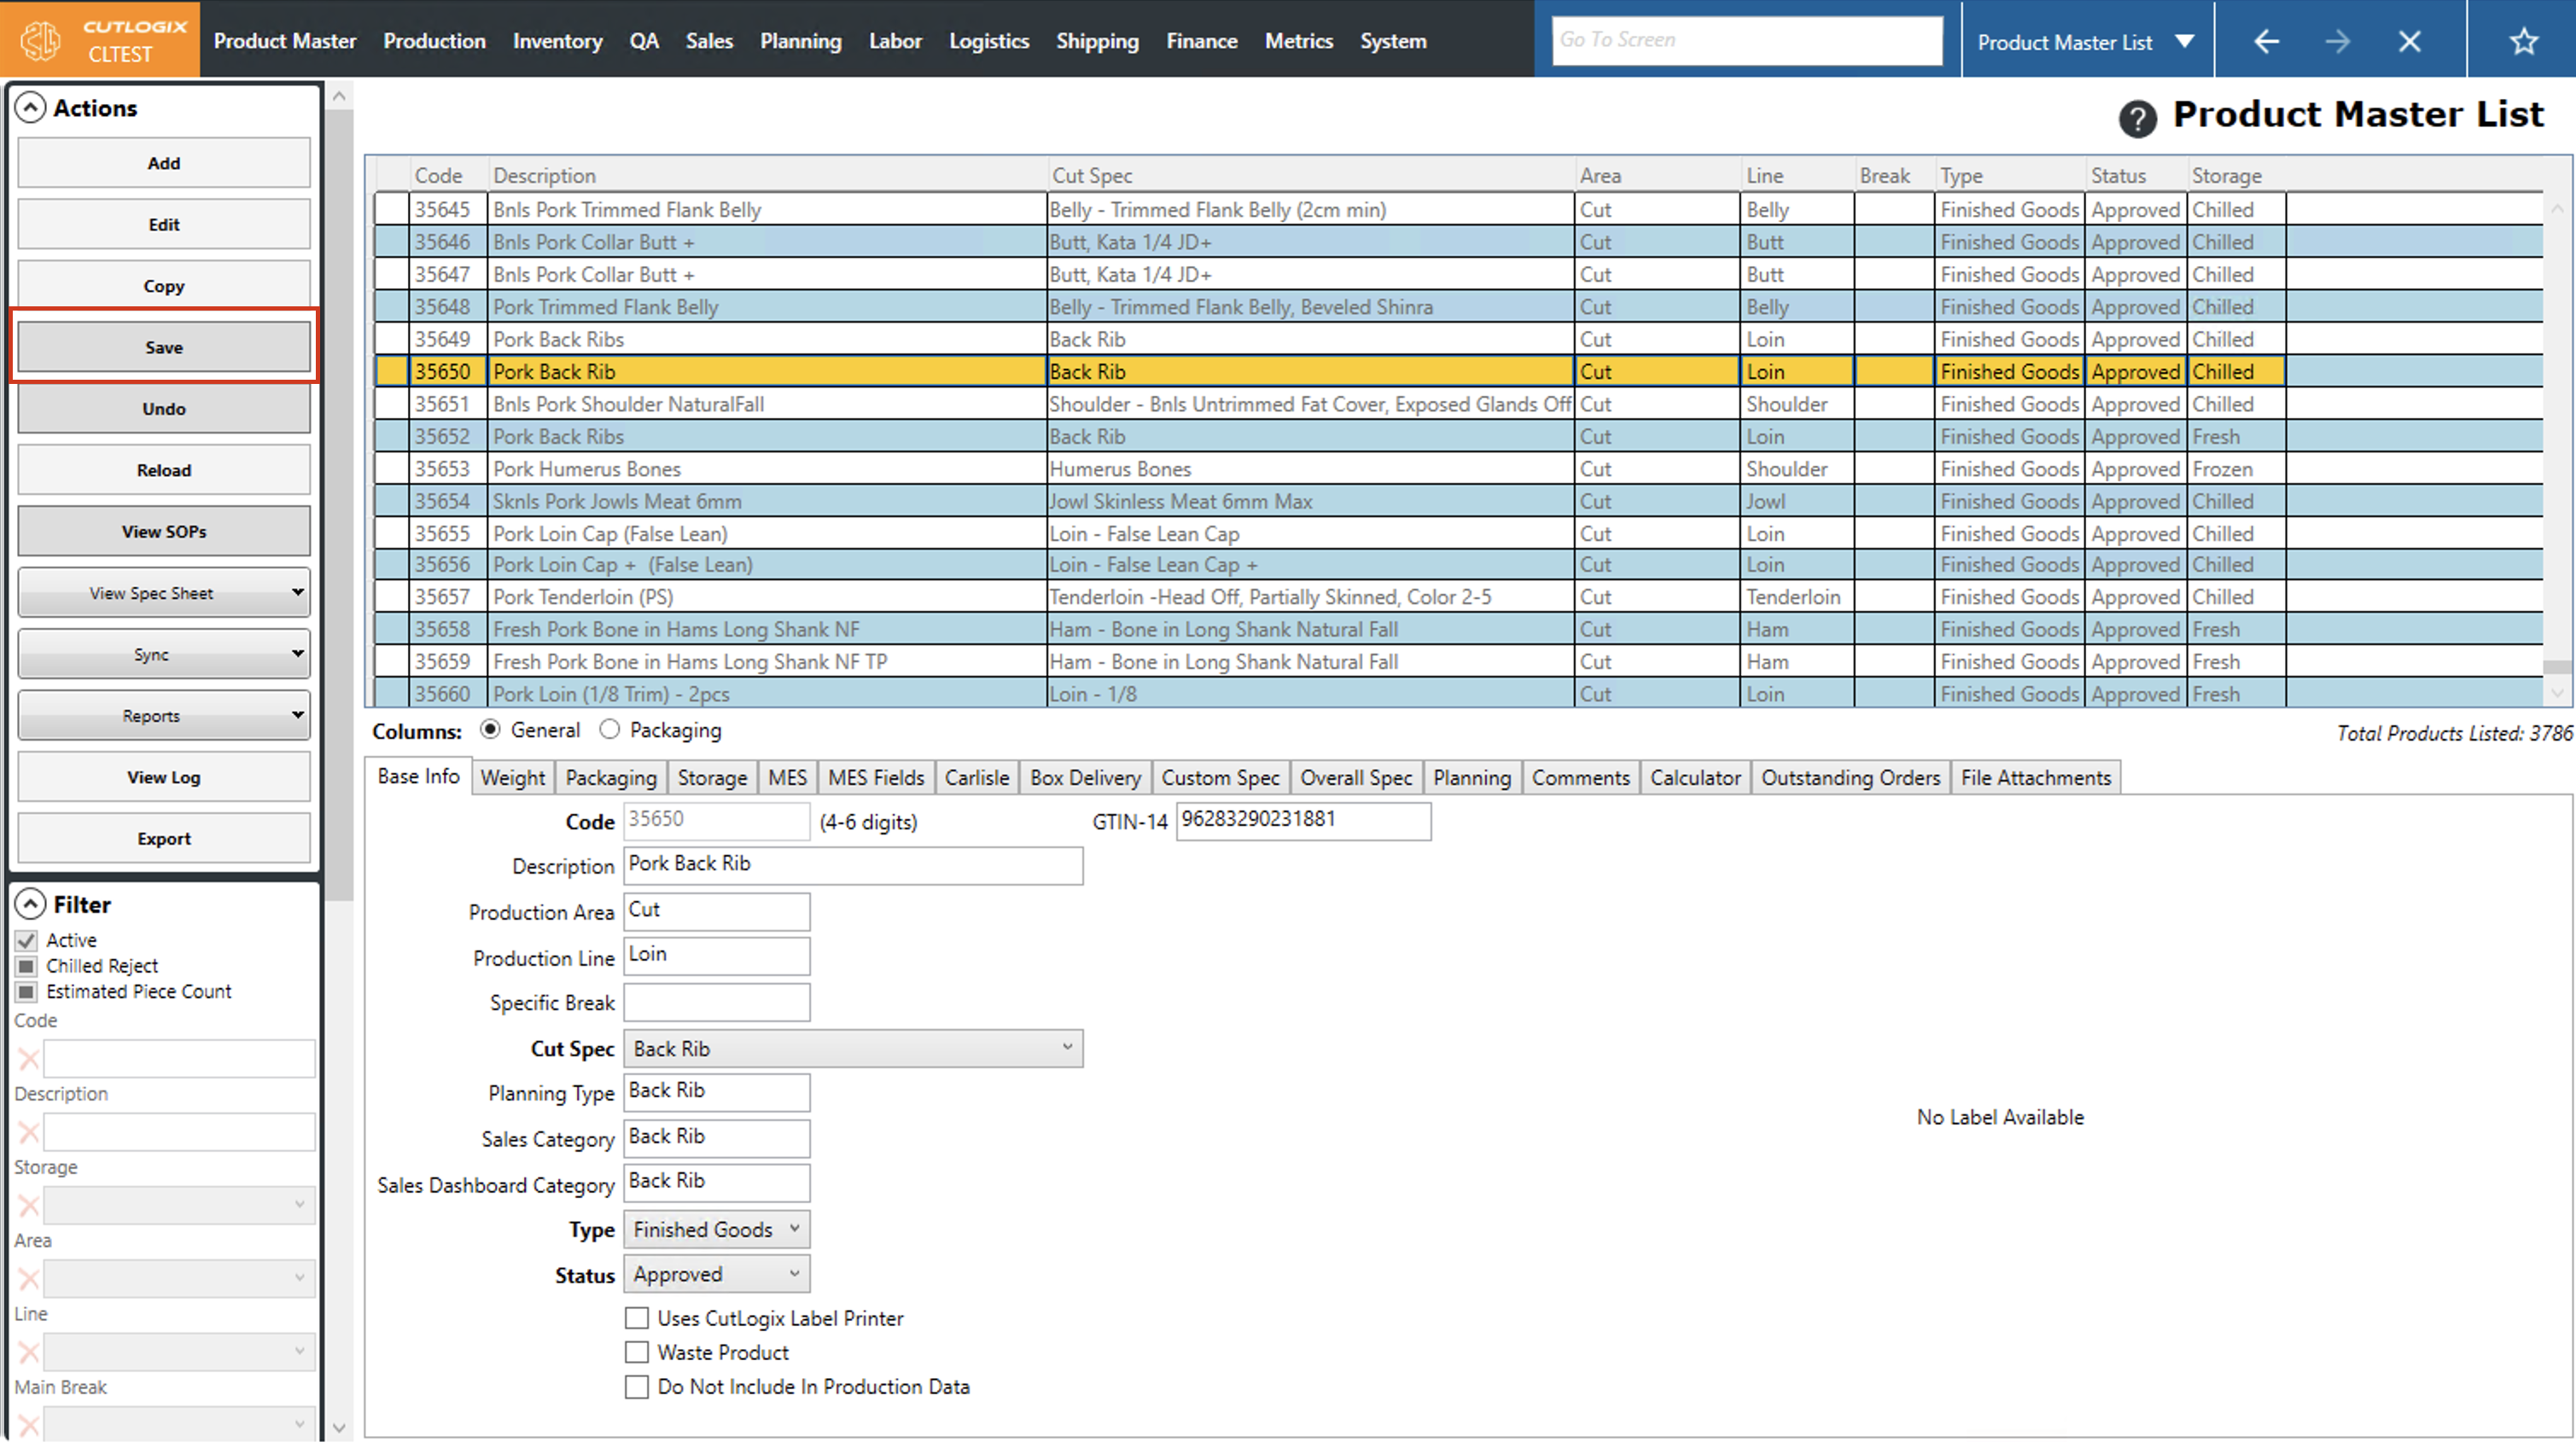
Step 5: Click "Save" in the actions panel to save the new product into your product list.
How to Edit Products
Demo Editing products allows you to make changes to existing products in your product list.
Step 1: Navigate to the "Product Master List" page. (Located under the "Product Master" menu option)
Step 2: Click on the product in the list that you want to edit. (Once selected, it will be highlighted in orange)
Step 3: Click "Edit" in the Actions Panel.
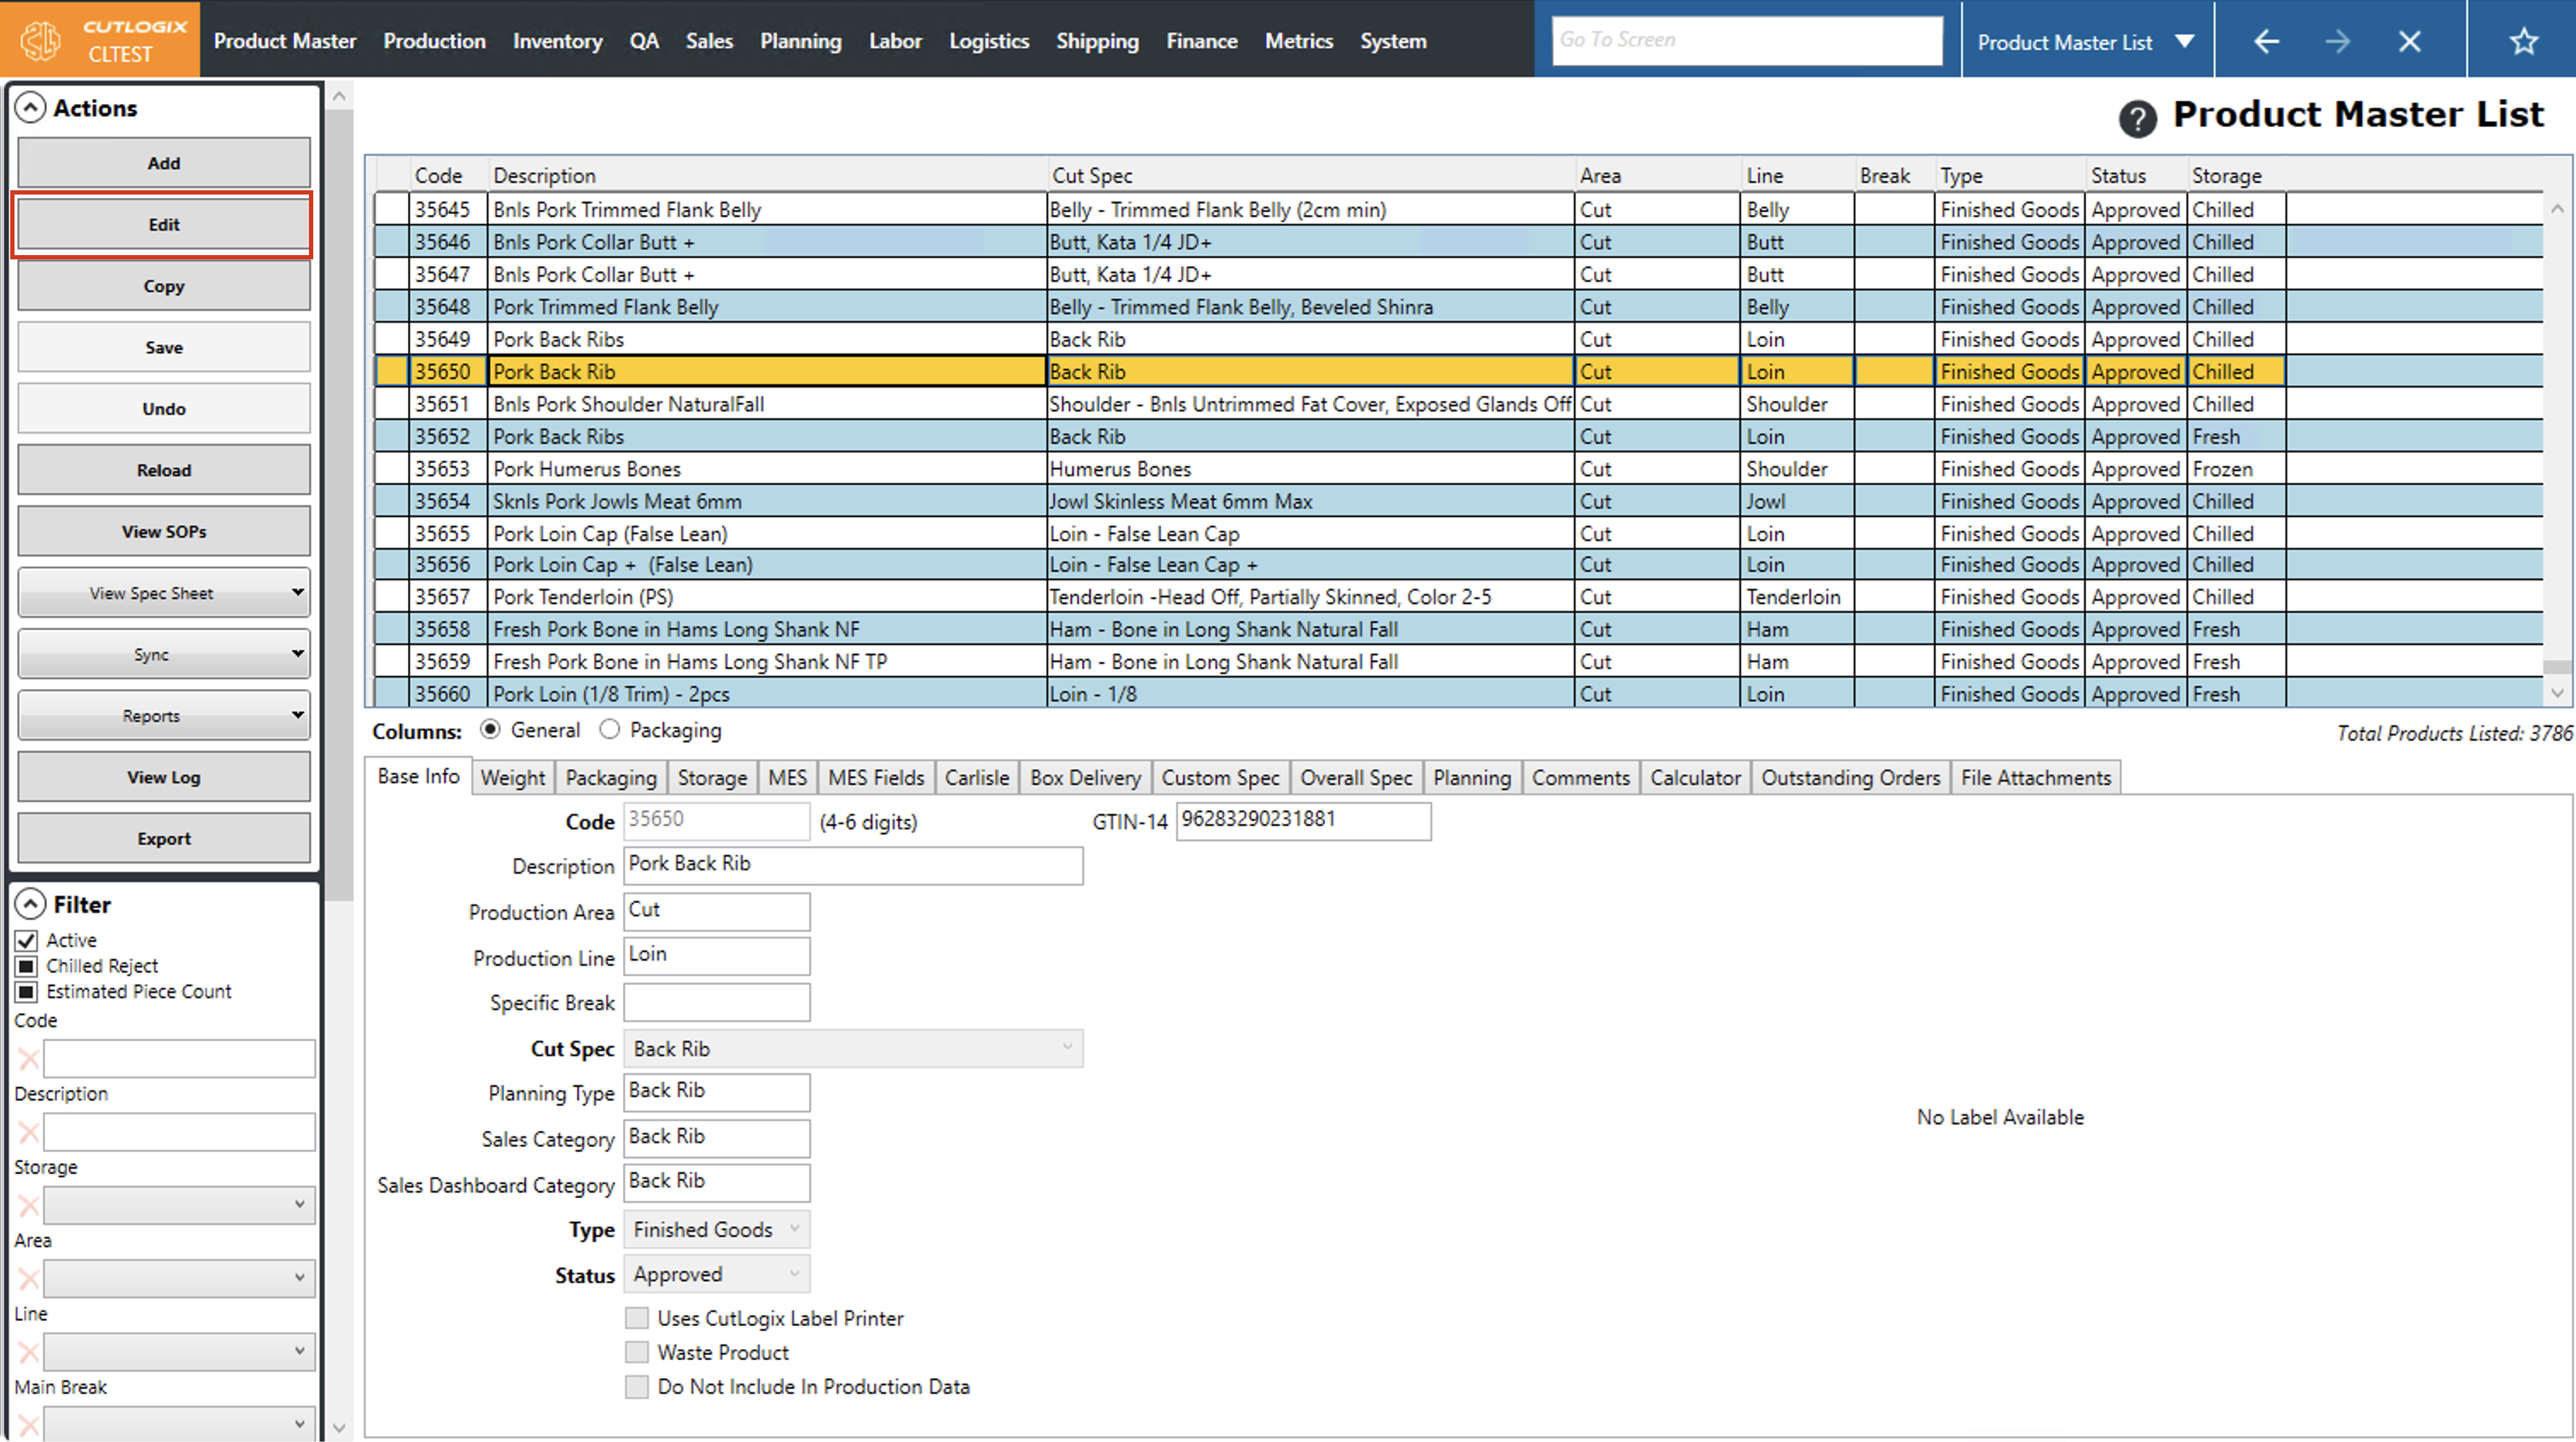
Step 4: The product tabs at the bottom of the page will be enabled for editing. Make the necessary changes to the product.
Step 5: Click "Save" in the actions panel to save the changes to the product. The product will then be saved in your product list with the newly changed information.
Syncing to the MES (Manufacturing Execution System)
Demo There are a few options to sync your products to your MES. Updating your products in the MES is important to ensure that it has the most current product specifications.
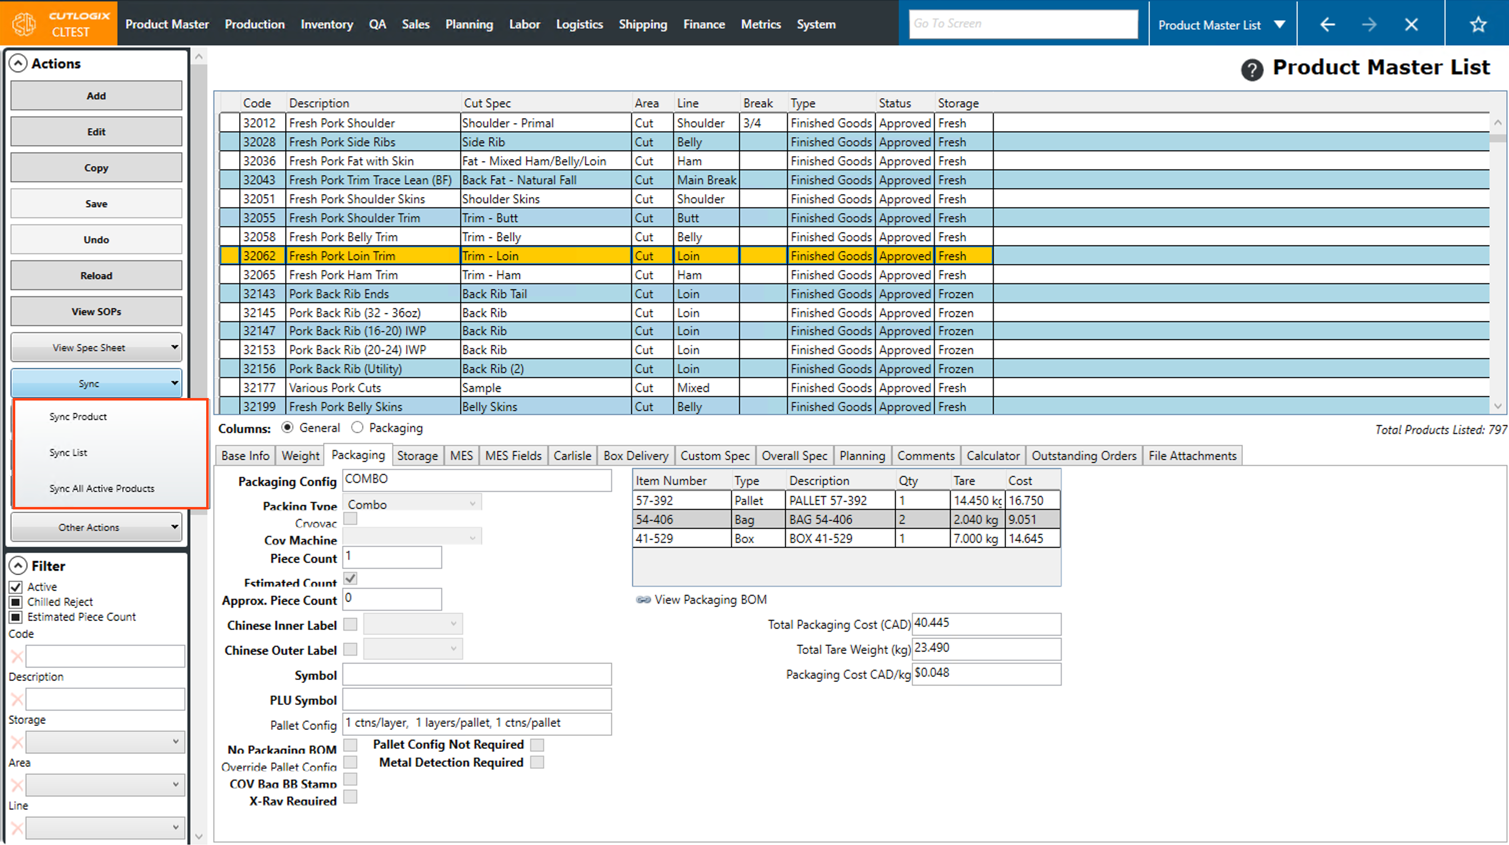
Step 1: Click on the 'Sync' dropdown in the 'Actions' sidepod.
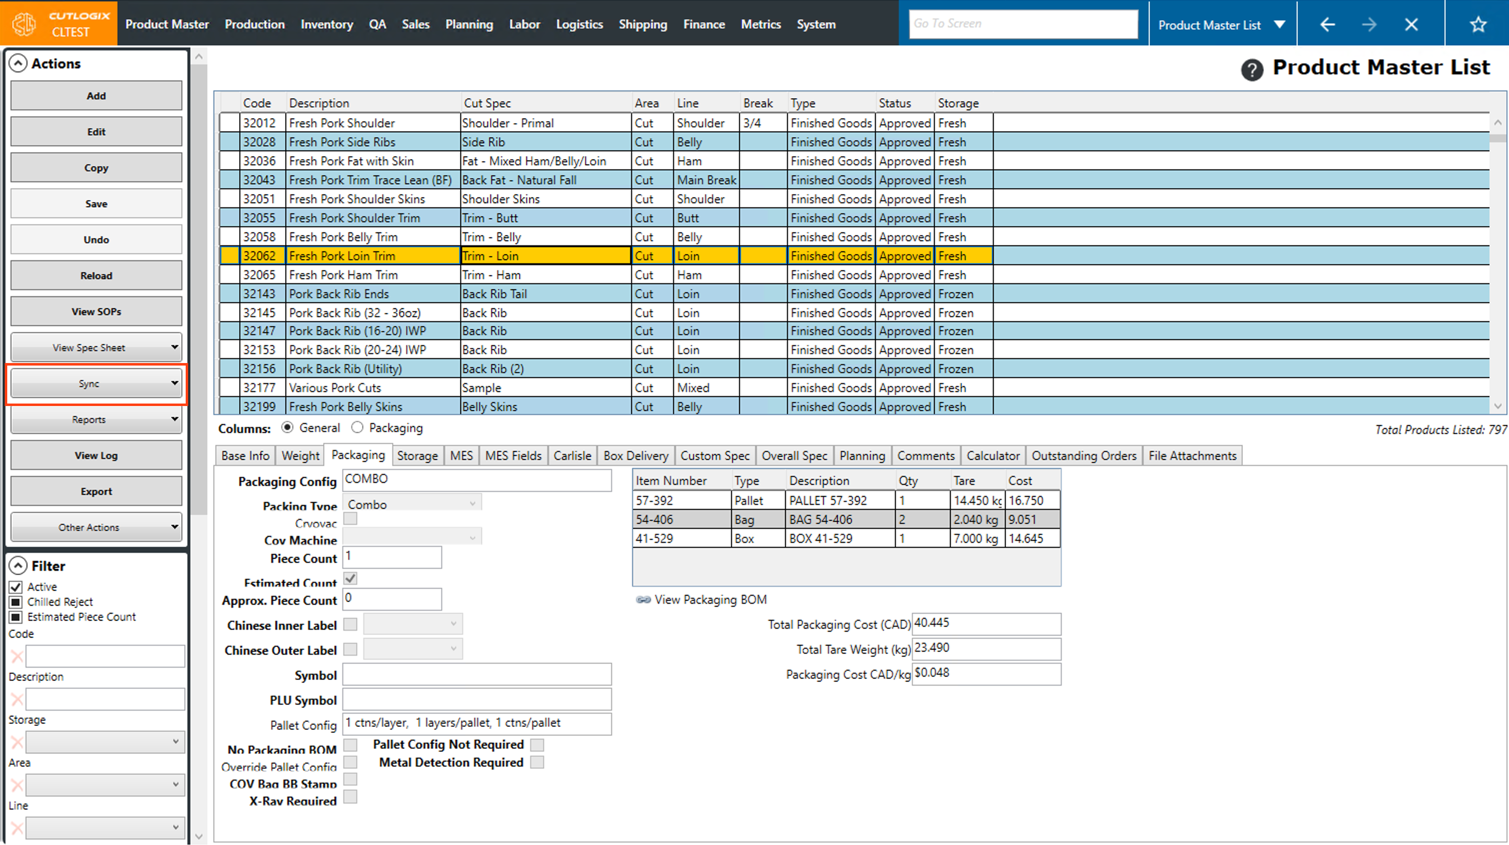
Step 2: Select a Sync option from the dropdown.
• Sync Product: This will sync the currently selected product to the MES.
• Sync List: This will sync the filtered product list to the MES. This is only clickable if the list is filtered by a packaging item.
• Sync All Active Products: This will sync all active products. An active product is one with a status of 'Admin', 'Draft', 'Approved' or 'Not Produced'. Put another way, active products are those that do not have the 'Obsolete' status.
After the sync has been completed, a message will appear to let you know if it finished successfully or if there were any issues.