Scheduled BOM Tasks
How to Add a Scheduled BOM Change
Demo Scheduled BOM changes allow you to add or remove items from a packaging BOM or replace existing items in a BOM with a different item on a specific date & time.
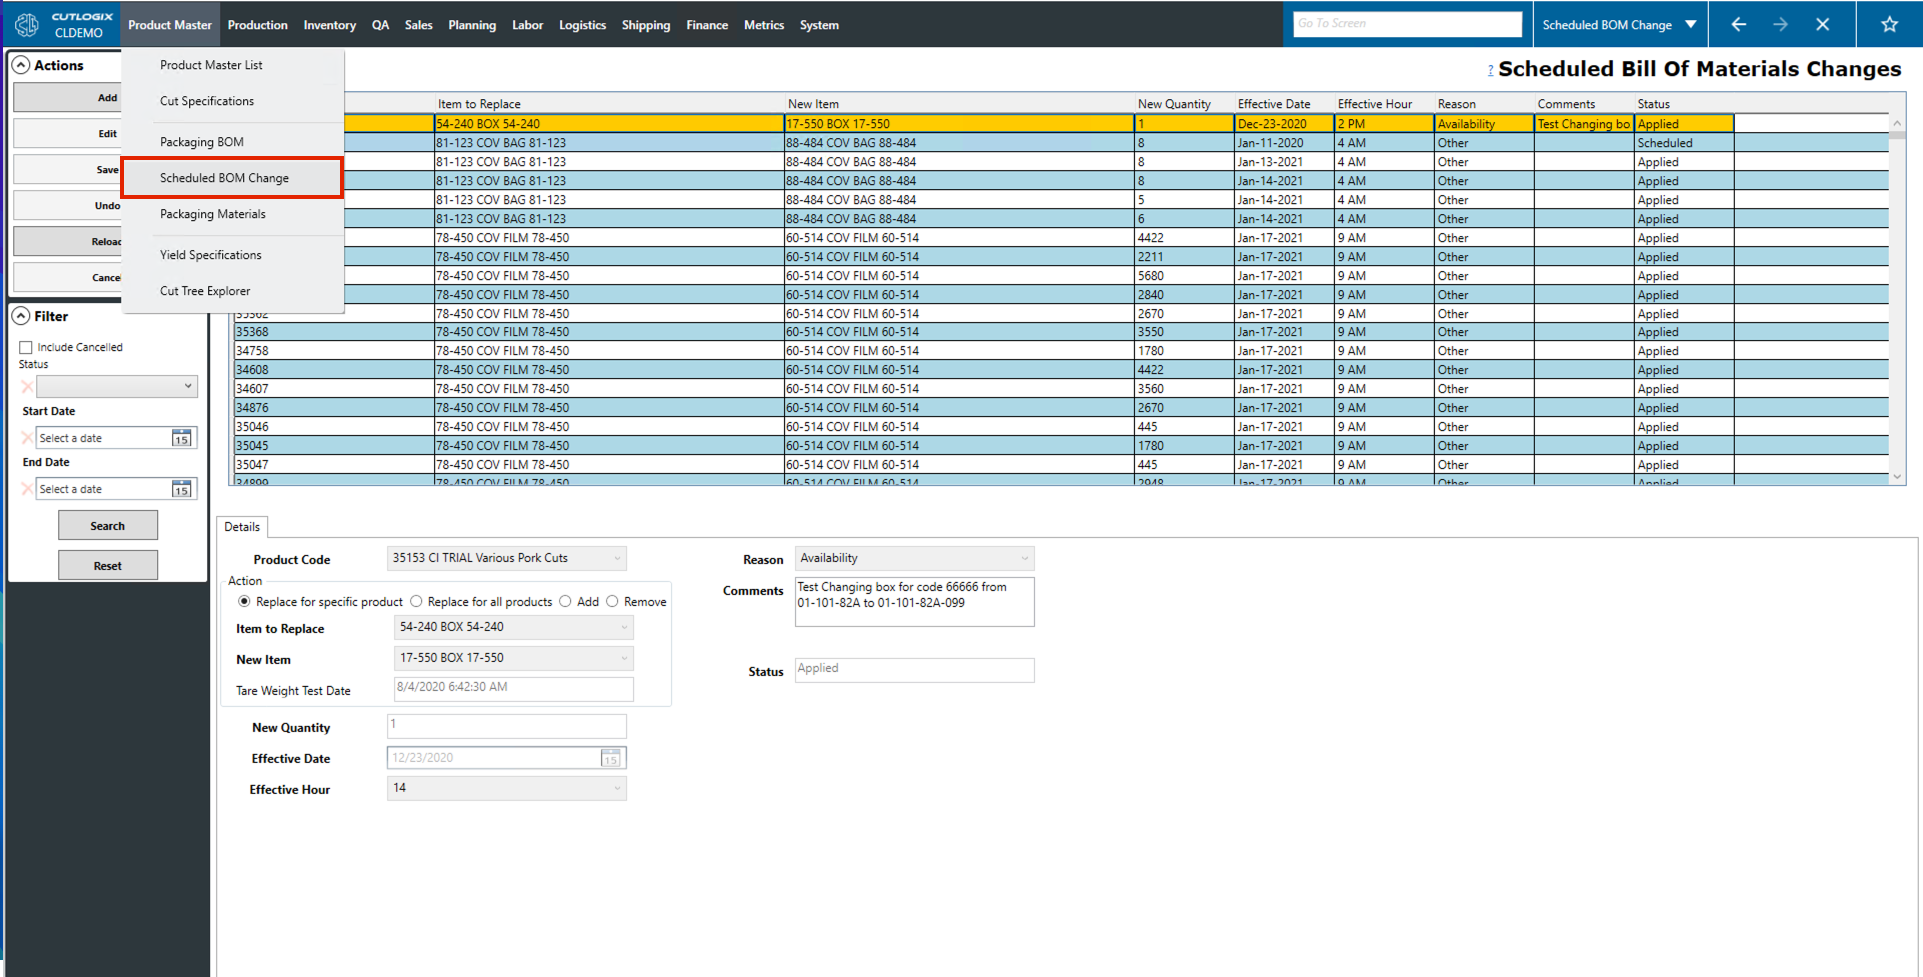
Step 1: Navigate to the Scheduled BOM Change page, under the Product Master menu.
Step 2: Click on the "Add" or “Edit” button in the Actions panel.

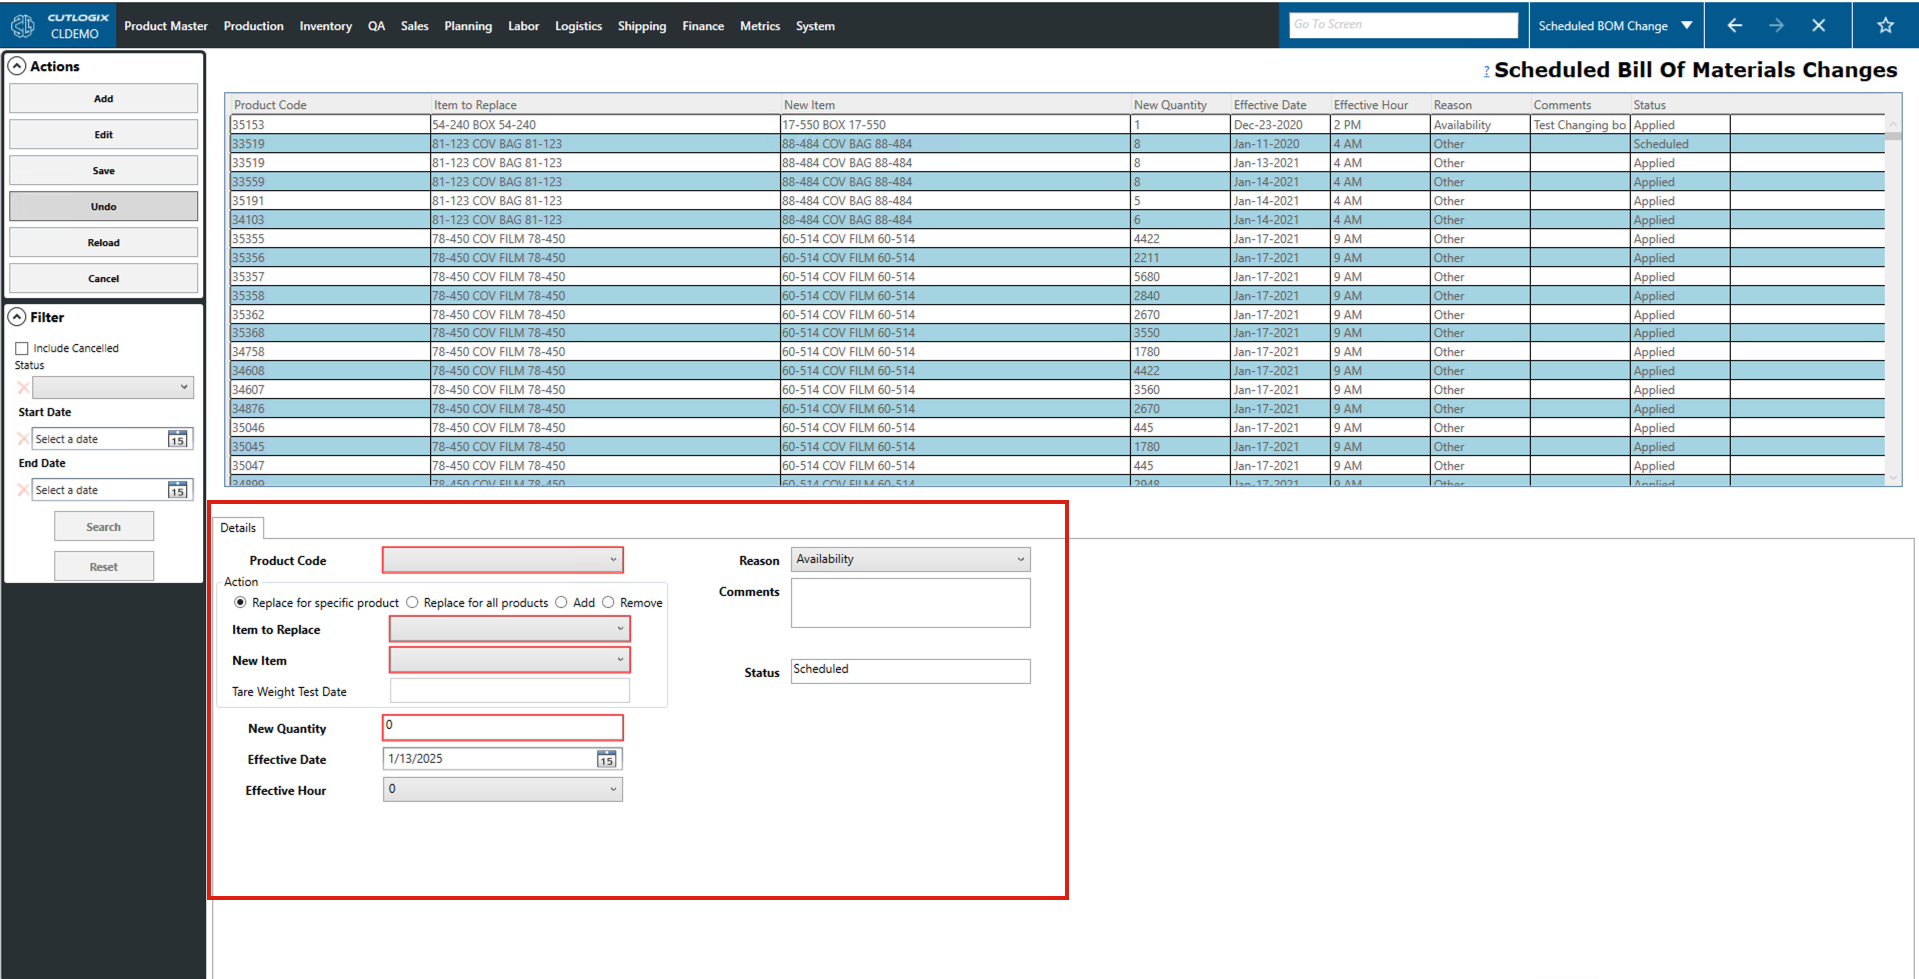
Step 3: A temporary tab will open at the bottom of the page (below the scheduled BOM changes table). This is where you can add/edit the required information (new fields that are required are marked in red) about the scheduled BOM change. The required fields are: Product Code, Item to Replace, New Item and New Quantity. There are also several optional fields that you can choose to enter data in as well.
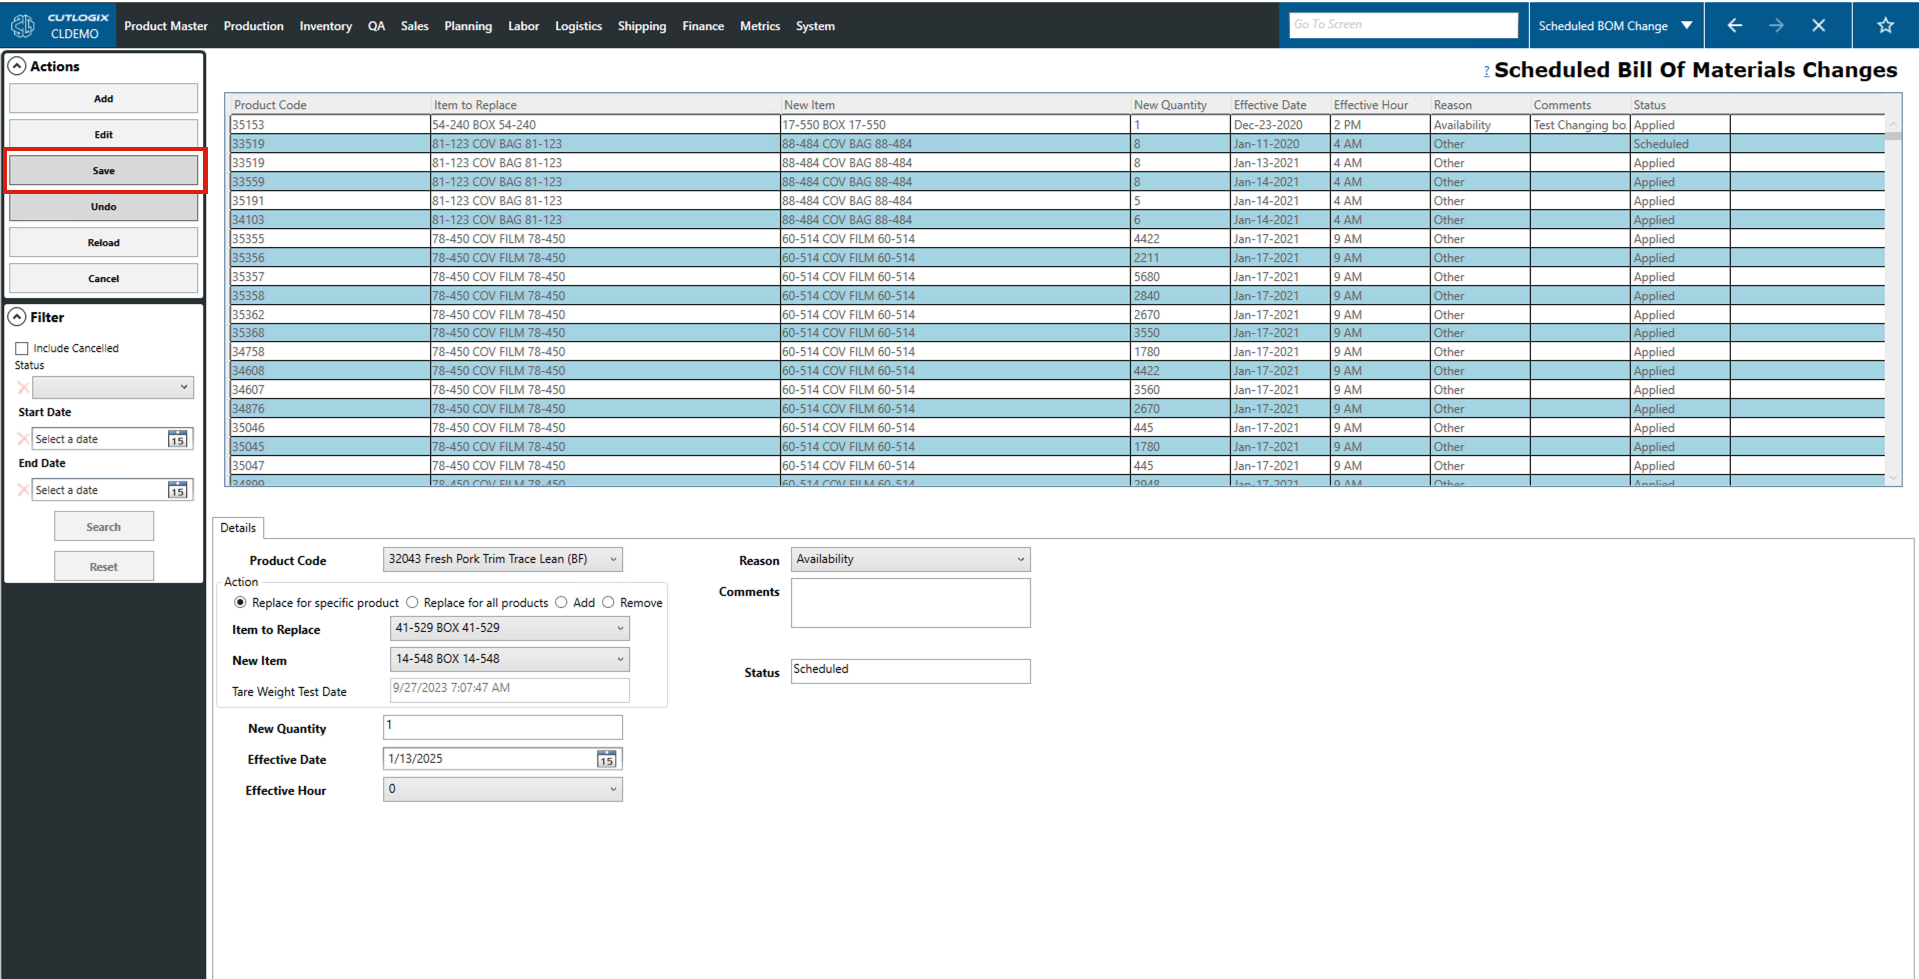
Step 4: After all the required information has been added about the new Scheduled BOM change, click the "Save" button in the Actions panel. The Scheduled BOM change will then be saved into the Scheduled Bill Of Materials Changes table.