Packaging Materials Tasks
How to Add a Packaging Material
DemoStep 1: To Create new packaging material, go to the Packaging Material Screen, then click on the "Add" button.
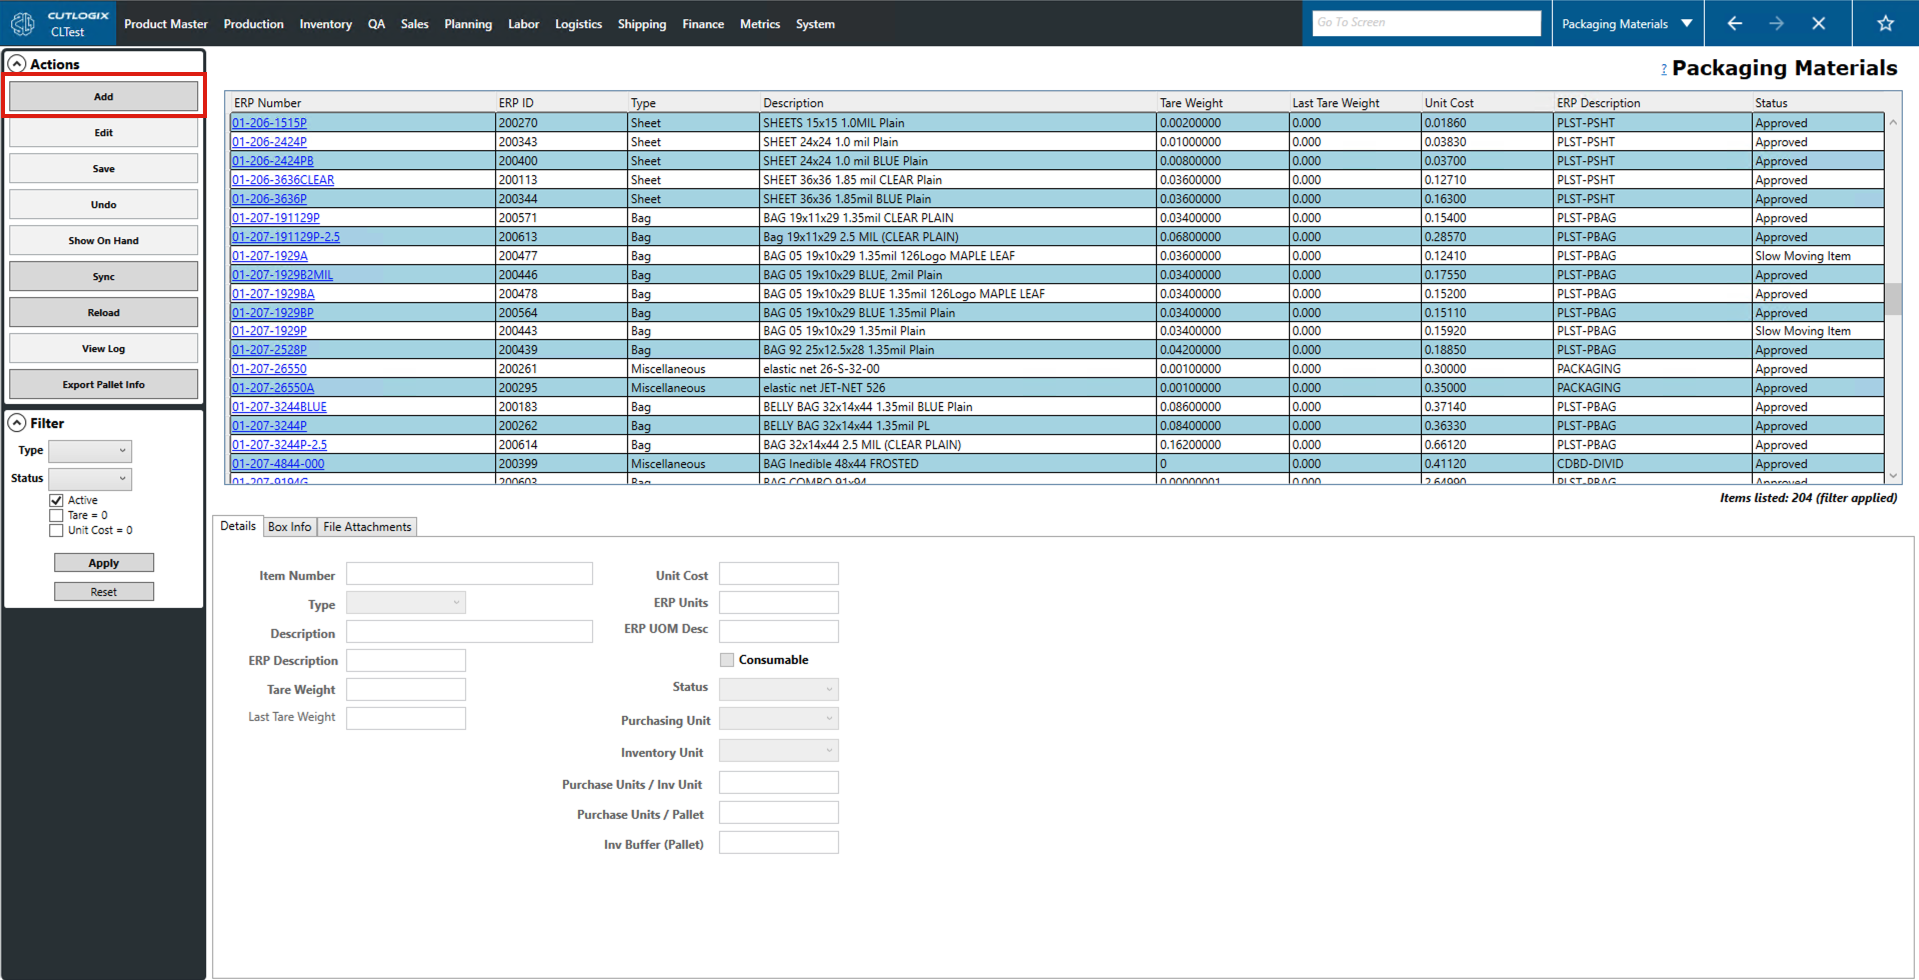
Step 2: This will bring up the temporary dialogue at the bottom with multiple tabs. Go to the Details tab and add all the mandatory fields (marked in red): Item number, description of the packaging material, ERP description of the packaging material, and tare weight of the packaging material.

Step 3: Go to the Box Info tab and add all the required information (highlighted in red).

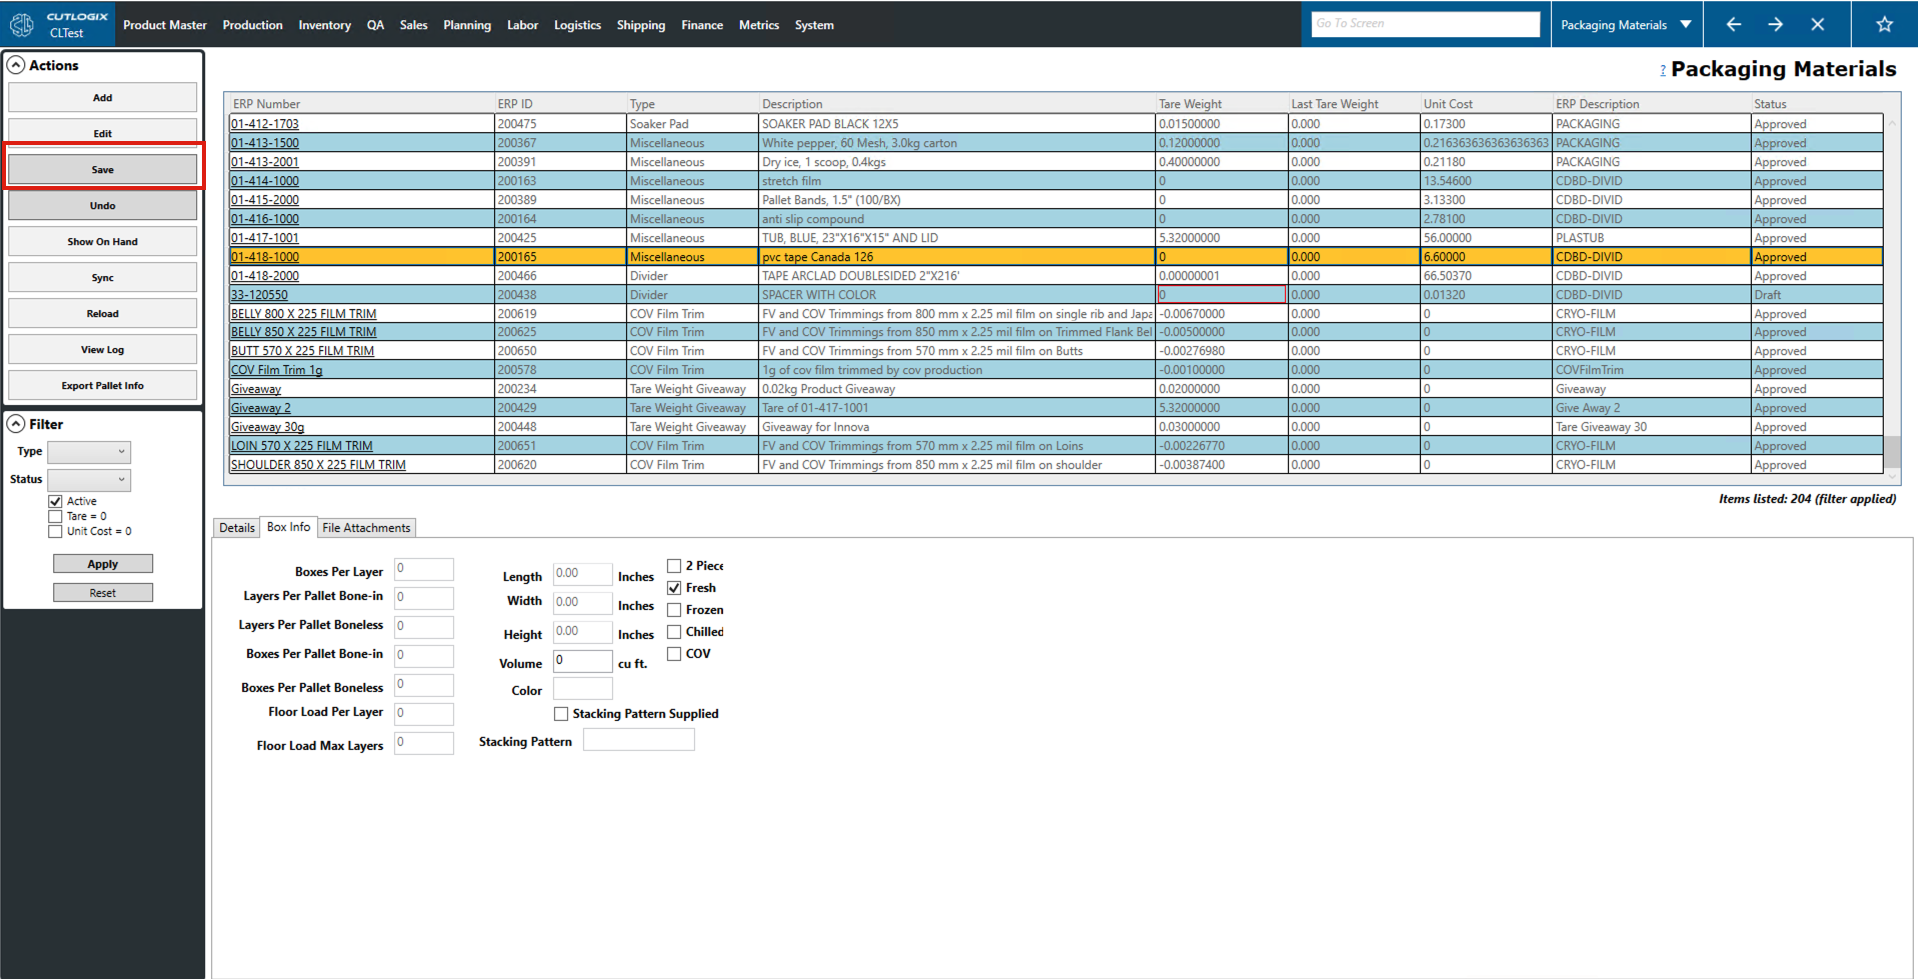
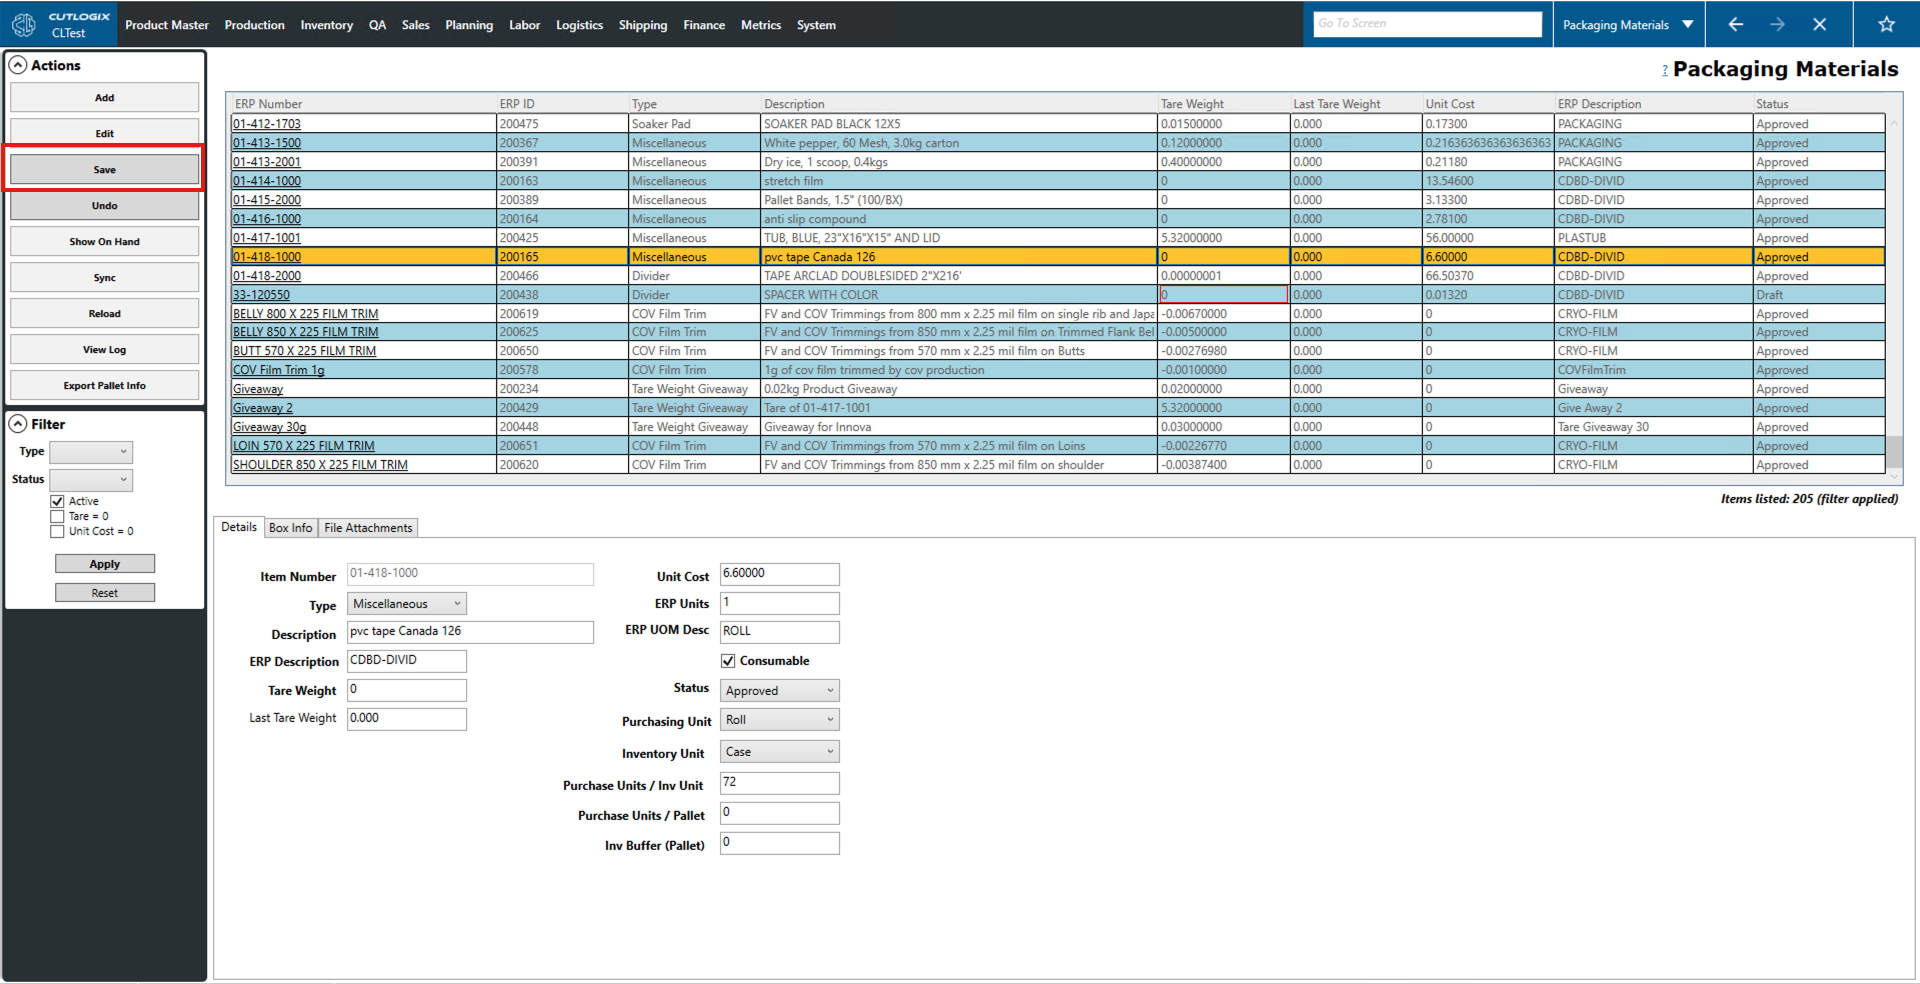
Step 4: After adding all the mandatory information the save button will be enabled. Clicking on the save button will save the new packaging material in Cutlogix.
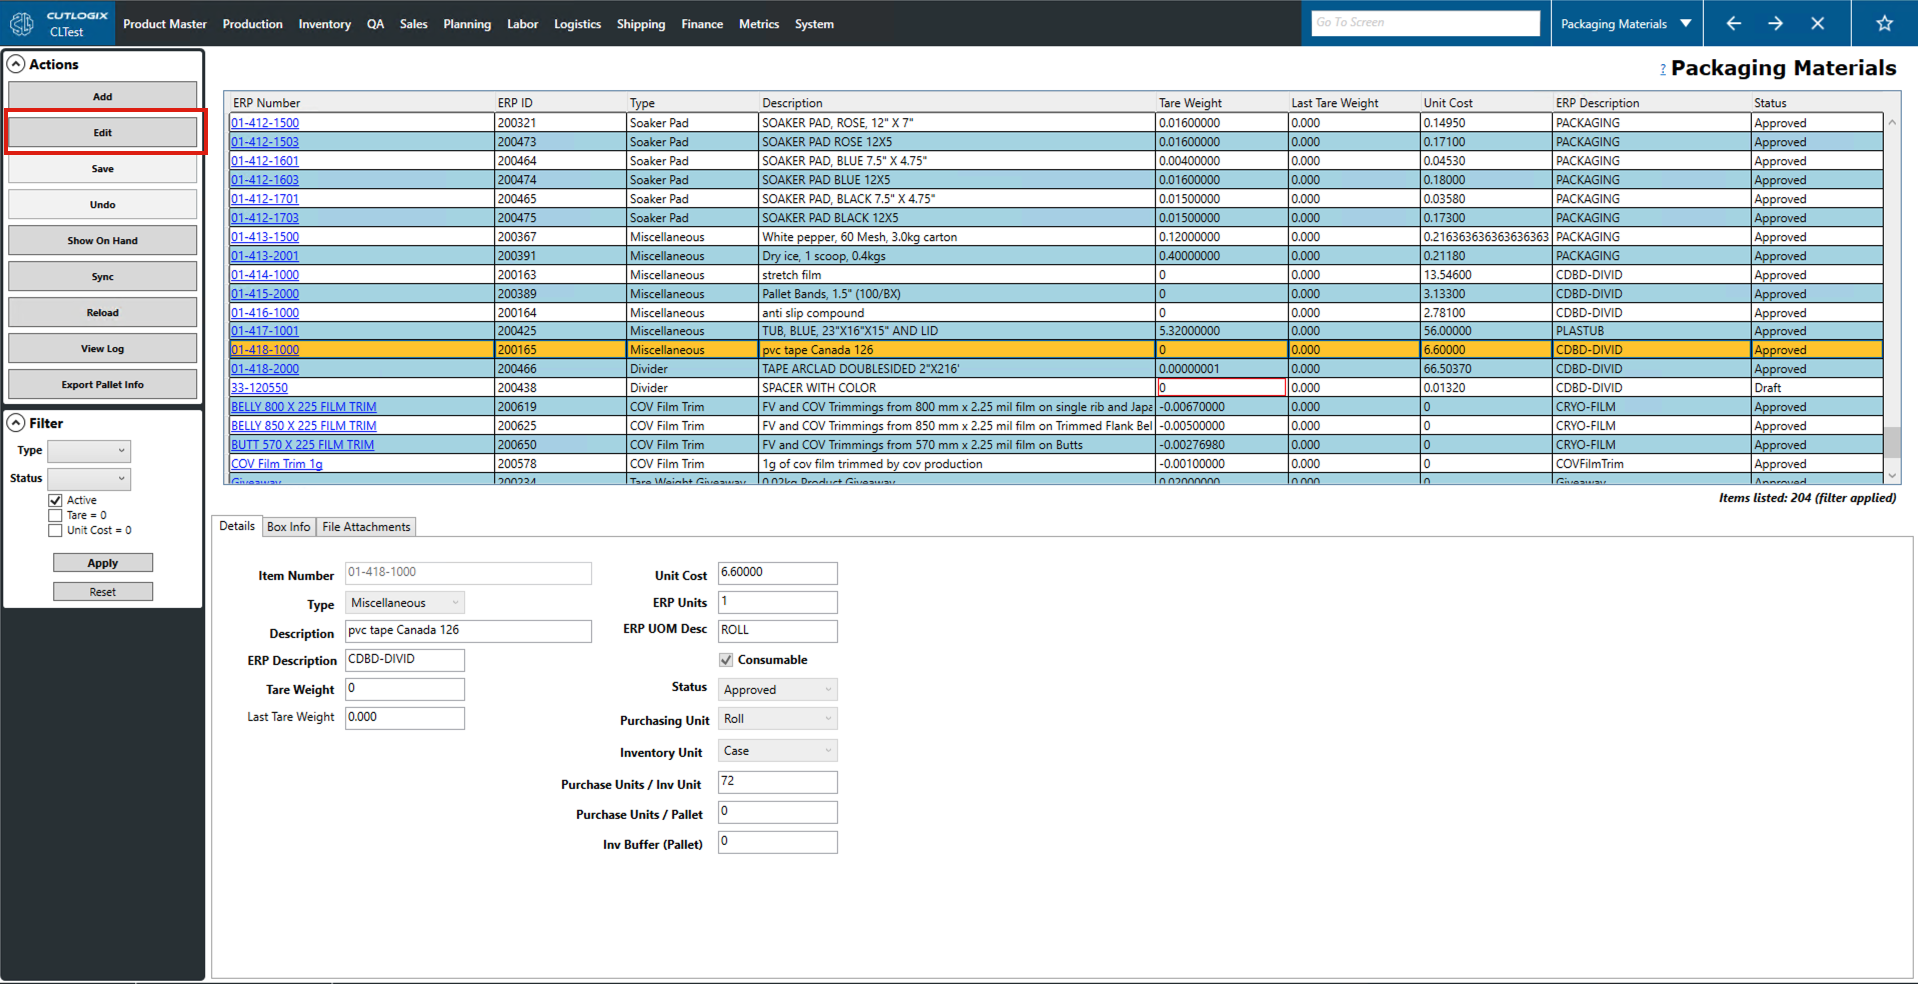
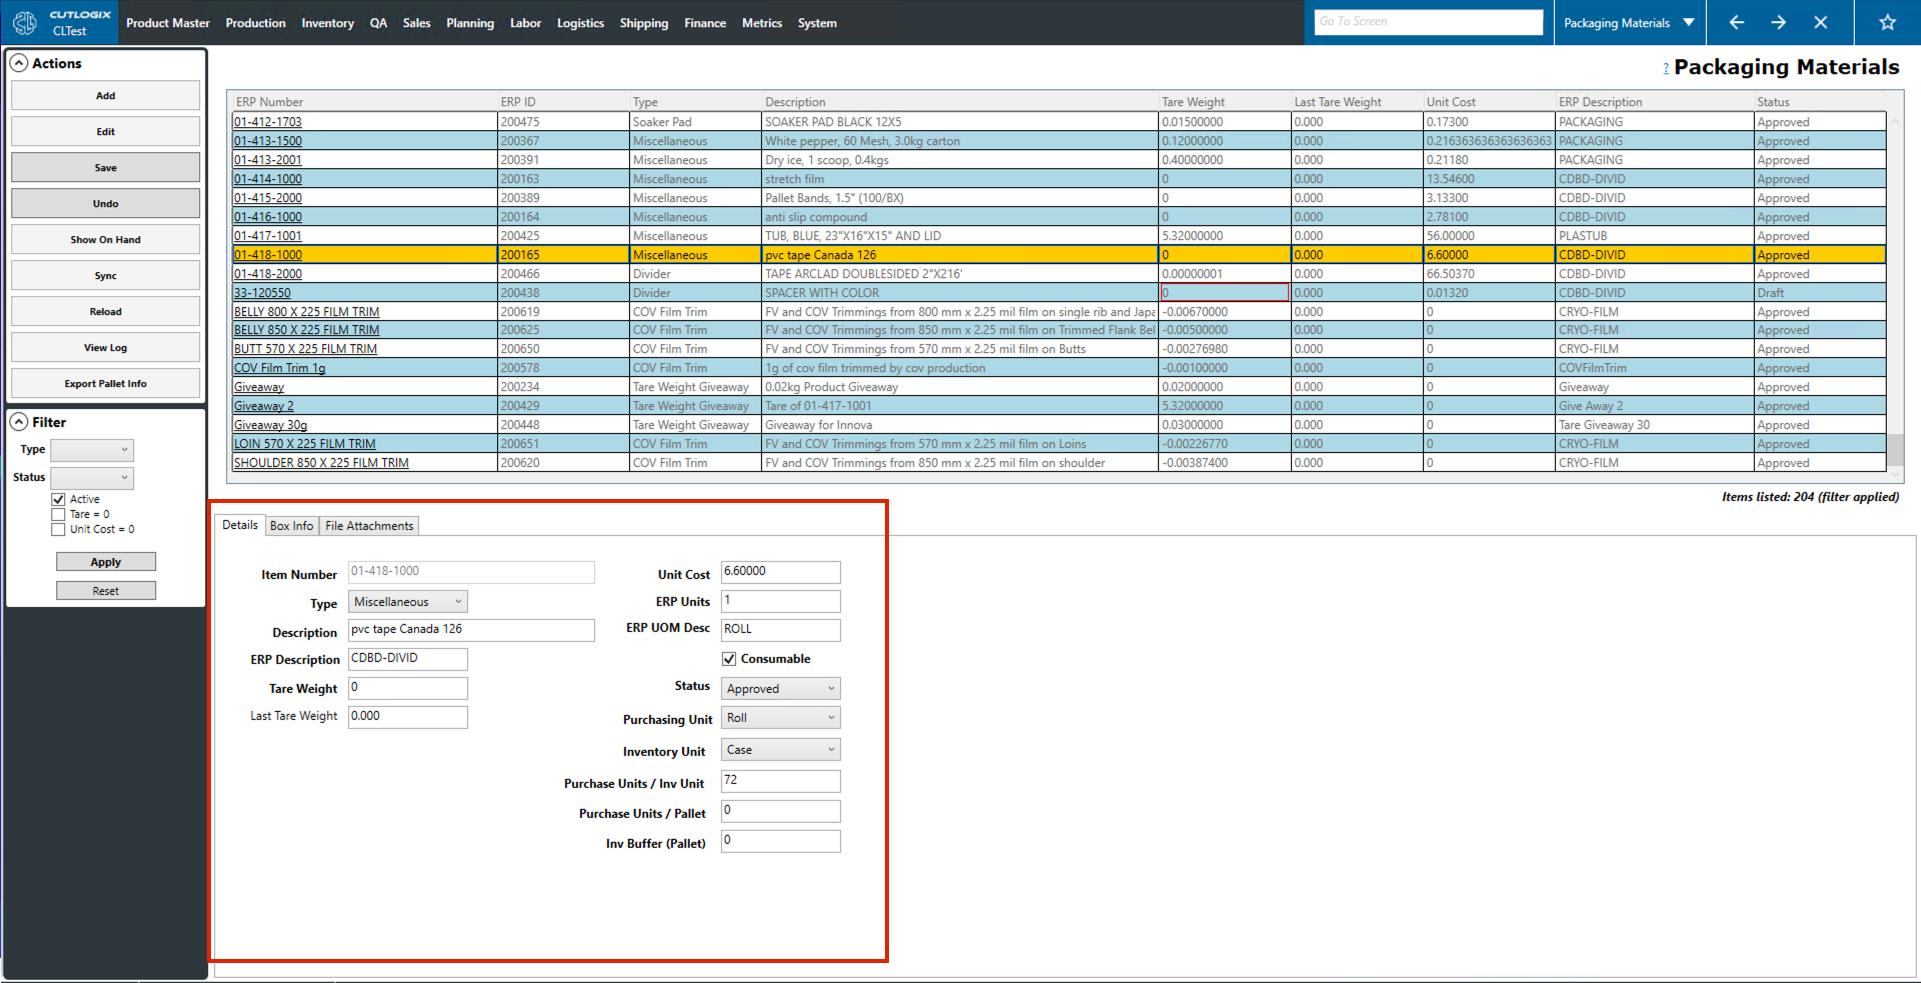
How to Edit a Packaging Material
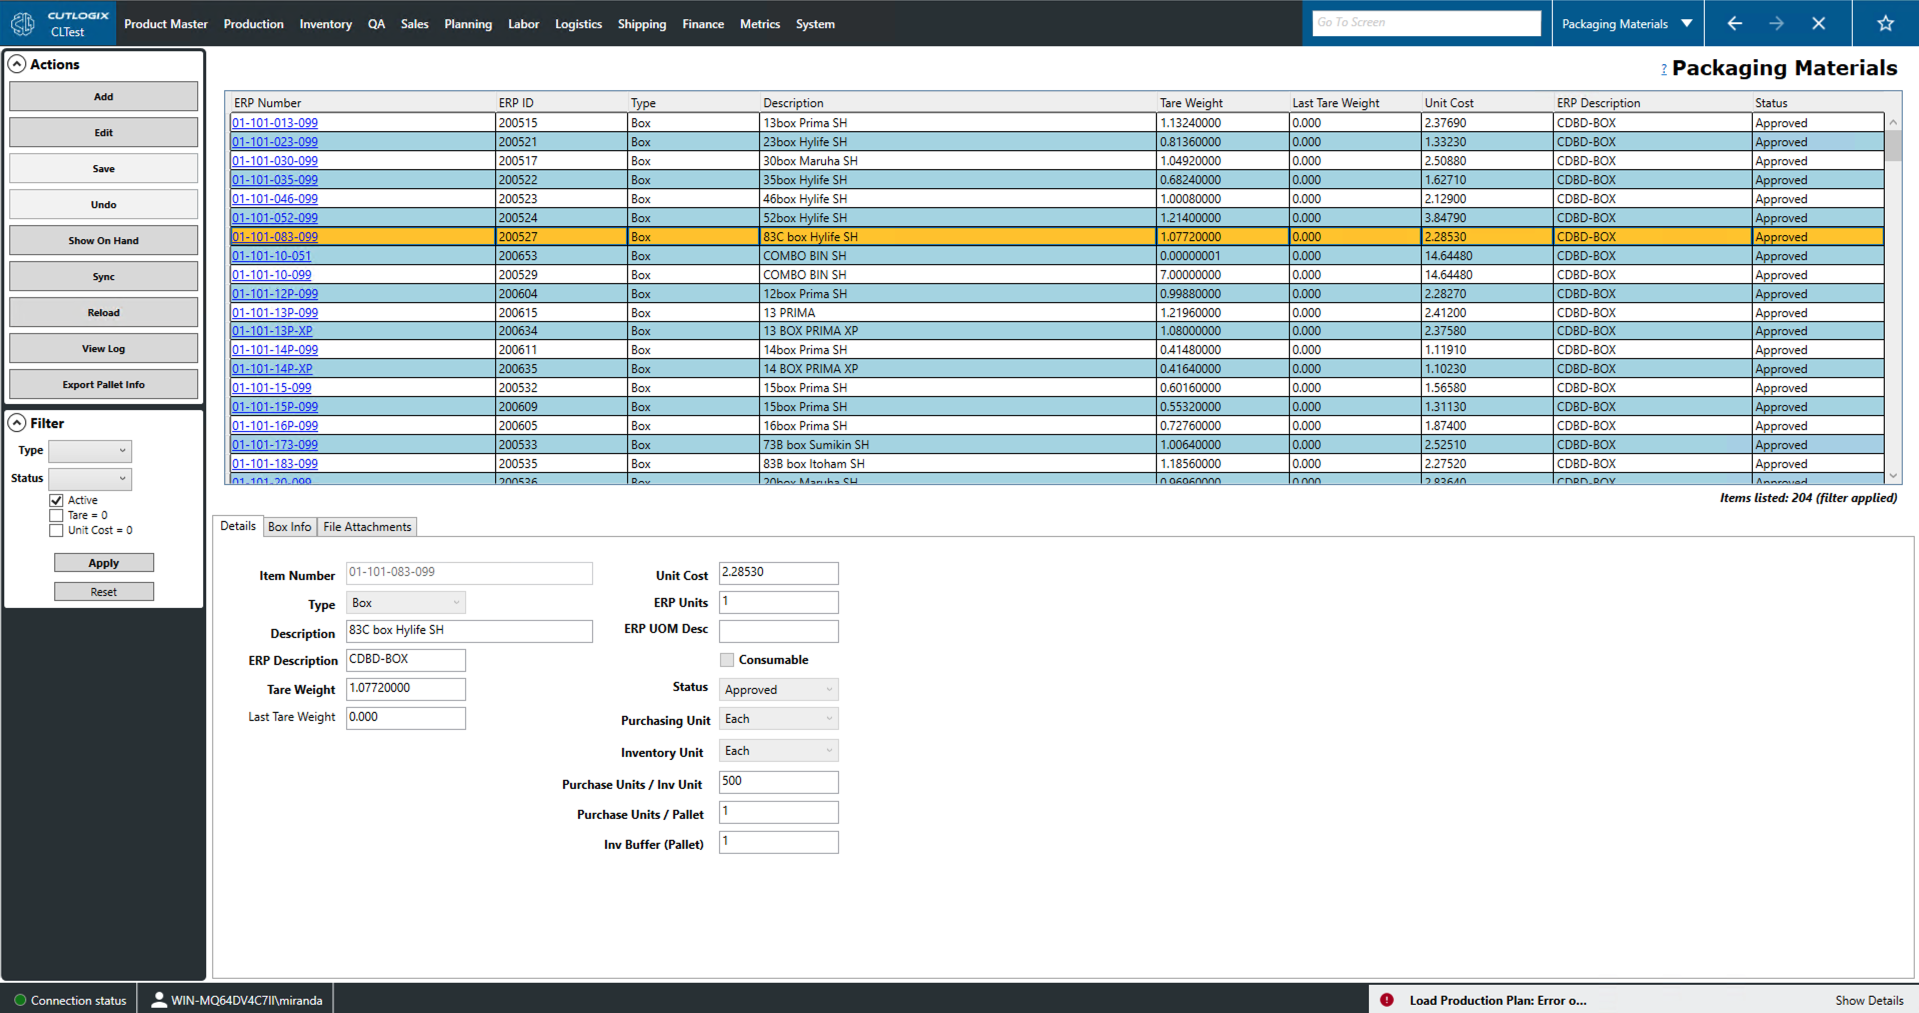
DemoStep 1: Go to the Packaging Materials screen and click on the packaging material that you want to edit. Once you've selected one it will be highlighted in orange.

Step 2: Click on the "Edit" button in the action panel. This will enable the tabs at the bottom of the page for editing.
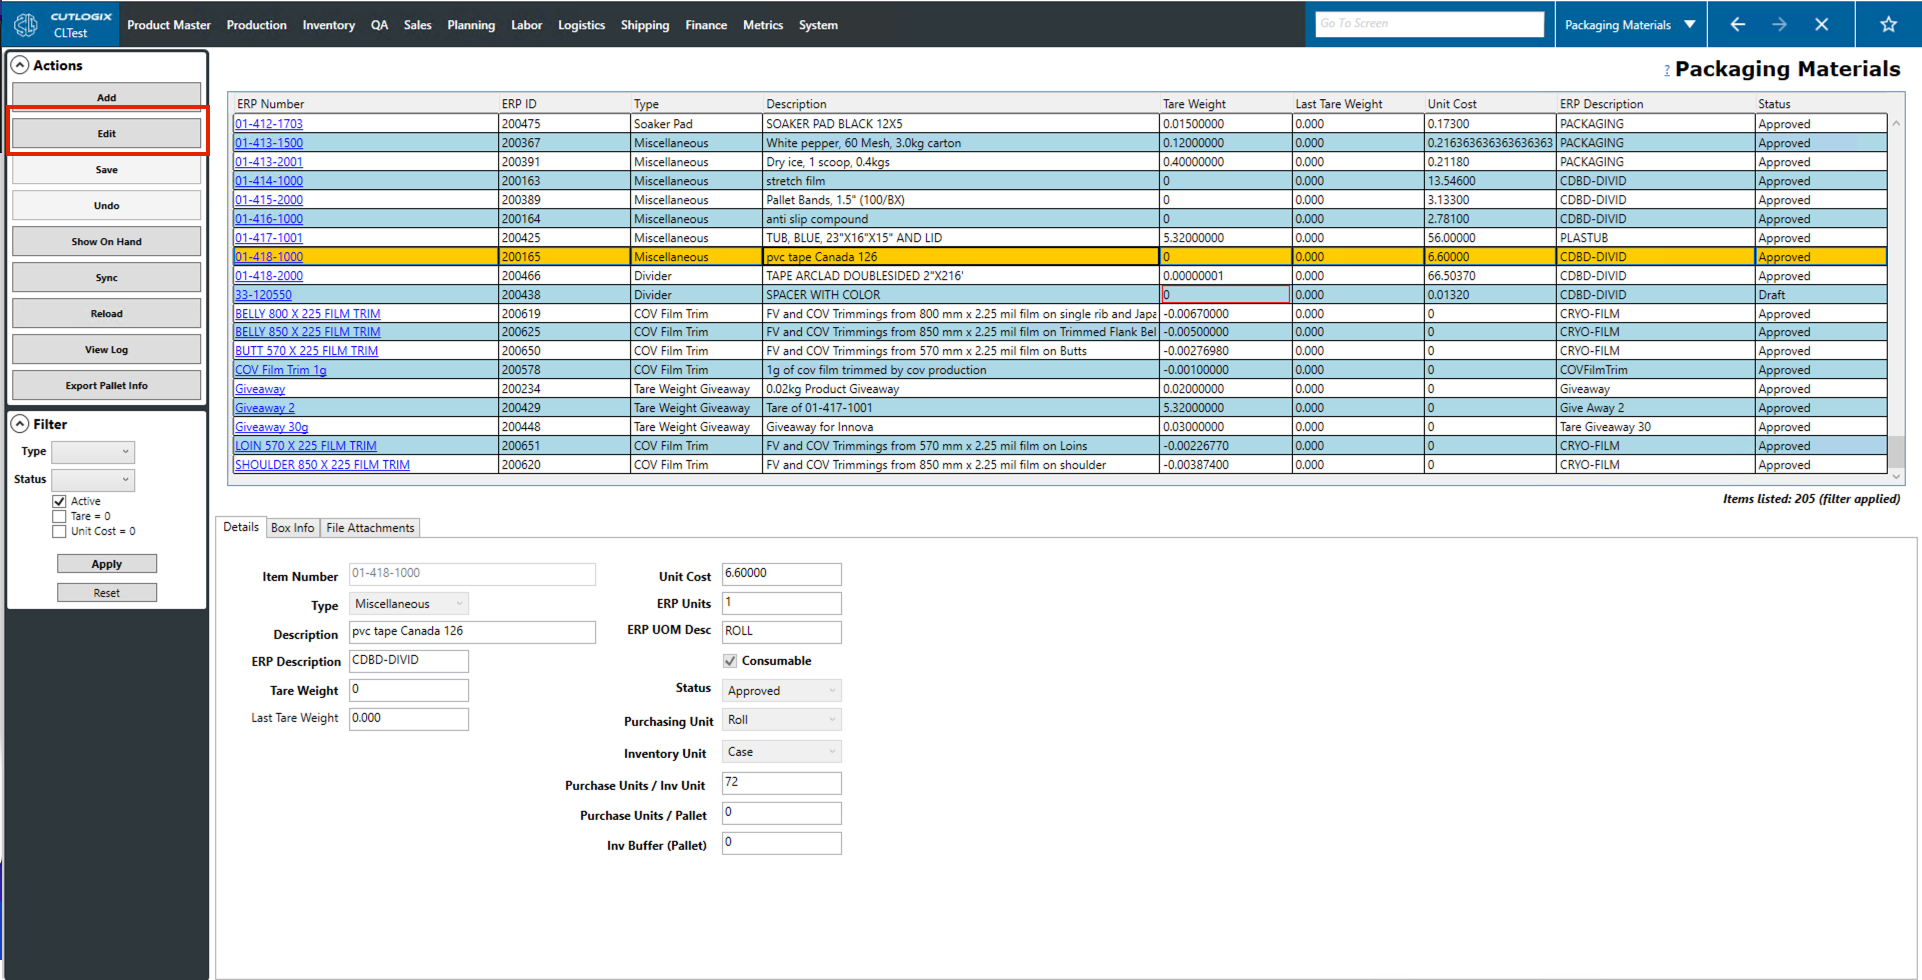
Step 3: Make the necessary changes to the appropriate fields. Once you're finished editing, click the "Save" button to save the changes.
How to Sync Packaging Materials to the MES
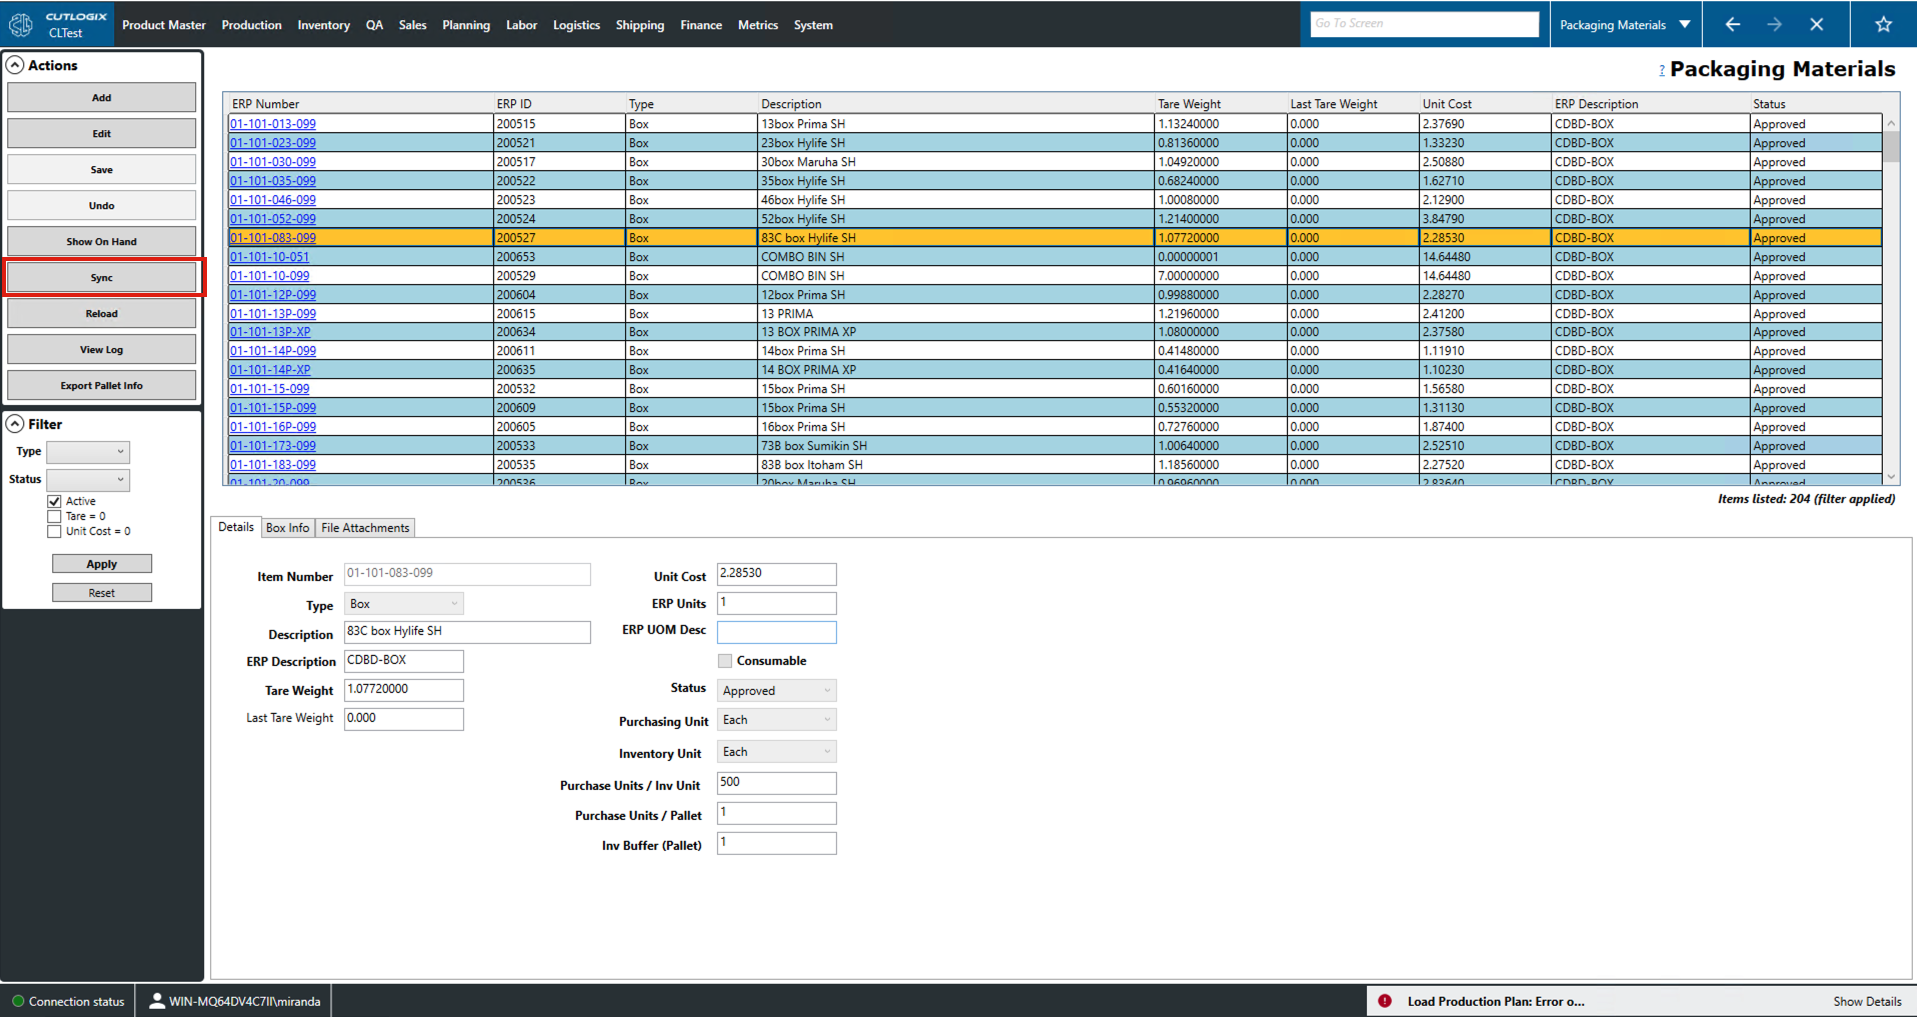
DemoStep 1: Go to the Packaging Materials screen and click on the packaging material that you want to sync to the MES.
Step 2: Click on the "Sync" button on the left hand Actions panel.
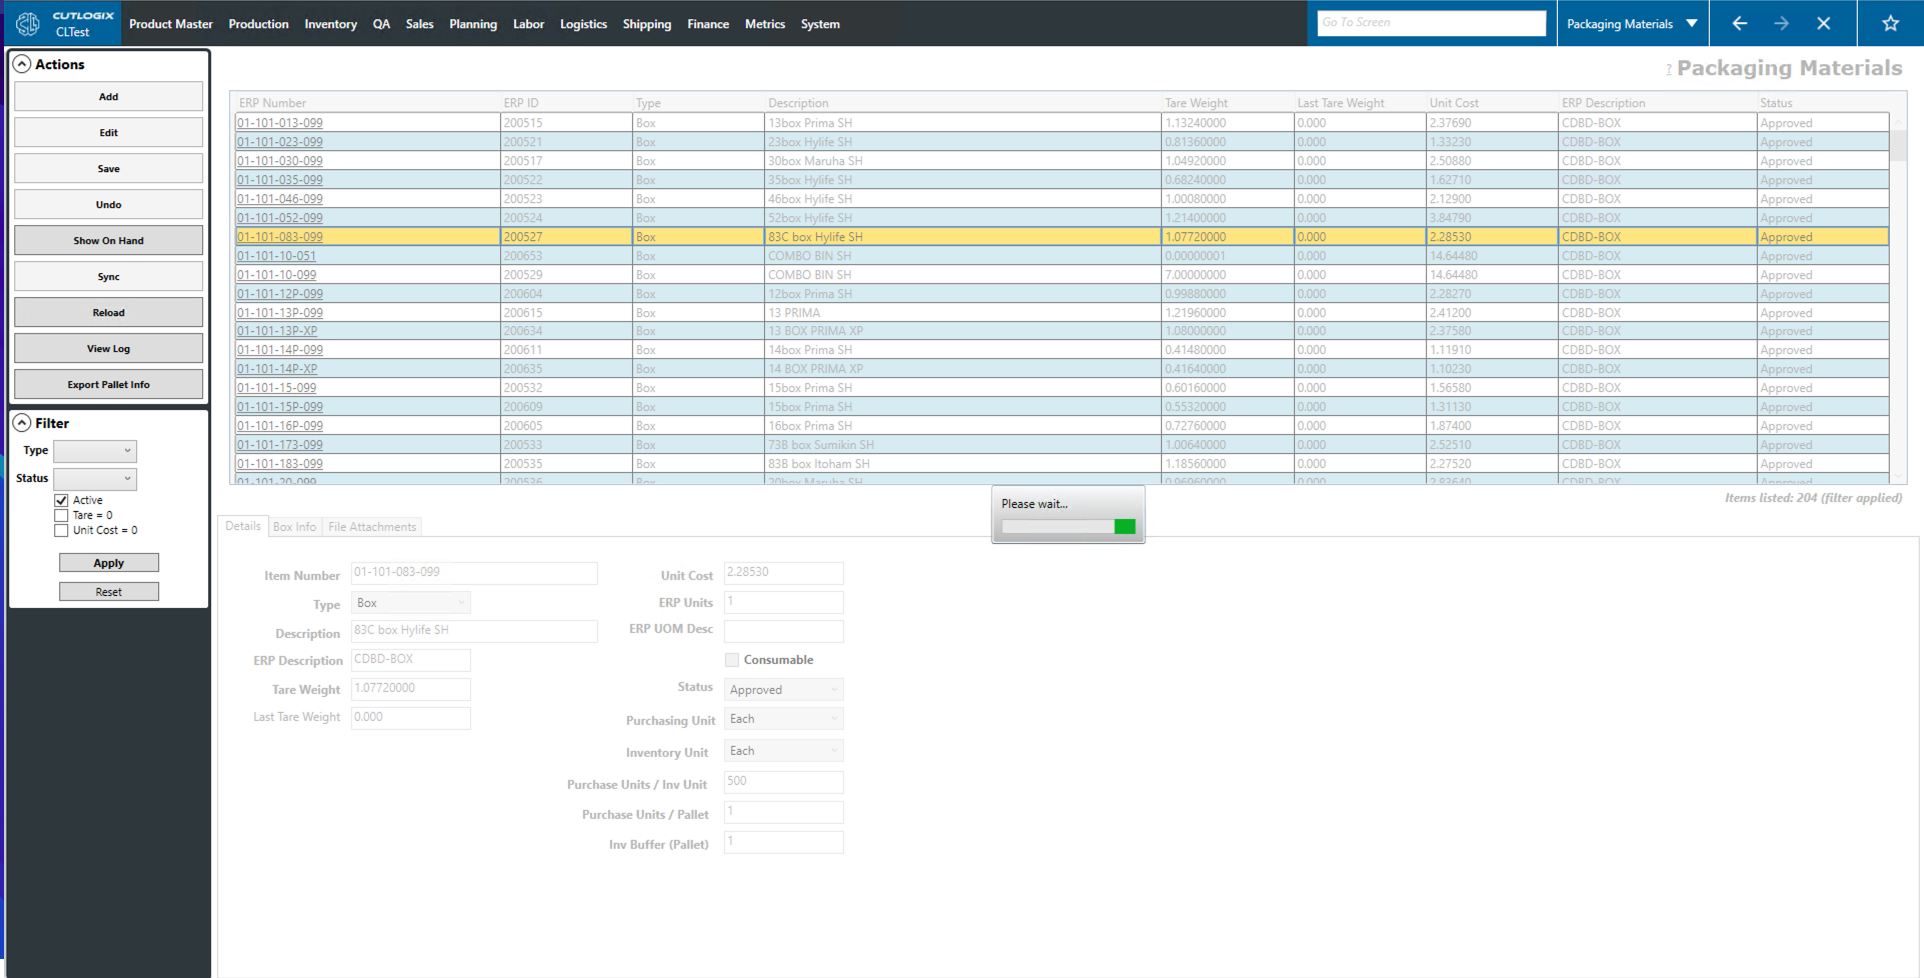
Step 3: The packaging material will then be synced to the MES.
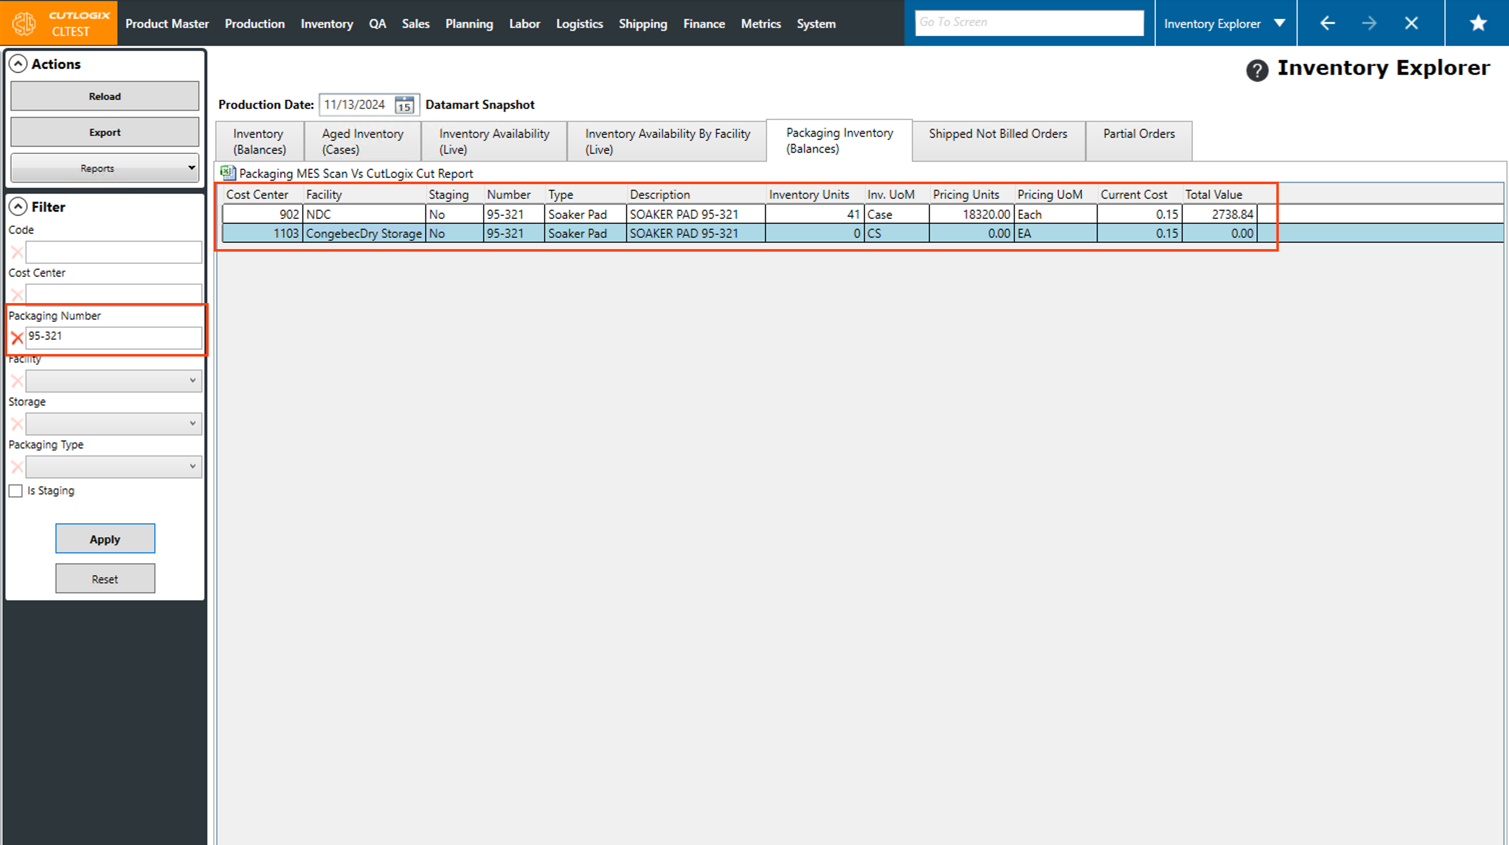
How to View Current Packaging Material Inventory
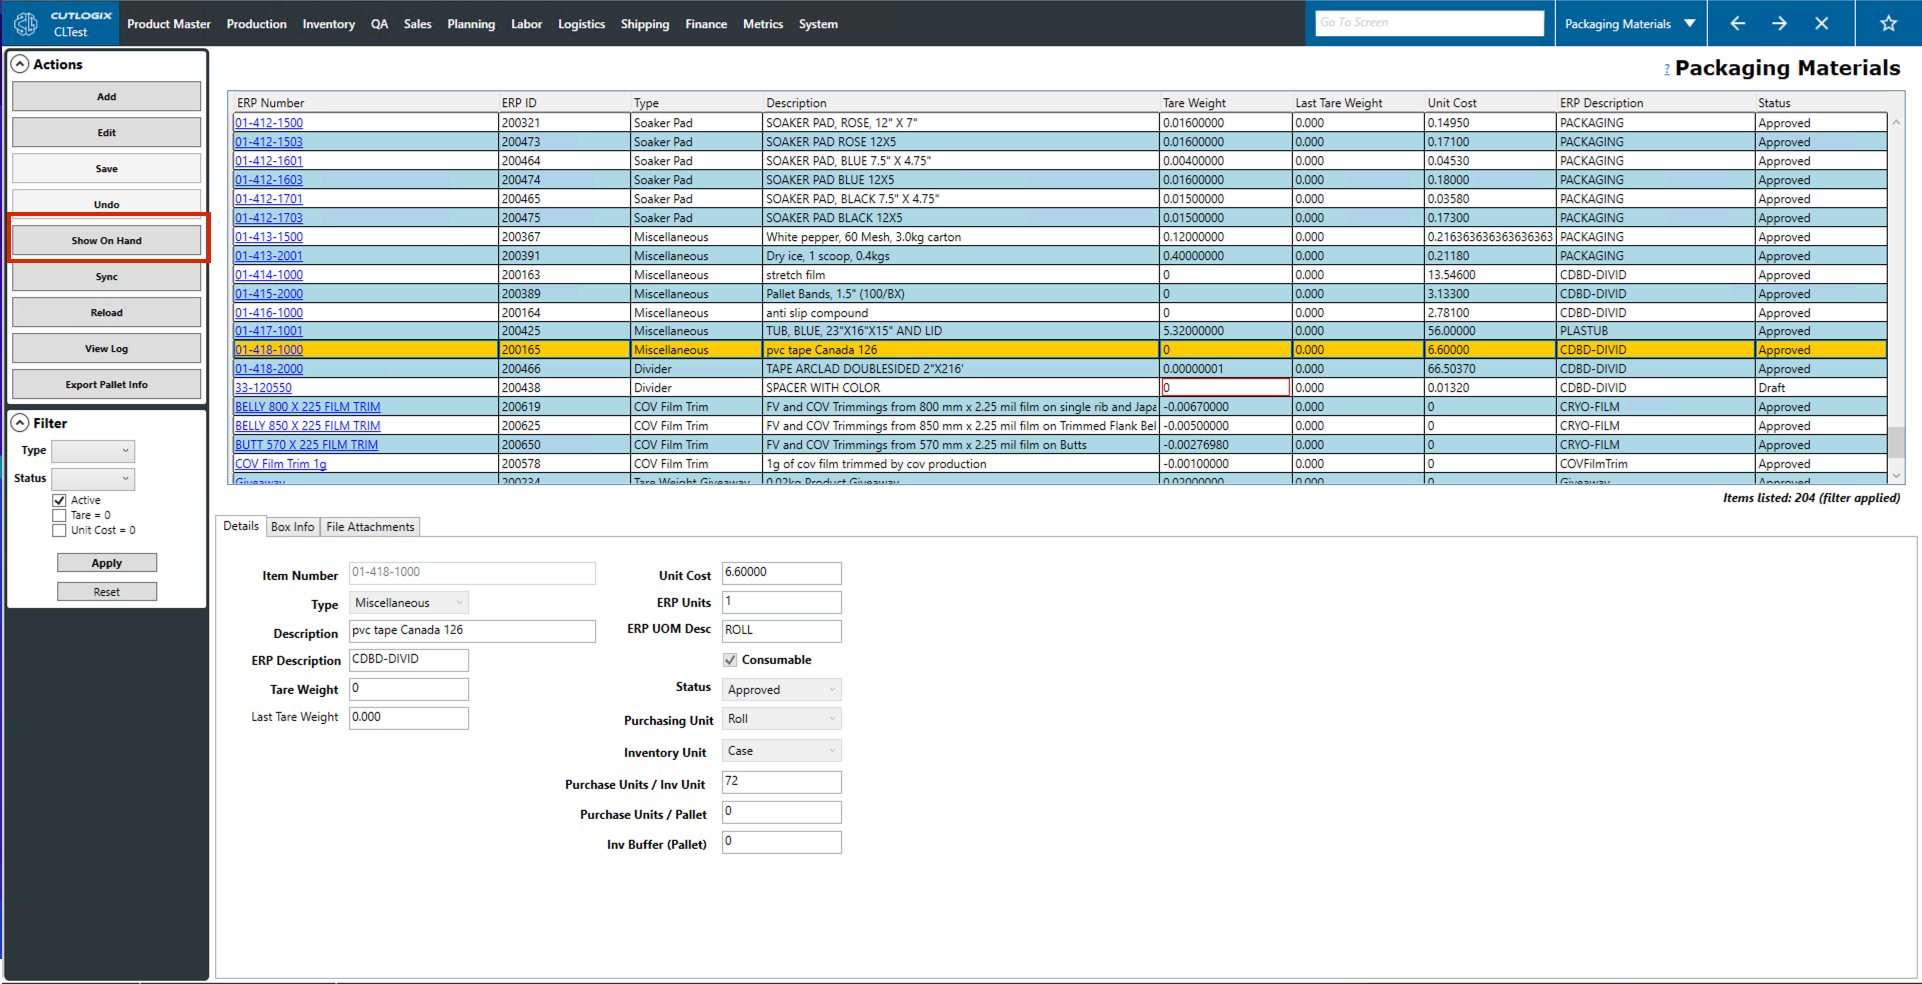
DemoStep 1: Go to the Packaging Materials screen and click on the packaging material that you want to see the inventory for.
Step 2: In the Actions panel, click the "Show On Hand" button.
Step 3: This will take you to the Inventory Explorer page with the ERP number of the selected packaging material set as a filter.
How to Update Box Configuration
DemoStep 1: Go to the Packaging Materials screen and click on the packaging material that you want to update, then click the "Edit" button in the Actions panel.
Step 2: This will enable the tabs at the bottom of the page for editing.
Step 3: Open the Box Info tab and make the necessary changes. (Ex. Boxes per layer, Layers per Pallet, Boxes per Pallet)
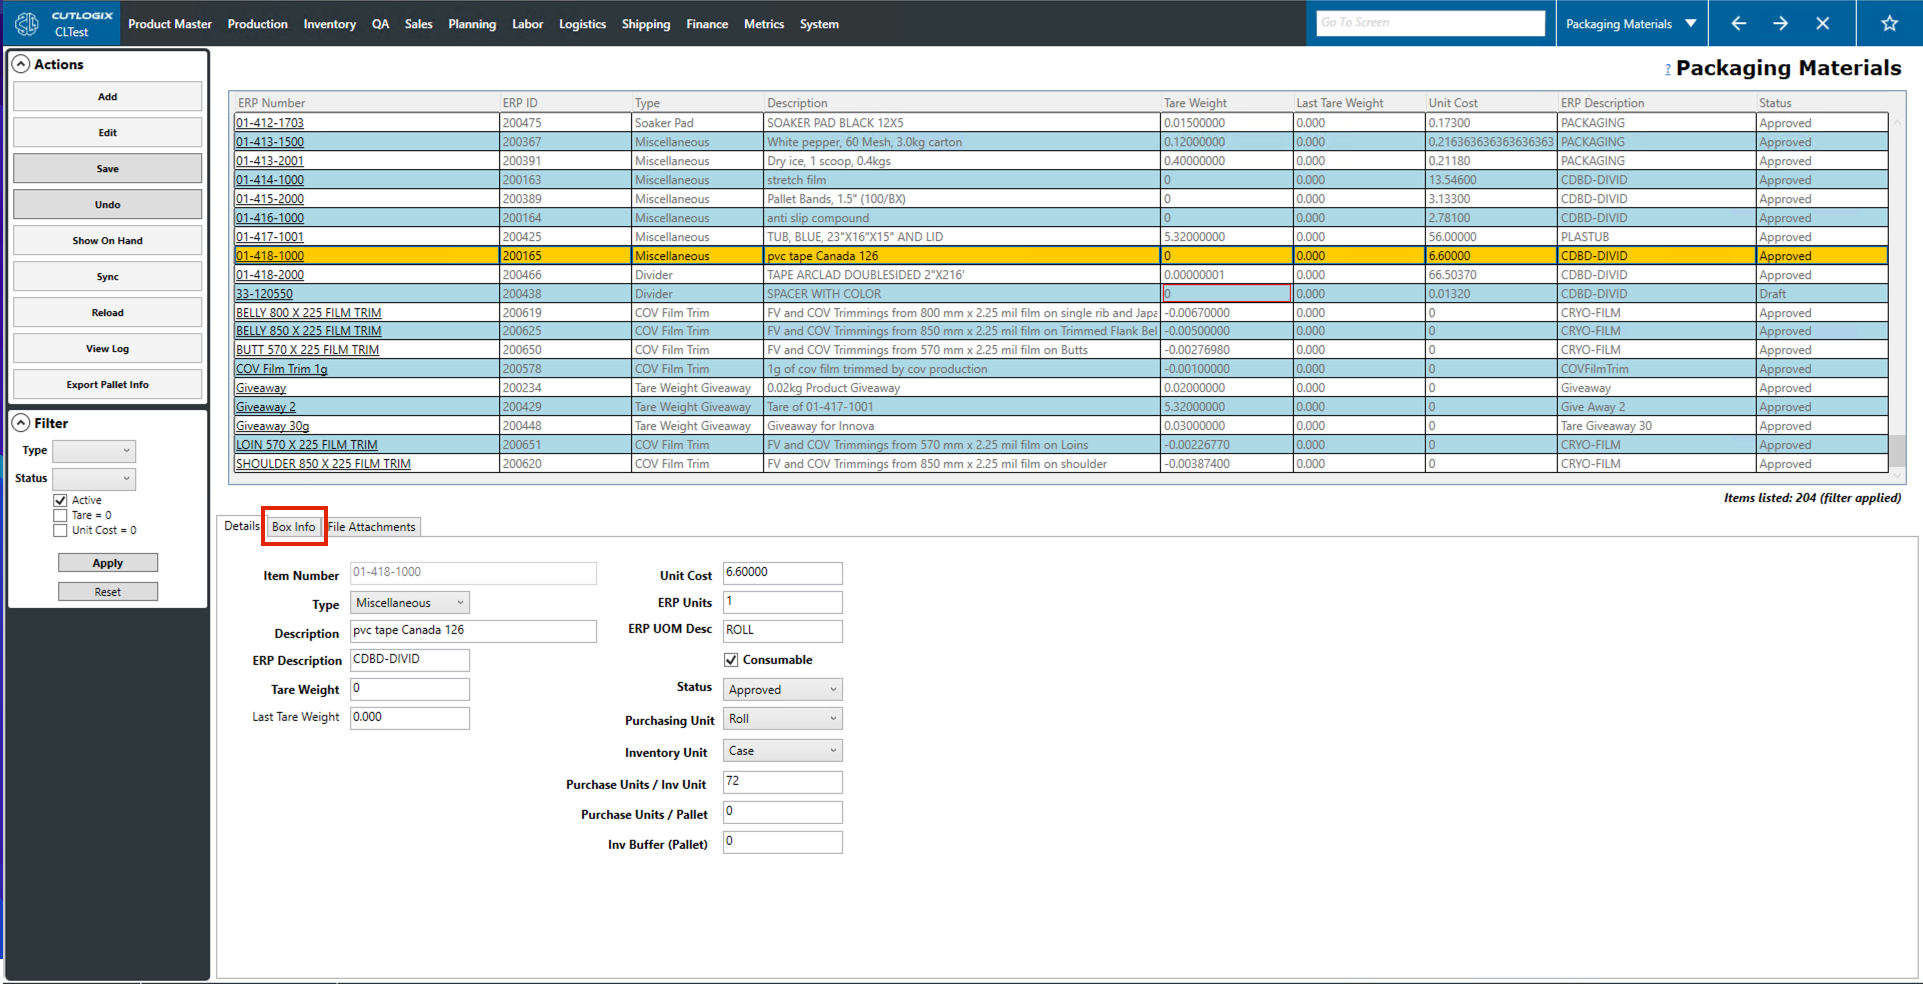
Step 4: After making the necessary change, click the "Save" button in the actions panel to finish updating the box configuration.