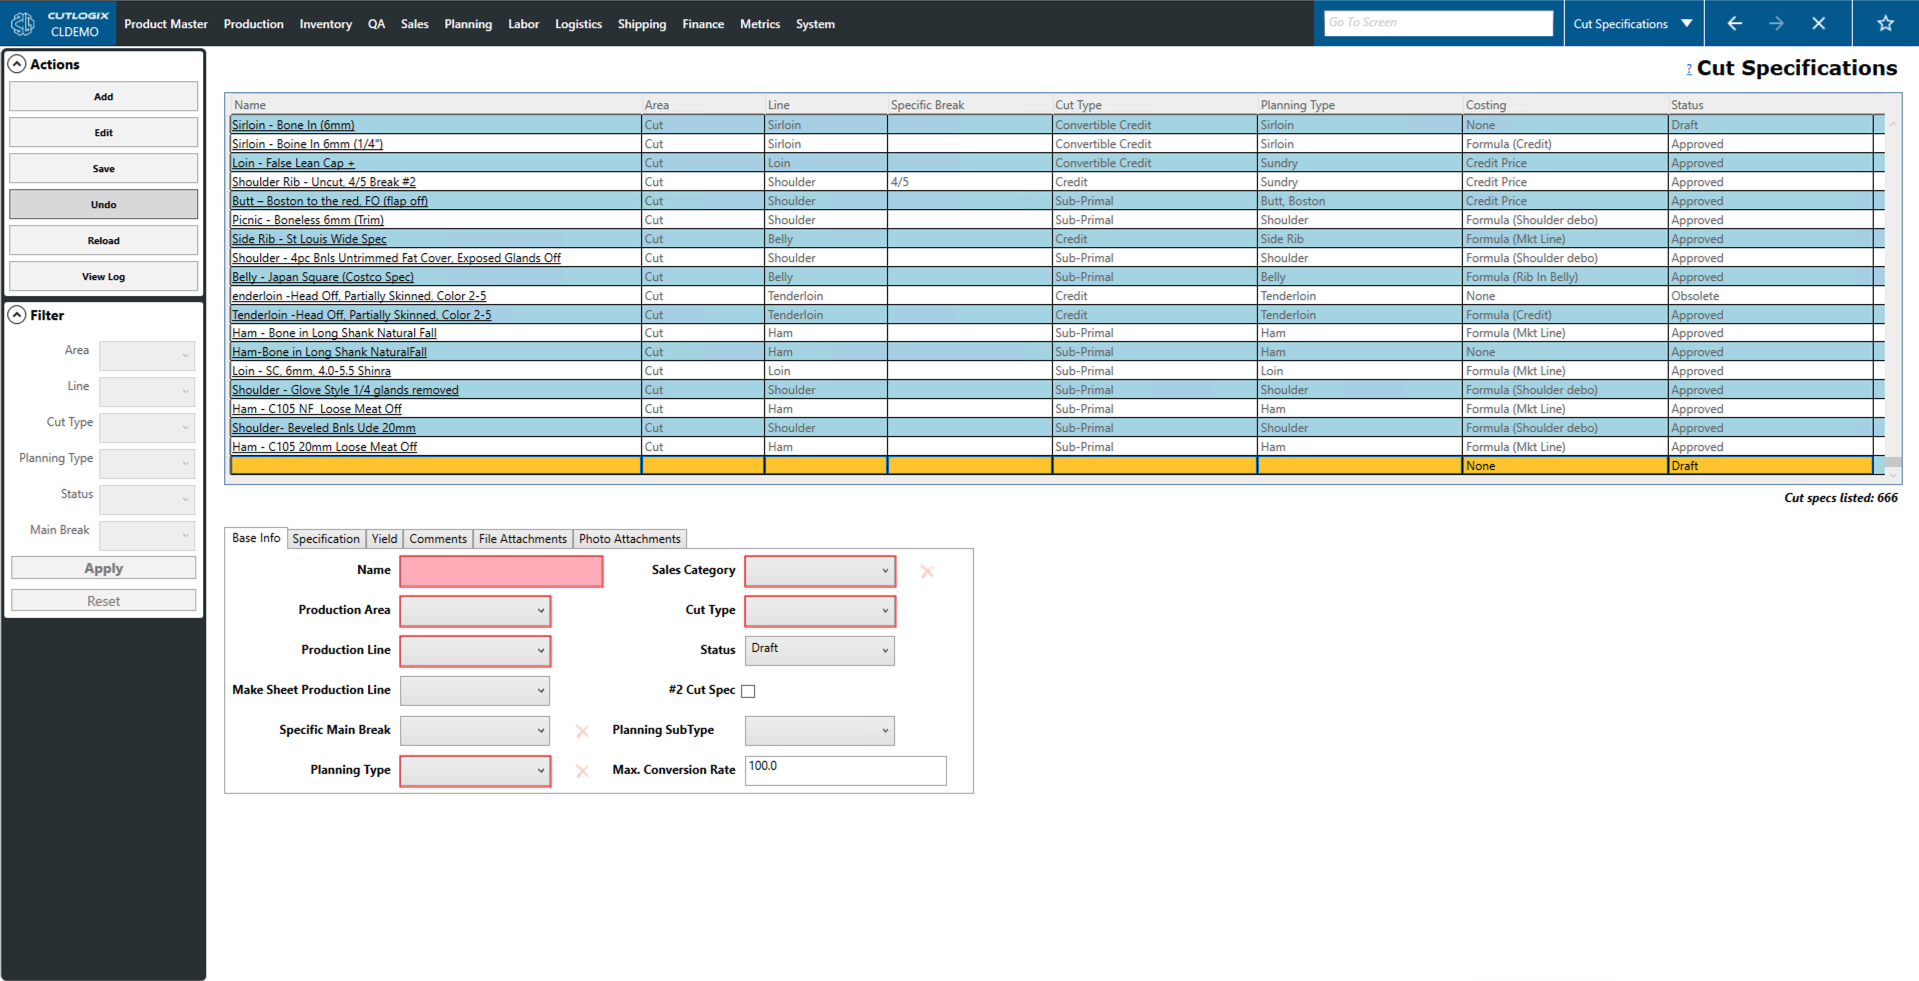
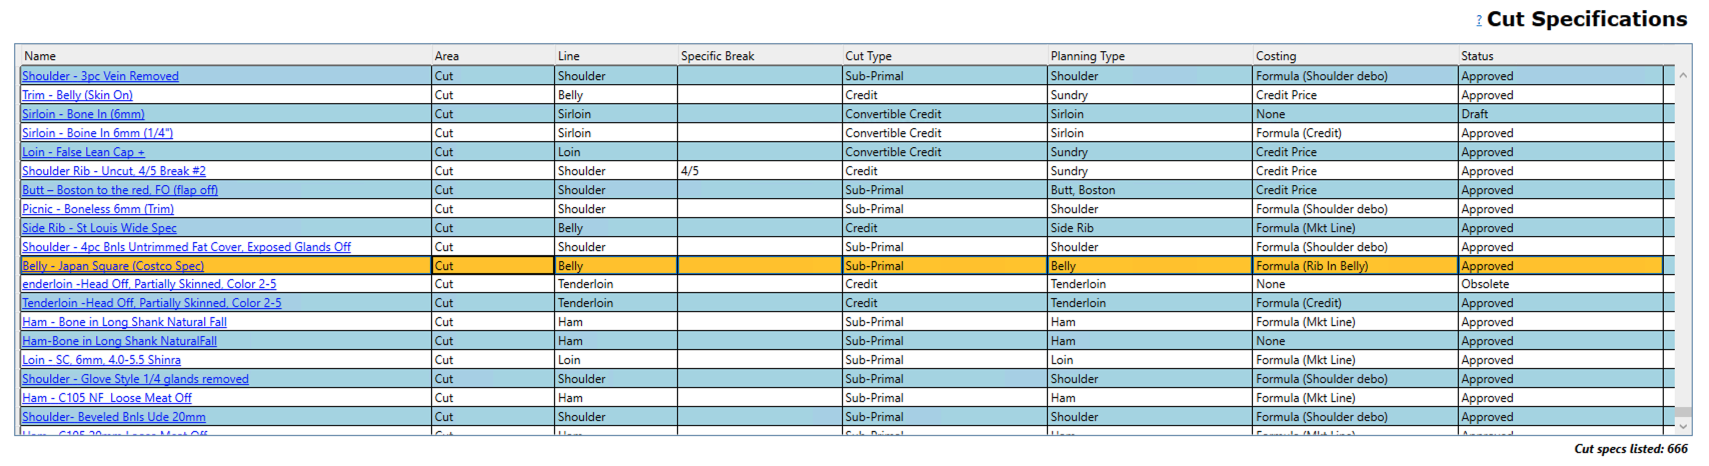
Cut Specifications Tasks
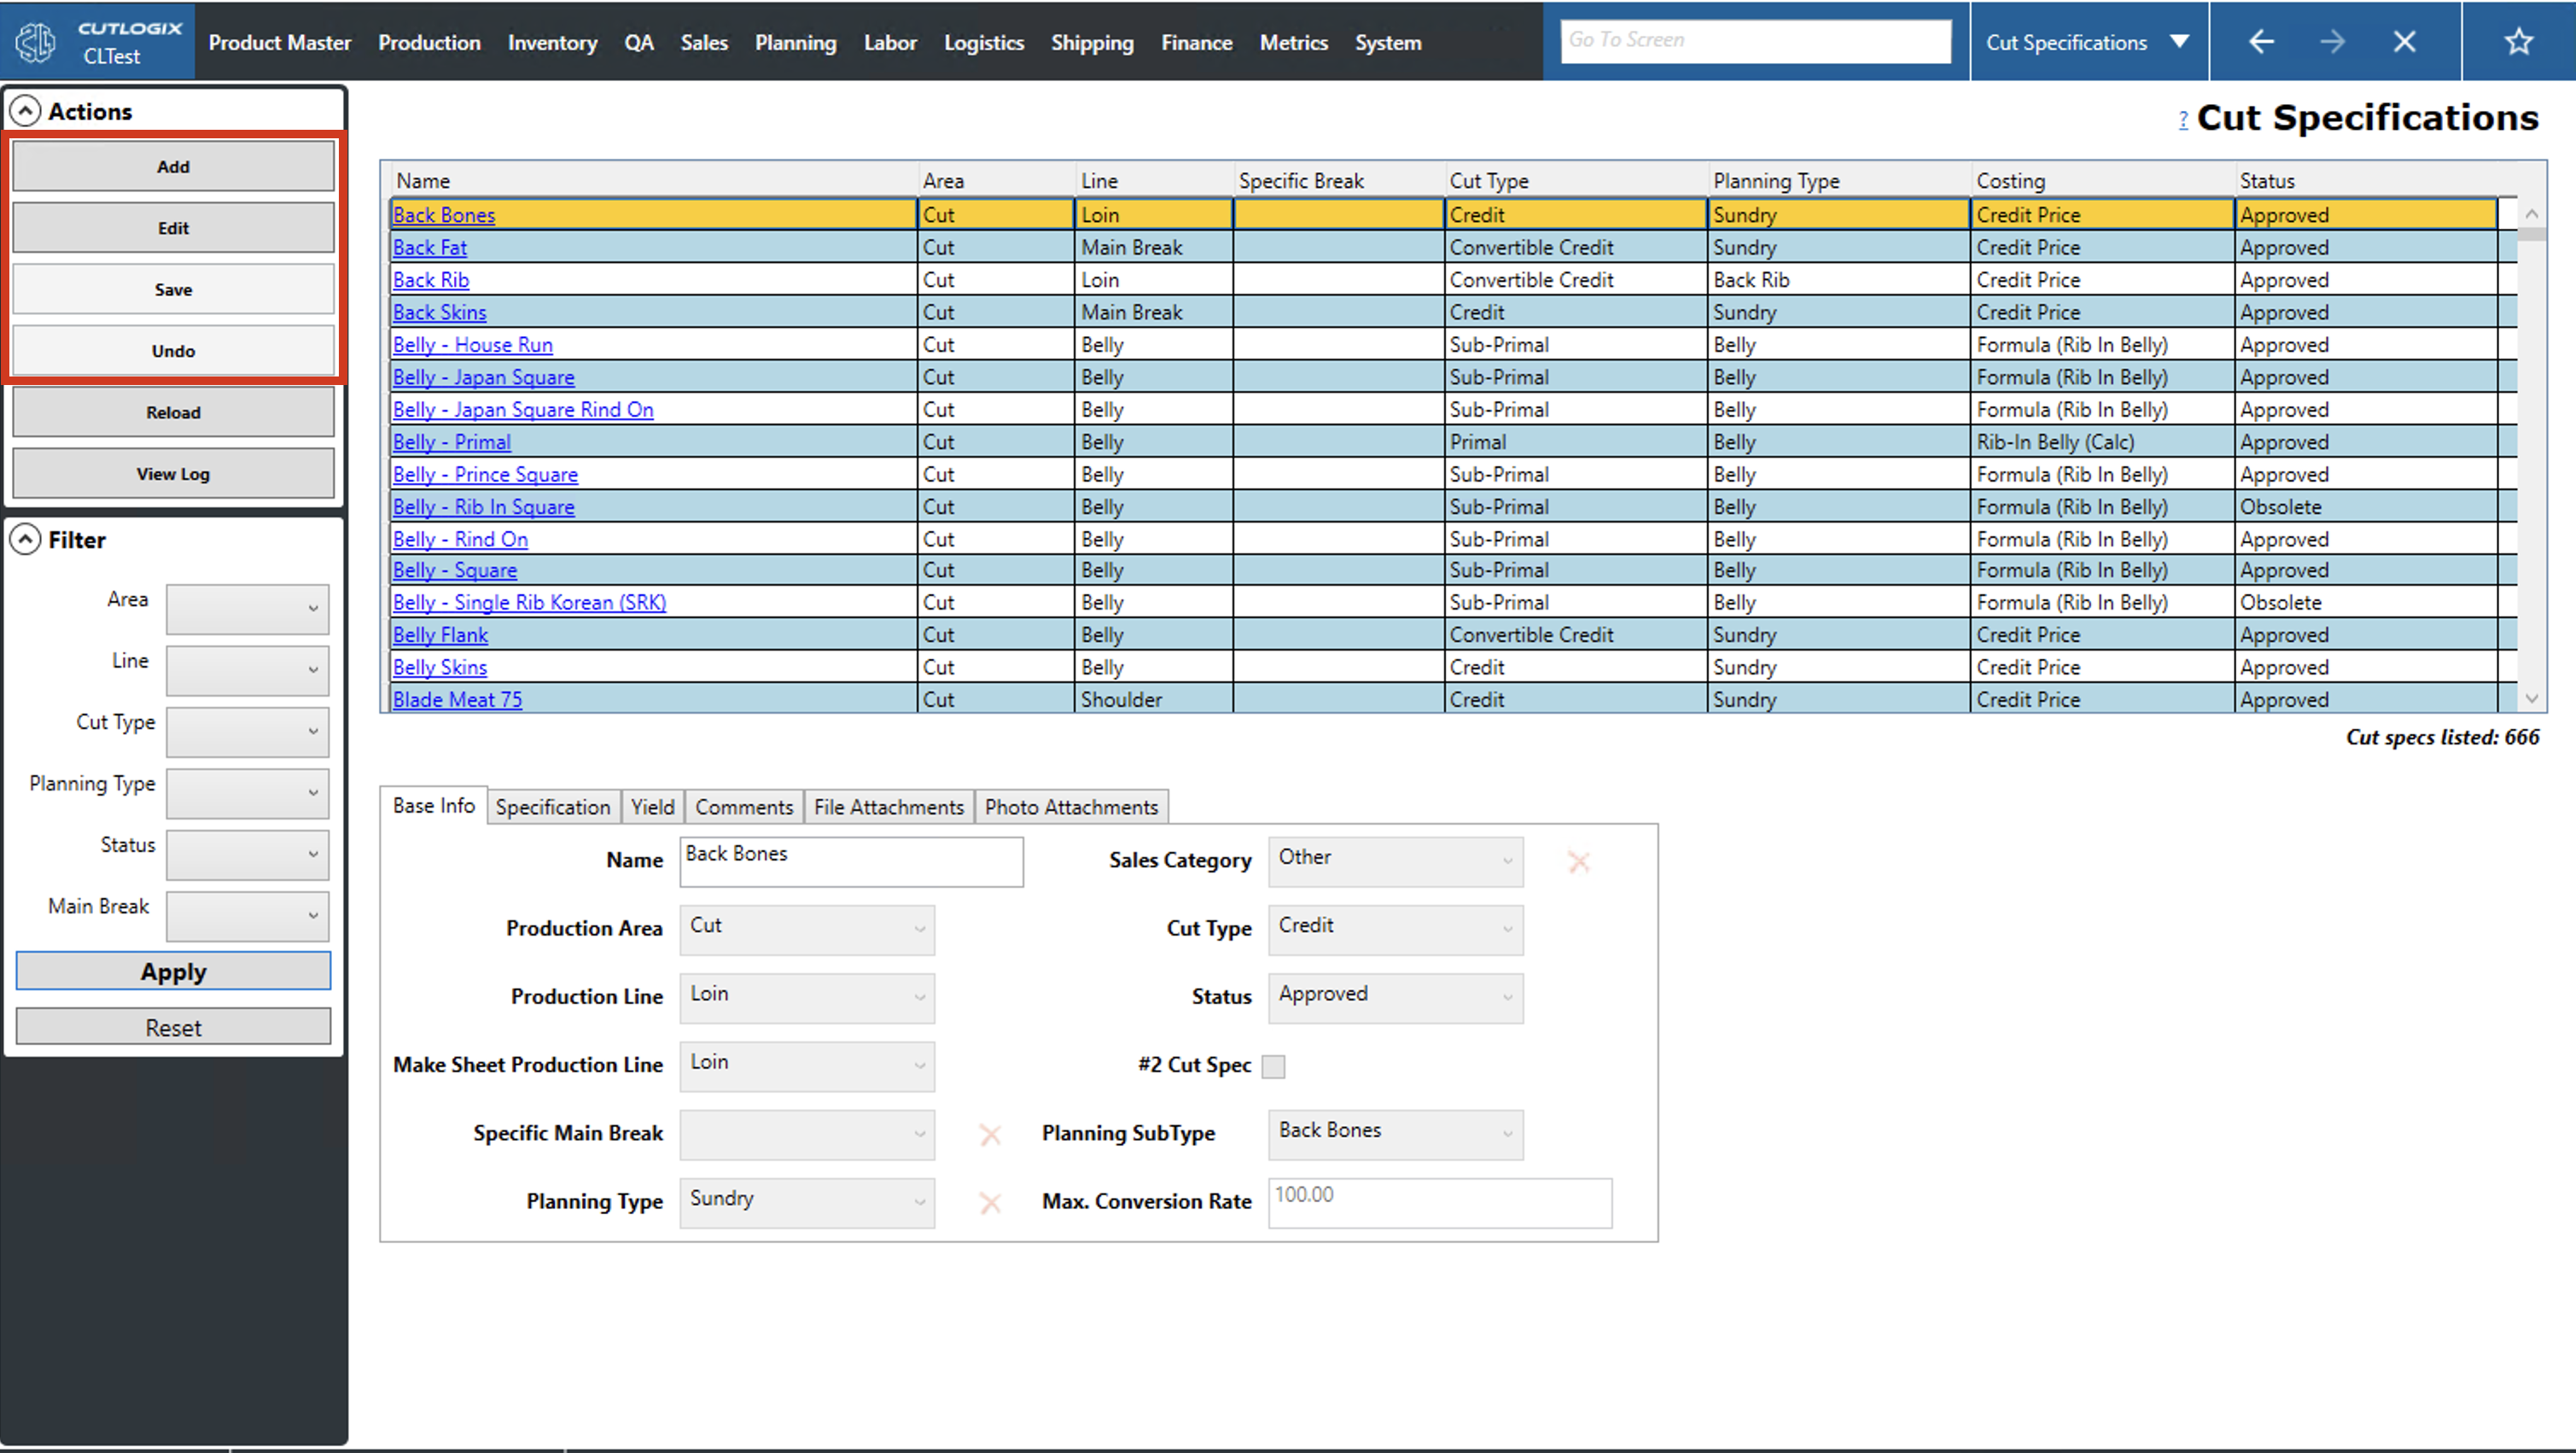
How to Add a Cut Specification
DemoStep 1: Click on the add button in the actions sidepod.

Step 2: This will bring the temporary data entry tab to add the new cut spec.
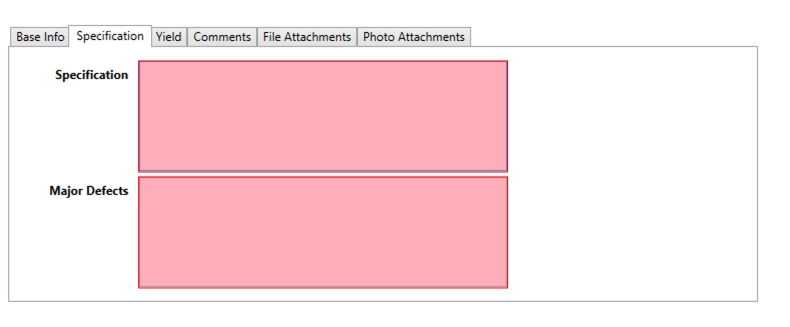
Step 3: The mandatory fields for adding a new cut spec are the red highlighted fields in the base info tab and in the specification tab. Fill out all the required information on the new cut spec.
Step 4: After adding information to all the mandatory fields and any optional fields as necessary, click the "Save" button in the Actions panel to save the new cut spec.
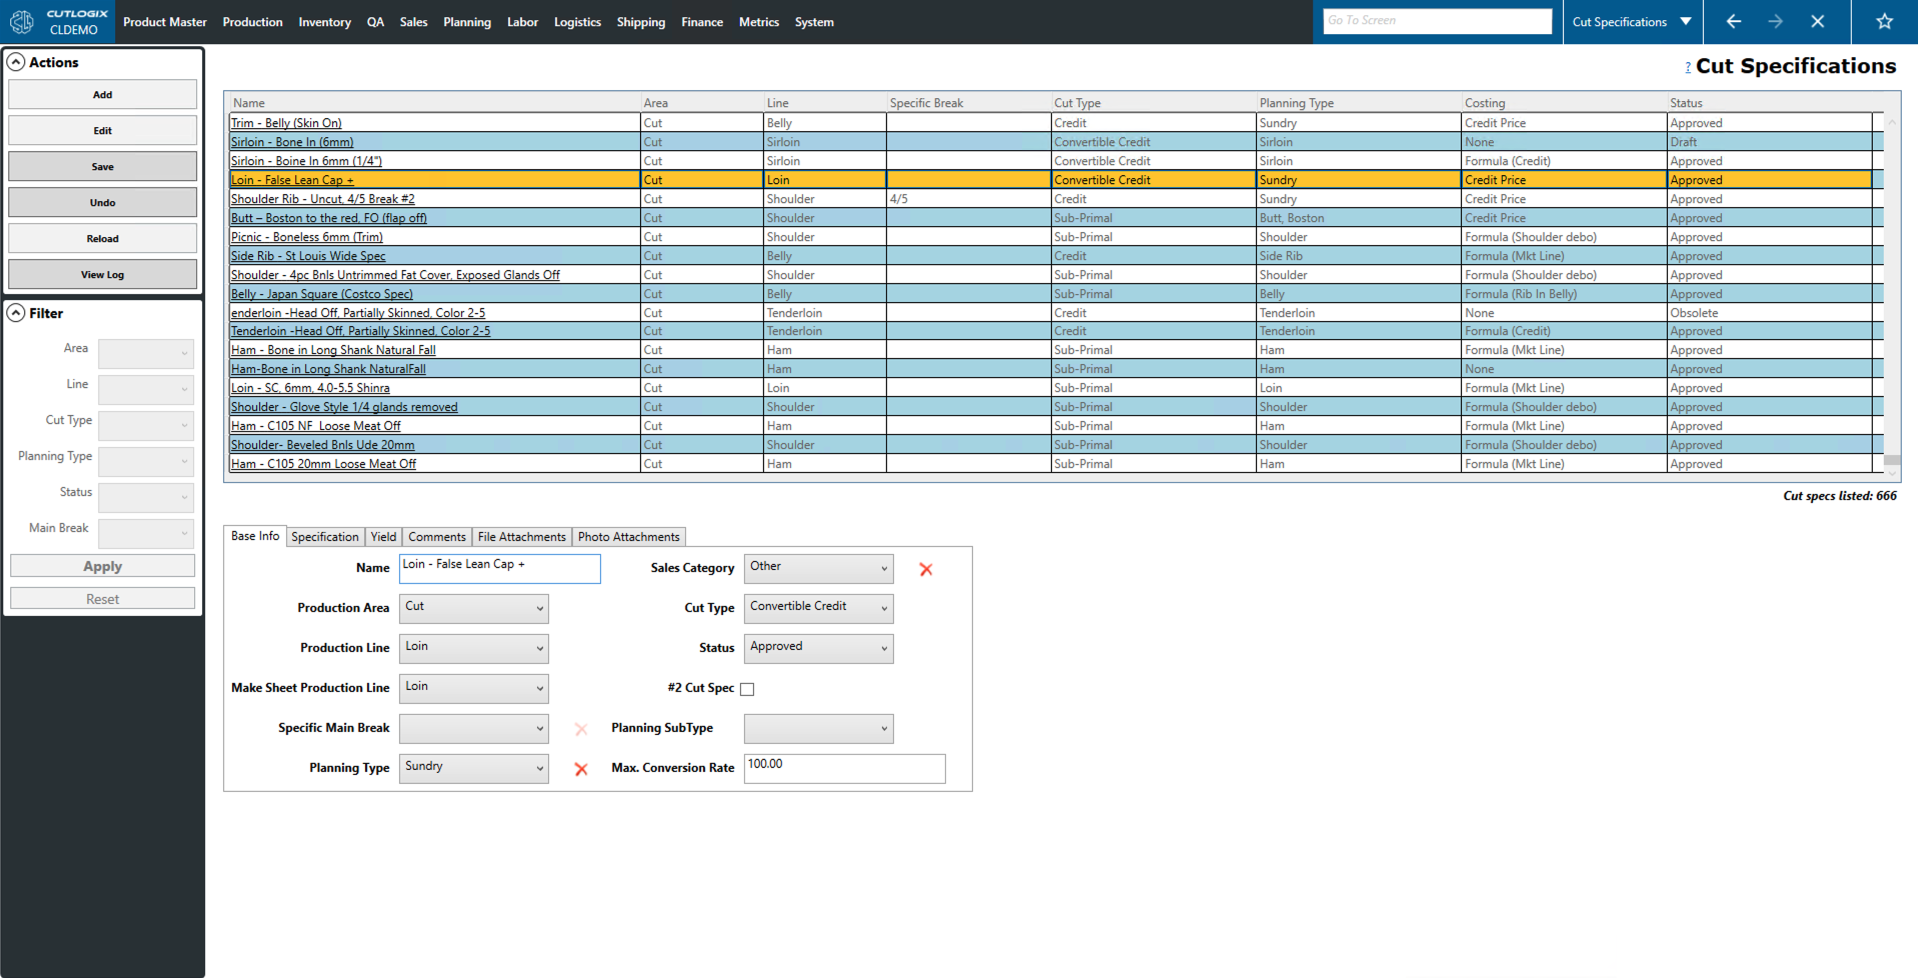
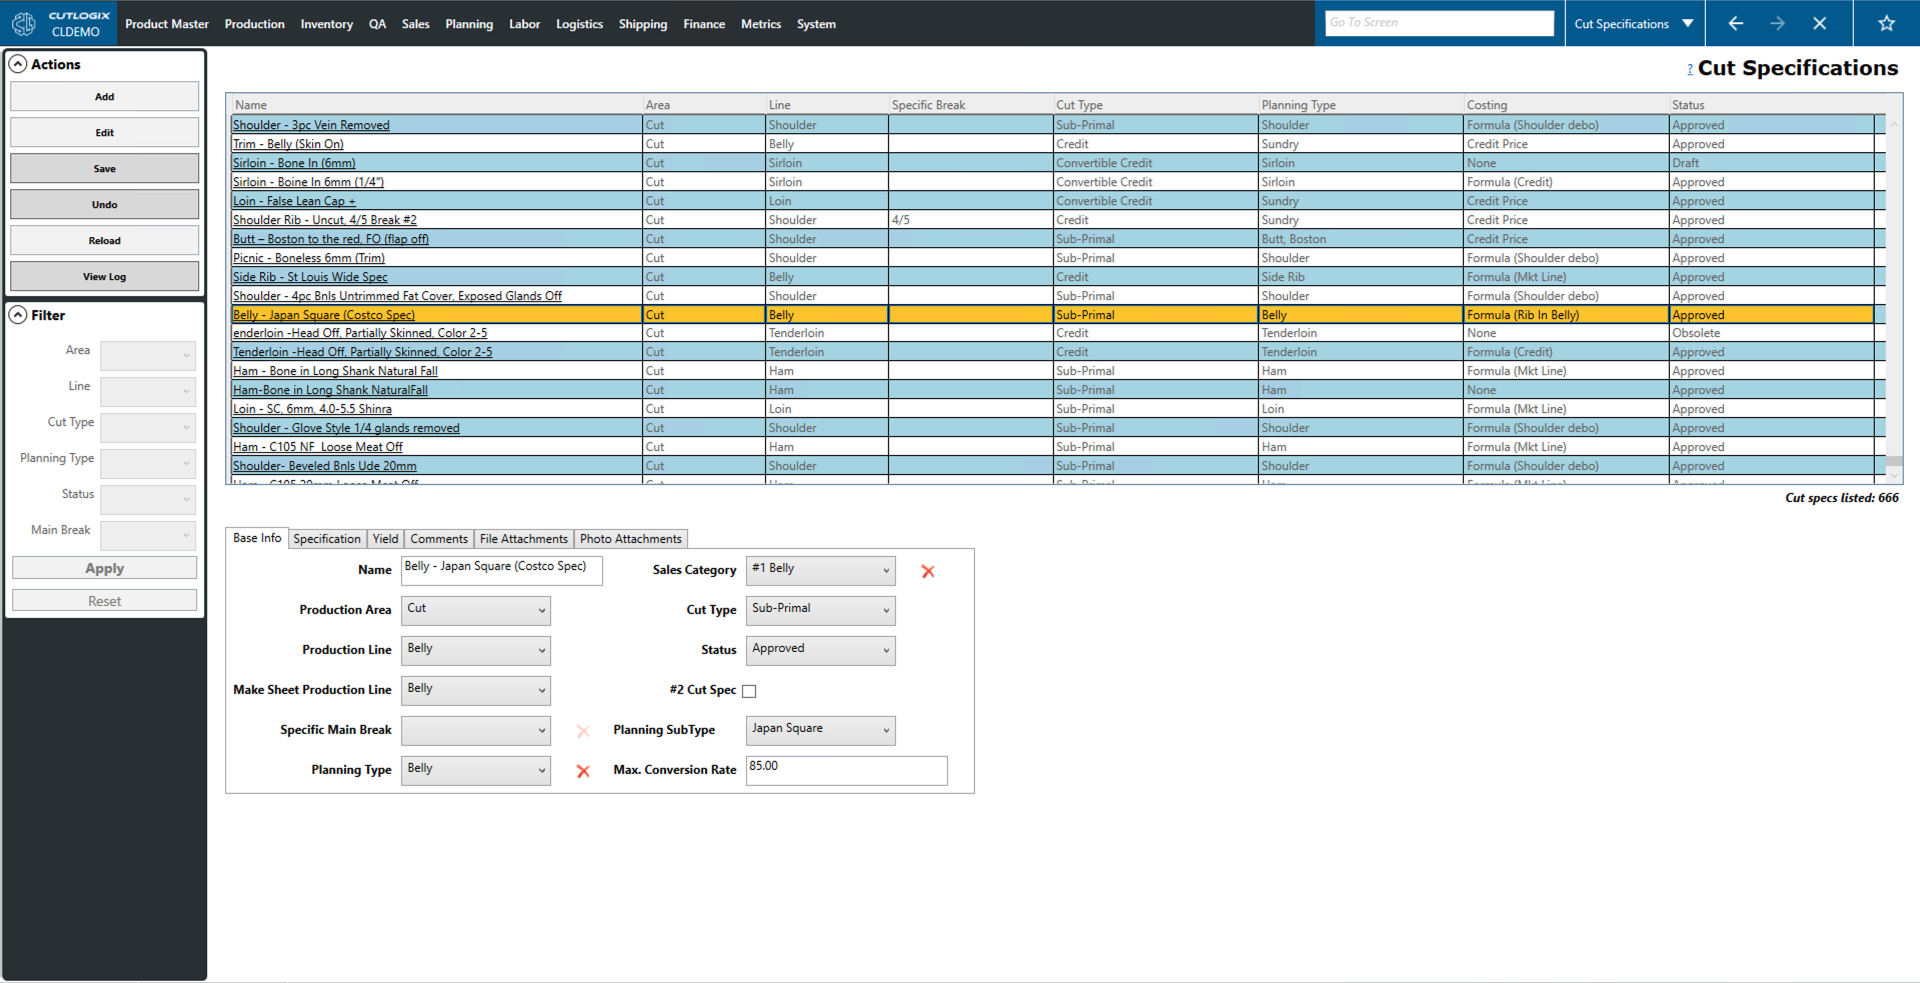
How to Edit a Cut Specification
DemoStep 1: To Modify a Cut Spec, on the Cut Specification screen, select a Cut Spec by clicking on the row in the table. Once selected, the row will be highlighted in orange.
Step 2: Click on the Edit button in the actions panel on the left side of the screen.
Step 3: This will enable this cut spec for editing in the tabs below. All tabs and all fields in those tabs are enabled for editing. Make any necessary changes to the cutspec in these tabs.
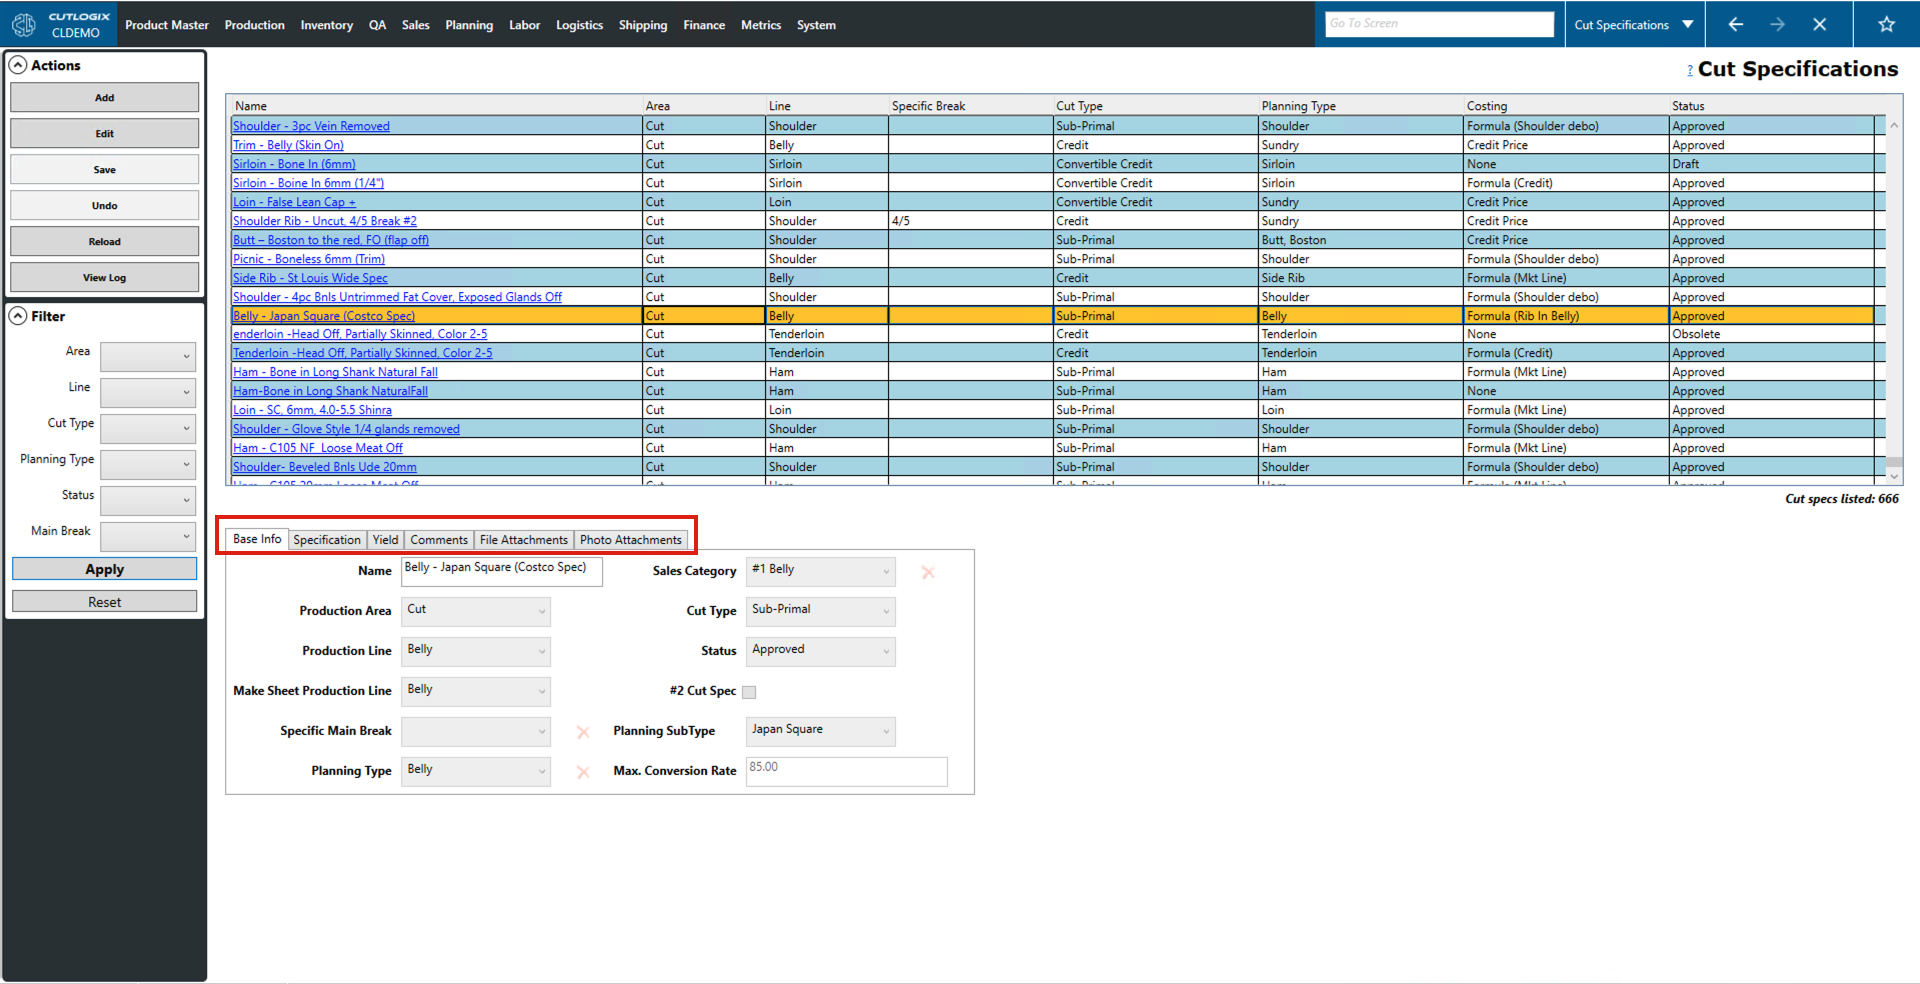
Step 4: Once all of the necessary changes have been made, click the "Save" button in the actions panel to complete the changes to the cut spec.
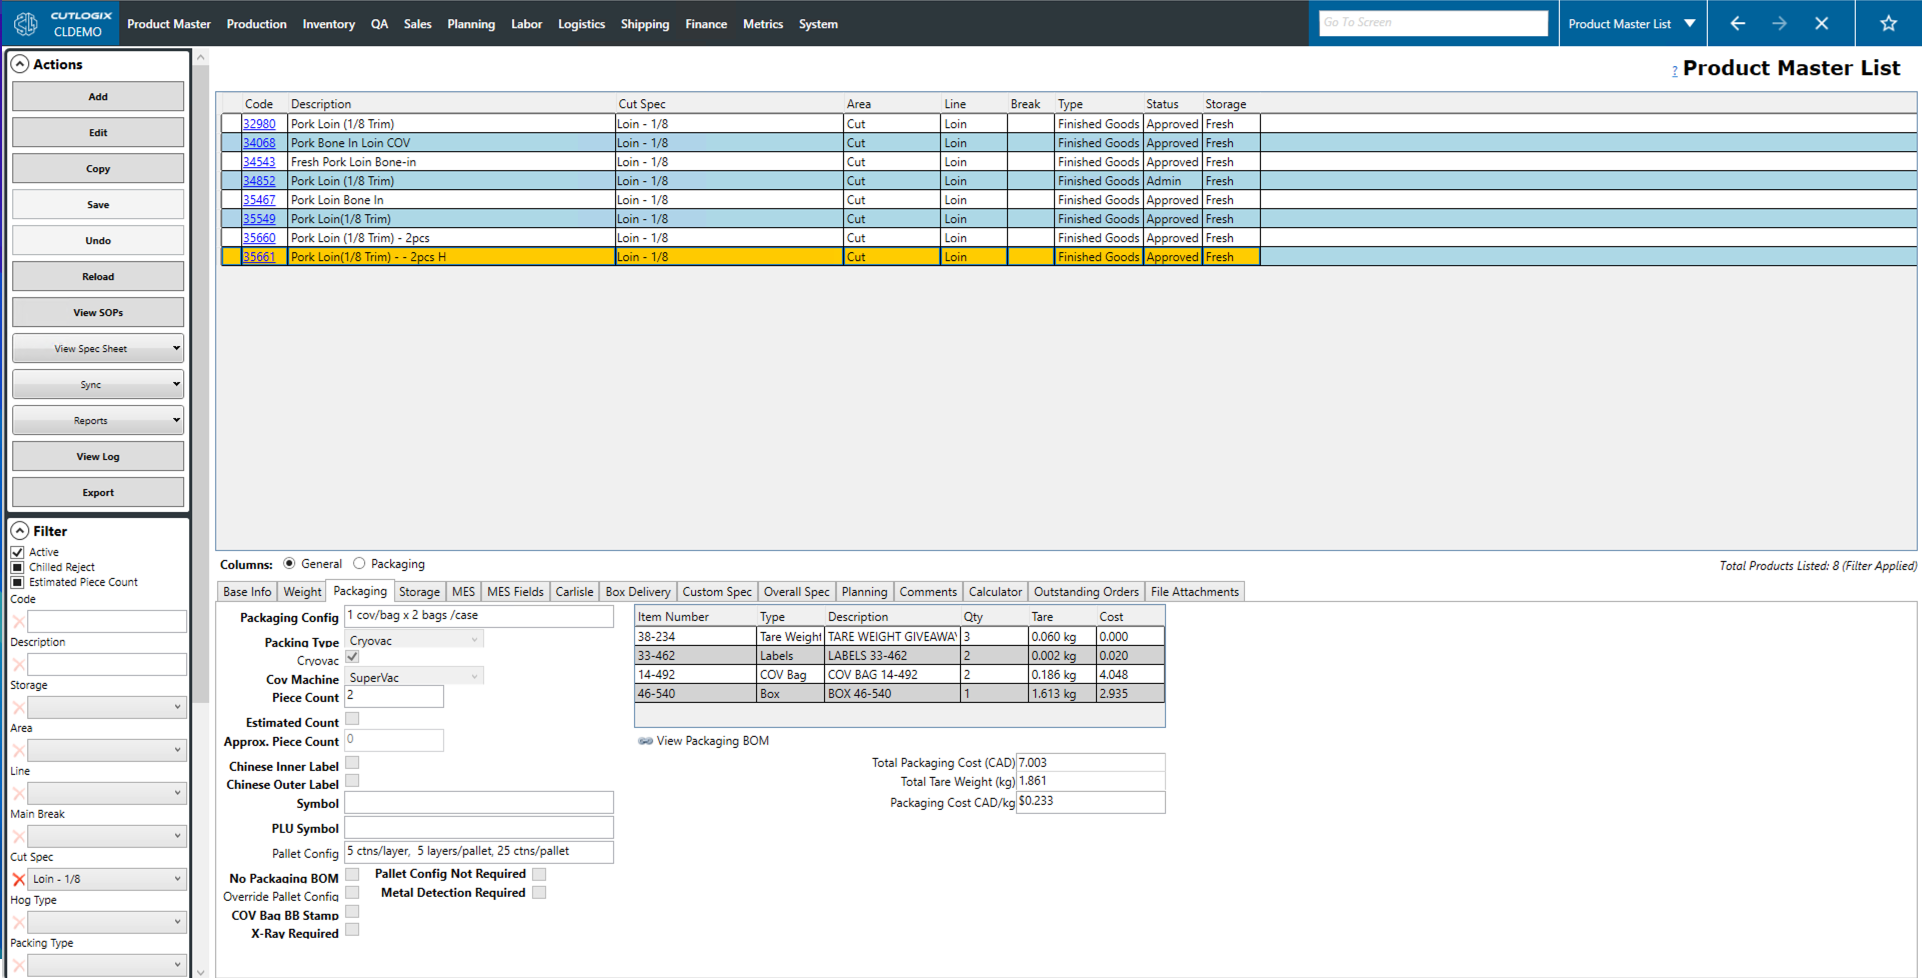
How to View Products that use a Cut Spec
Demo Step 1: On the Cut Specification screen, in the grid, click on the link in the name (e.g. Loin ⅛)

Step 2: This will bring you to the Product Master Screen showing the list of all products using this Cut Spec (in this case Cut Spec = Loin - ⅛ and all the products using this cut spec are displayed.)